Tuesday, May 12, 2015

Maangai Saadham - Reminiscing Summers at Chennai!


It is May, which translates to Summerest at Chennai. For the uninitiated Chennai-ite, we have four seasons back at Chennai - Summer (December - February), Summerer (March - April), Summerest (May - August) and If-Fortunate-Wet (September - November). Summerest is economically bad, because it is the root-cause of shooting electric bills, medical bills, cosmetic bills, cool-drink bills, and transportation bills. With Katri-Veyyil (Agni Nakshatram) at it's peak people refuse to leave air-conditioned rooms to go outside sans an air-conditioned cars, thick layers of sunscreens and a bottle or two of frozen-coke at hand. But for the seasoned Summerest foodie soul (not me), Summerest is the best. There are cart-loads of Water Melons, Musk melons, Jack Fruits, Goose Berries and juicy Mangoes. Quirky vendors are all afoot on the street with their refrigerated boxes brimming with Paal-Ice, Kulfis, Cola-Ice, Nannari Sherbats and Vettiver drinks. One only needs to step out of home and head to the nearest market street (T-Nagar, Purashawalkam, Aminjikarai, Thiruvanmiyur...) to take it all in.

Armed with all these Summerest specials, all paattis, athais, chitthis, ammas, periammas and every other conceivable female relative from the last generation rush back home to make them into delicacies that are available only during those burning months. Musk Melon Coolers, Jack-Fruit Seed curries, Gooseberries in Simple Syrup and of course Mango Pickles, Mango Pacchadis, Mango Squash, Mango Jams... I have to stop somewhere, for the king of fruits and it's raw counterpart are used in a delightfully large number of ways. 

The recipe here is one that my cousin sister makes for a quick lunch during the most sweat-bathed days, when people want to run out of the kitchen at the earliest excuse available. It is made for picnics and festivals, for get-togethers and lunch-boxes, and it tastes like summer in your mouth!

MAANGAI SAADHAM (RAW MANGO RICE) (Serves 2-3)
Set-up Time :  10 minutes
Experiment Run-Time : 30 minutes

The Shopping List

          Set 1: For the Base
          Raw Rice : 2 Cup
          Oil : 1 tbsp
          Salt : a pinch
          Water : 3 1/2 Cups

          Set 2: Flavorings & Seasonings
          Raw Mango : 1 Medium sized, sour as can be
          Ginger : 1 inch piece, grated
          Green Chilies : 6-7, sliced
          Groundnuts : 1/2 Cup
          Mustard Seeds : 1 tsp
          Chana Dal : 1 Tbsp
          Red Chilies : 2-3, crushed
          Urad Dal : 1 Tbsp
          Asafoetida : a pinch
          Salt : as required
          Oil : 2 Tbsp

Methodology

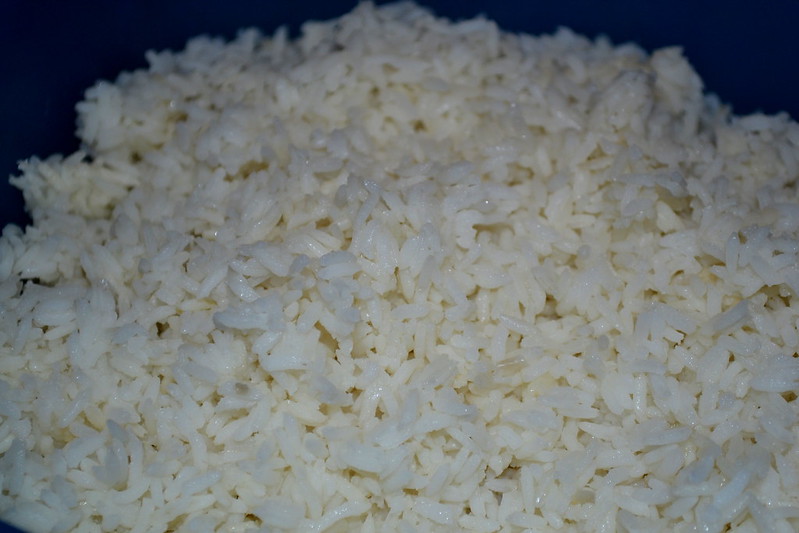
1. Prepare rice as is usually done using the ingredients in Set 1. Rice-Cooker, Pressure Cooker, open vessel - anything is fine. Forget not to add the oil, for it helps to retain the integrity of every individual grain. Once done, spread it on a large plate and allow the cooked rice to cool.
DSC_0004

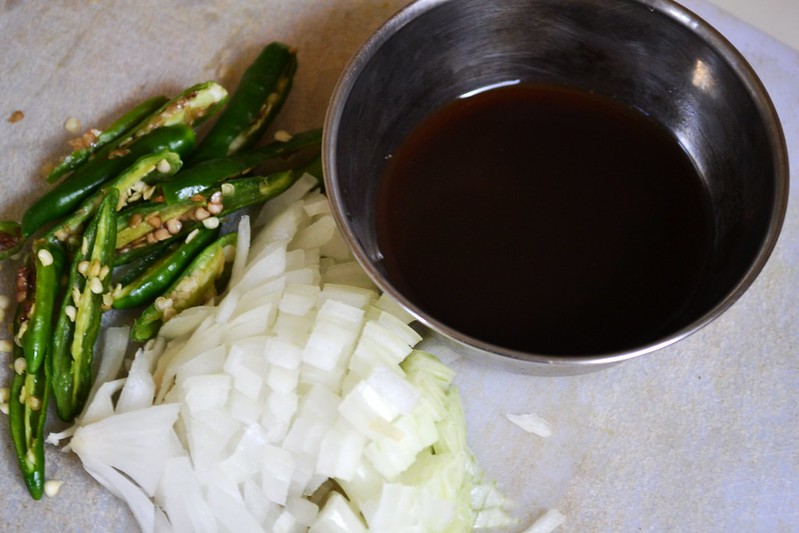
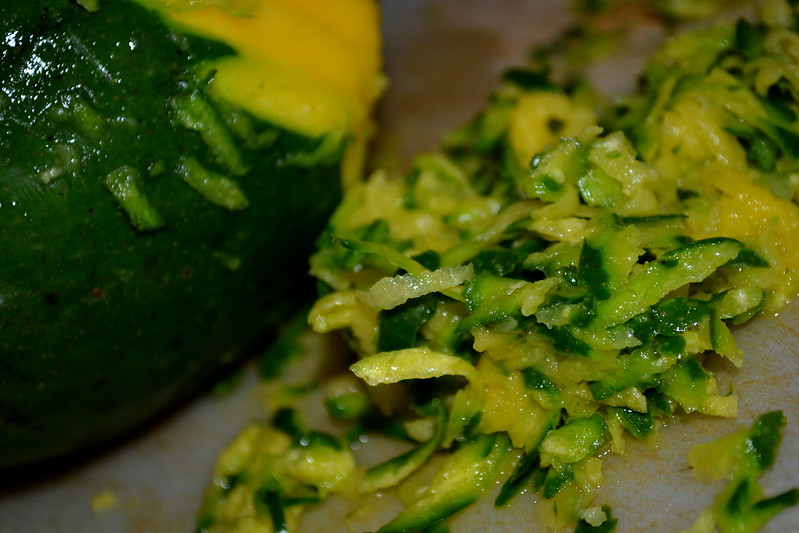
2. Grate the raw mango, skin and all. Do throw away the seed though.
DSC_0003

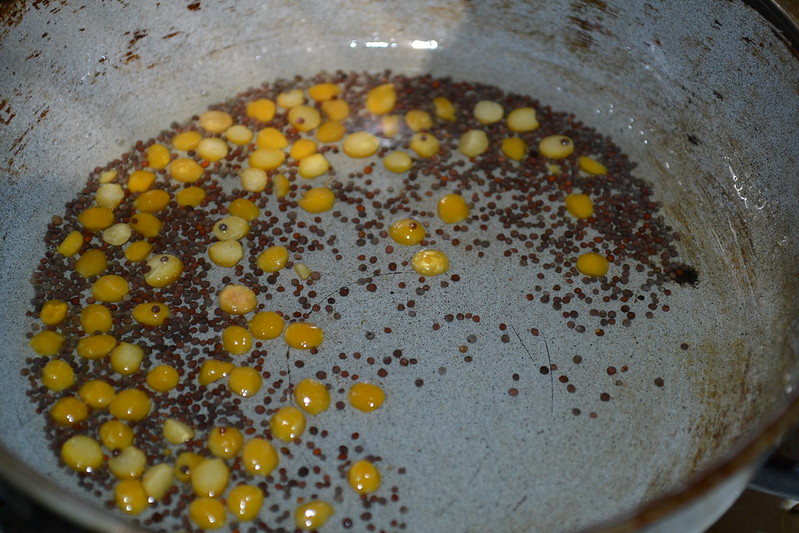
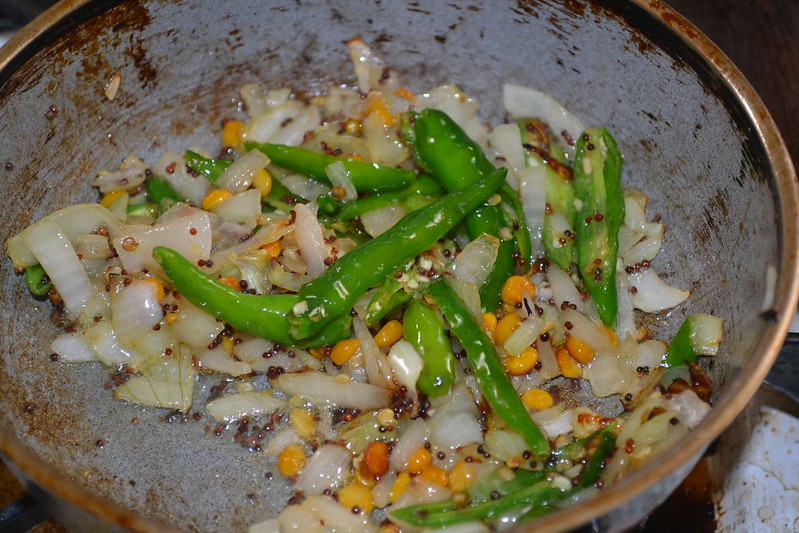
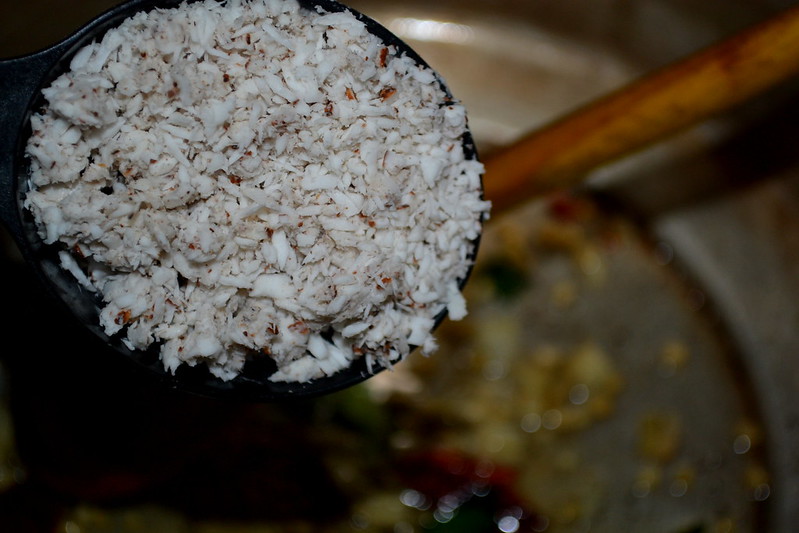
3. Heat the oil in a pan. Once hot enough, add all the items in Set 2, starting with the mustard (wait till it crackles), Chana Dal, Urad Dal, Red Chilies, Green Chilies, Asafoetida, Ginger, Salt and Groundnuts. Cook on a low flame until the groundnuts start to get browned. (If you have roasted groundnuts, add them at the end, just before serving).
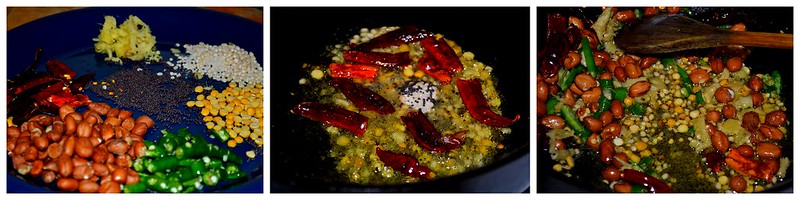
Maangai Saatham

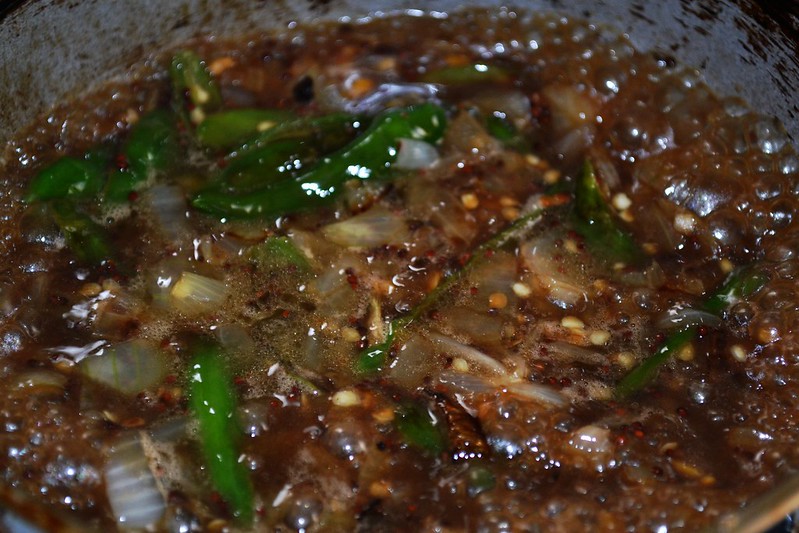
4. Add the grated mango to the pan and continue to cook on a medium flame.
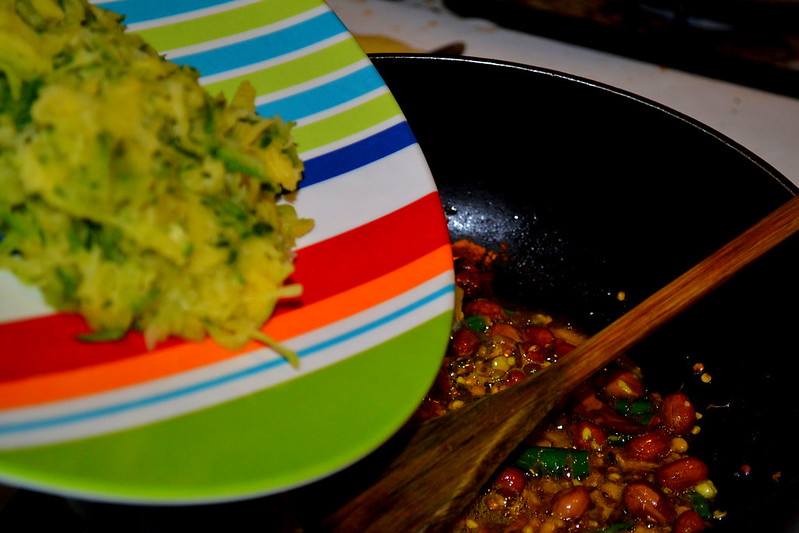
DSC_0011

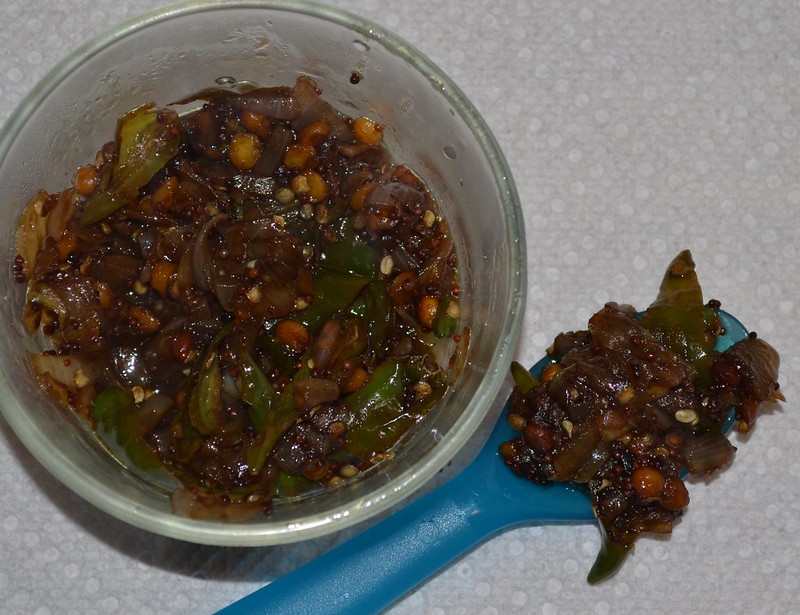
5. Continue cooking, until the mango softens sufficiently and all the contents come together in a fragrant paste like mass. Remove from flame and cool. This is what is called the Maangai Thokku. If stored in a dry glass bottle, it keeps well in the refrigerator for about a week.
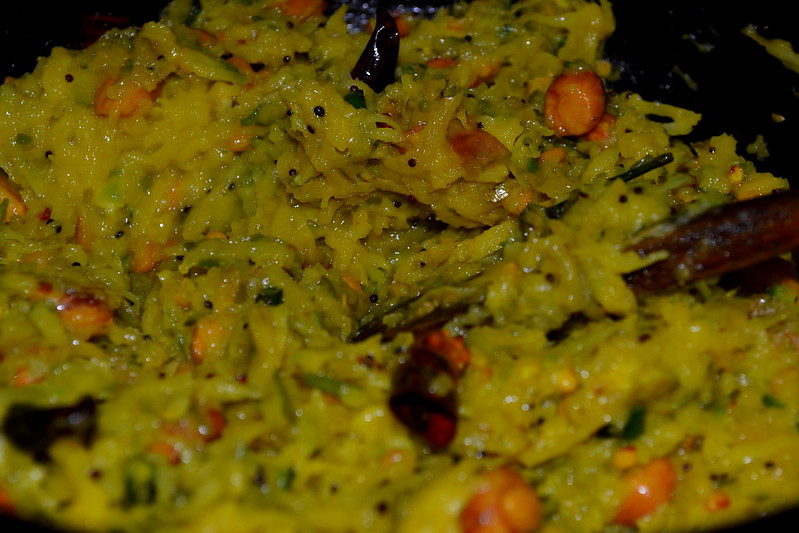
DSC_0014

6. Gently mix the Maangai Thokku with the cooled rice in a bowl large enough to hold them. Hands usually work the best, especially to break lumps of cooked rice and ensure homogenous mixing. Queasy people may use a strong wooden ladle.
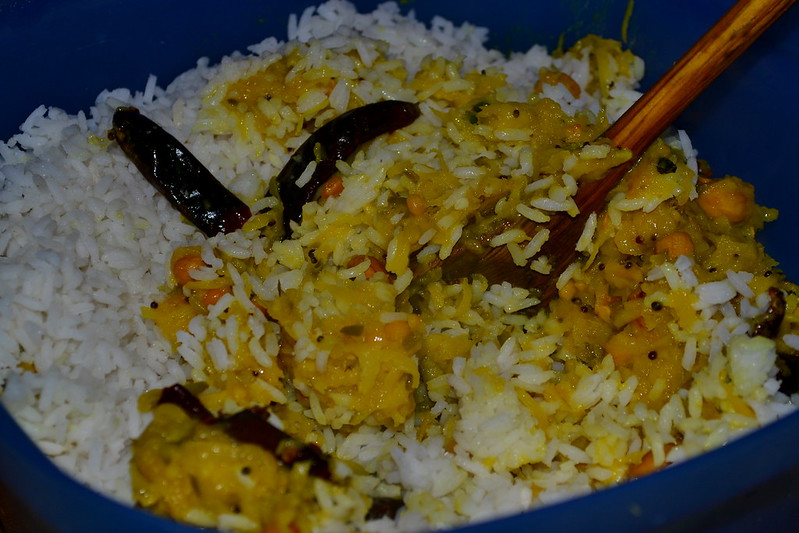
DSC_0016

7. Check for salt and serve with papads, a dry curry or some raita.

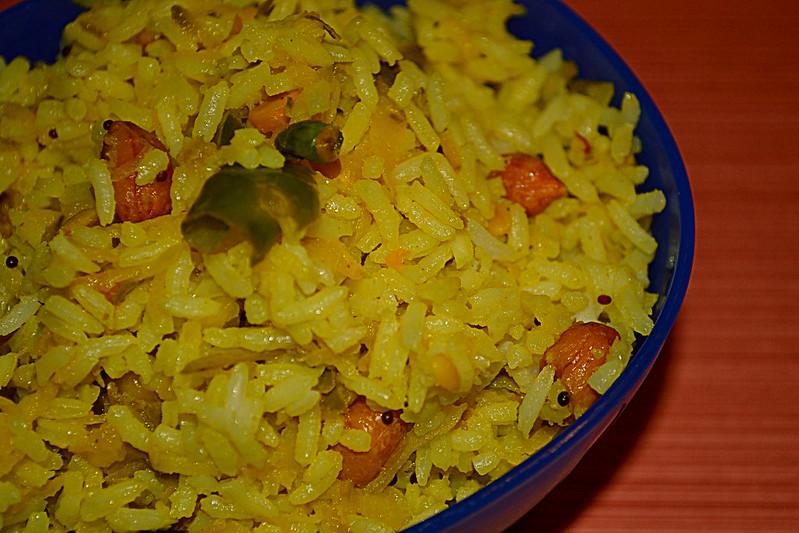
One mouthful of this quick variety rice, as they tend to be called in South-India, and you are hooked for life. It is sour and spicy and crunchy and pasty and a lot of other things at the same time. I can inhale large quantities of this delicacy at one sitting, especially with some aloo curry and a jug of seasoned buttermilk. It brings along memories of summer vacations, impromptu picnics, and large family gatherings. 
DSC_0040

Maangai Saatham tends to remain good for a few days if stored in a cool dry place. I usually make it in large quantities, but it never seems to last with all the people around. And here in Cincinnati, it is a pain to get the mangoes to be right. Apparently the words 'sour' and 'green-mangoes' do not get to come in the same sentence this side of the Mississippi. This was one of the rare times that everything came together so well. I will carry the taste in my memories until the next perfect mango comes along.

Tuesday, April 21, 2015

Fiery Tilapia Pan Fry - A note from Dhivya!


I guess I have made it pretty clear in one of the previous posts that I don't fancy anything that looks, tastes, smells and feels like a fish. Be it the Vanjiram fry made at home, the nethili kuzhambu that inevitably results in people clucking loudly as they lick their fingers in glee, or the held-in-high-esteem Karuvadu Curry. No Sir! Not for me.

But then, with all the recent furor about clean proteins, Omega-3-Fatty Acids and the obsession with fish-diets and what not, I decided that it was high-time that I too jump on the seafood-bandwagon. So, next time when I went to the store, I bought a packet of the least fishiest of all the fishes available - the ubiquitous Tilapia. There were four fillets and I decided to try something different with each one. The first day, I seasoned it with some spices and put it into the oven. Result - detestable. The Chinese style fry and the Indian semi-gravy that followed could do nothing much for redemption either. So, I resolutely threw the last fillet into the farthest corner of the freezer and went on a vacation with my friends. Five days later, I attacked the final fillet with new-found-enthusiasm. The reason - Dhivya's Recipe that I had tested and tasted over the Vacation.
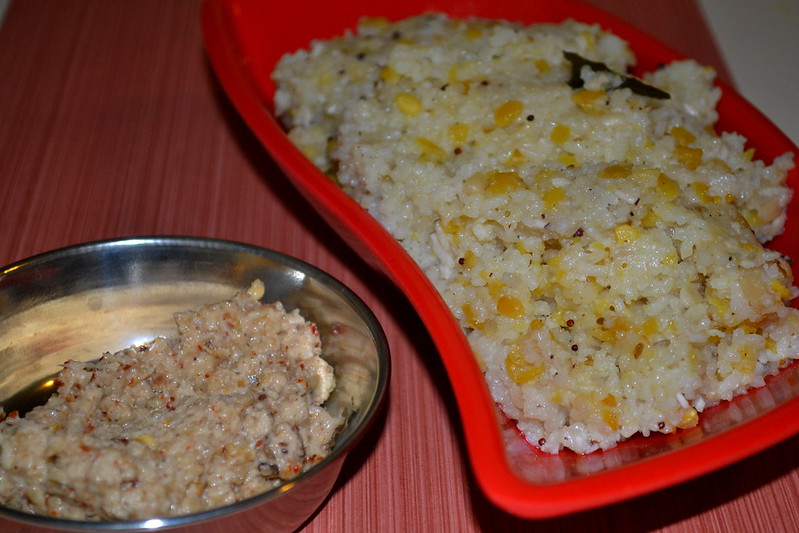
Ever since, it has been my go-to recipe for fish and has never failed yet. And since Dhivya doesn't maintain cooking blogs as a rule, I thought that I would go ahead and do the world a favour by publishing her recipe here!

FIERY TILAPIA PAN FRY (Serves 1)
Set-up Time :  10 minutes
Experiment Run-Time : 10 minutes

The Shopping List

          Set 1: The Marinade
          Coriander Seeds : 1 Tbsp
          Red Chilies : 2 (3 if you want to breathe fire)
          Curry Leaves : 4-5
          Ginger-Garlic Paste : 2 tsp
          Thick Curd : 1 Tbsp
           Lemon Juice : A few drops
           Salt : As Required

          Set 2: The Fish and Other Stuff
          Tilapia : 1 fillet (I used a frozen one)
          All Purpose Flour : 1 Tbsp
          Oil : 2 Tbsp, to Pan-Fry

Methodology

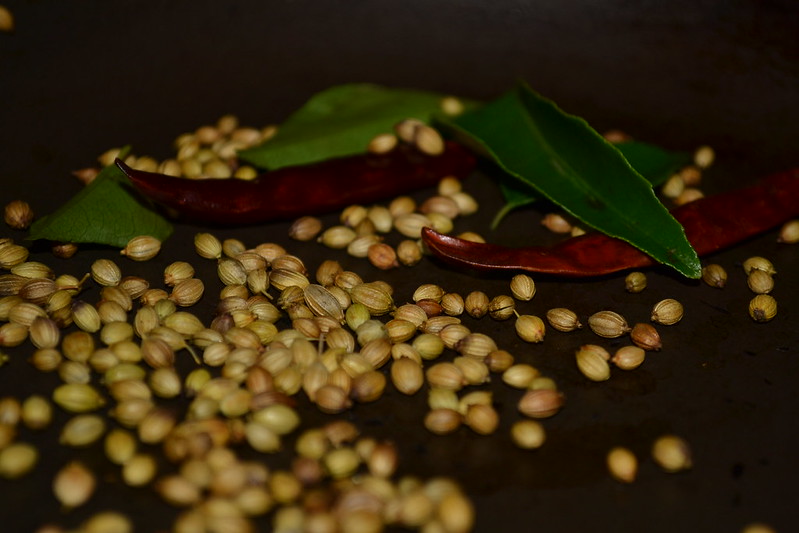
1. In a dry pan, roast the Coriander Seeds, the Red Chilies and the Curry Leaves until the seeds release a toasted aroma.

DSC_0585

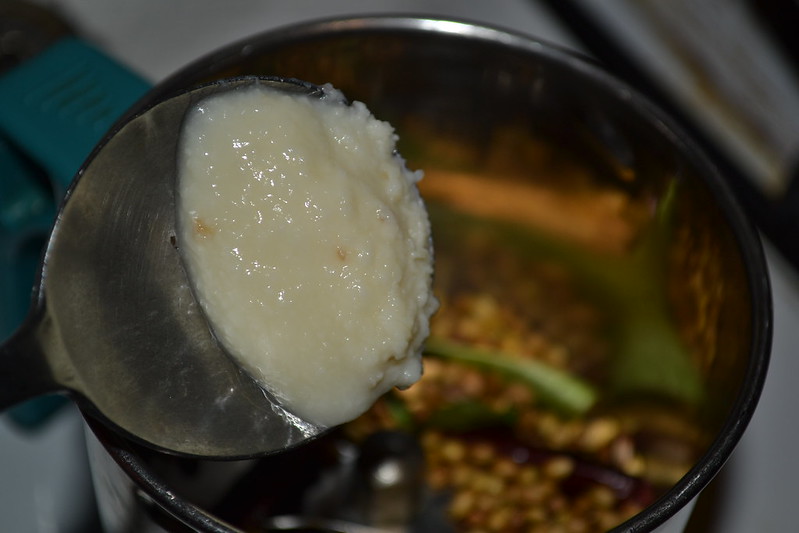
2. Once cool, transfer the roasted ingredients into a blender along with the Ginger-Garlic Paste. Give it a quick blend until they all mush up into a coarse paste.

DSC_0586

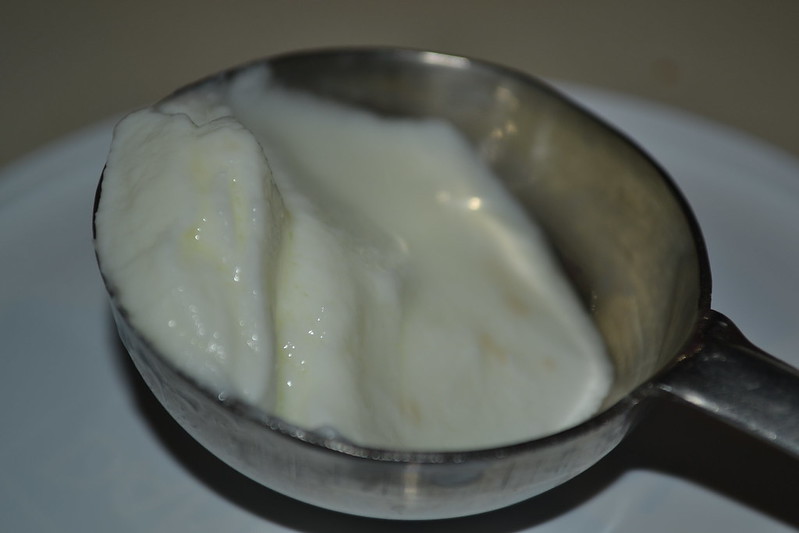
3. Remove the marinade onto a plate and mix a fresh scoop of thick curd. Mix it well.

DSC_0587

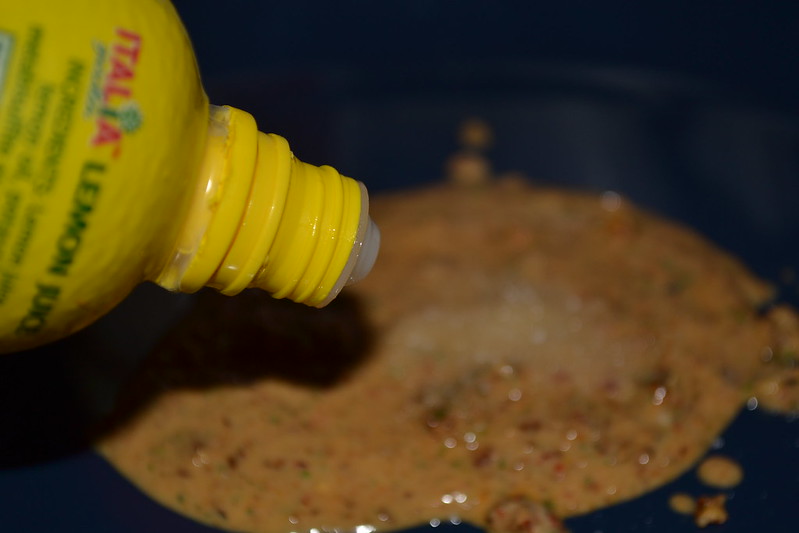
4. Finally, squeeze some drops of lemon juice into the marinade and let it rest for 10 minutes.

DSC_0588

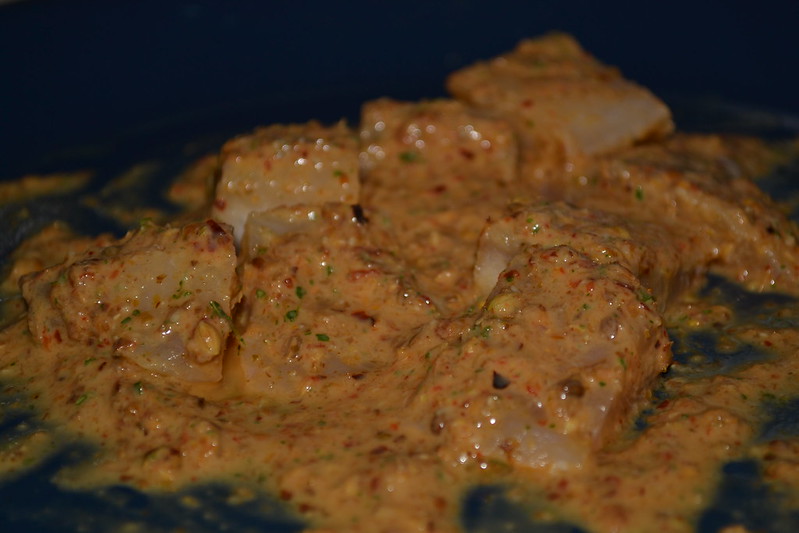
5. In the mean time, cut the fish fillet into bite-size pieces and dunk them into the marinade. Turn them over a couple of times until they are well coated.

DSC_0590

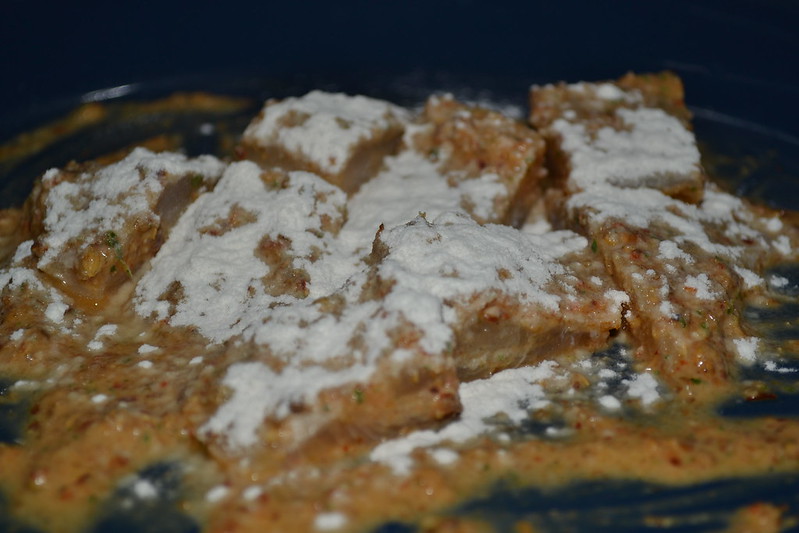
6. Heat a tava or a frying pan, along with the oil spread over it. Just before you are ready to fry the fish, coat the fish pieces with All Purpose Flour in such a manner so as it traps the marinade inside.

DSC_0592

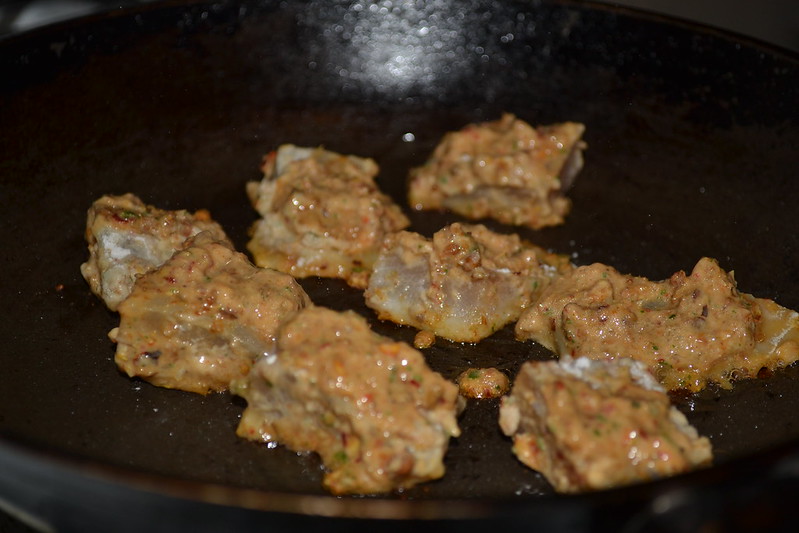
7. Gently place the flour-coated fish pieces into the pan and let them turn brown and crispy on all sides. A good two minutes on each side should do the work.

DSC_0593

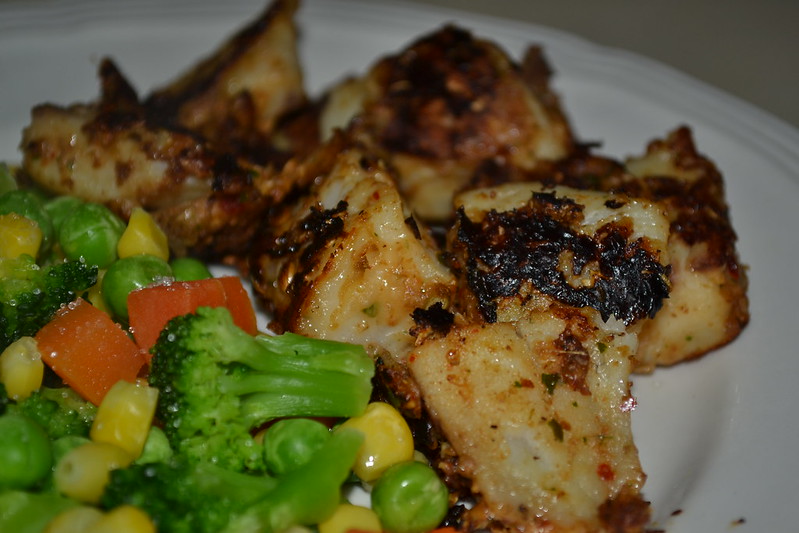
8. Place the pan-fried pieces on a kitchen towel to remove excess oil and serve immediately with steamed vegetables.

DSC_0597

     I assure you that you will be blown off. The marinade successfully masks the fishy flavor and lends the dish it's own unique taste. Add to it the gently crisped outer-coating of flour and the side of warm veggies, you have a winner every time. All thanks to Dhivya who literally did not accept a no when I refused to try her dish the first time!

Monday, January 5, 2015

Thiruvadhirai Kali - To Nutty with Love!


Today is Thiruvadhirai - a day of special celebration, worship, and feasting at all Shaivite shrines in South India; and Tamil Nadu in particular. Even though the asterism of Thiruvadhirai occurs once in every 27 days, its occurrence during the Tamil month of Maargazhi (Mid-December to Mid-January) is observed with much grandeur. It is said to be the day when Shiva answered the prayers of the saints Vyagrapaada and Patanjali, and blessed them with a vision of His cosmic dance. The grandest of these celebrations are observed at the Shrine of Chidambaram where Shiva appears as Nataraja (AKA Nutty), the Lord of Dance, housed in a hall roofed with golden tiles. The festivities begin at 2 in the early morning when the murti (idon/idol) of Nataraja (Yes, the same bronze masterpiece whose replicas are seen worldwide from the CERN campus to the humblest of homes) is bathed in fragrant powders, followed by a procession around the temple to the tune of several instruments. Several hours after being woken up at an unearthly 2AM, He is finally offered a large cauldron of something that looks like mashed Sakkarai Pongal. This is the famed Kali, that is offered just once a year to Nataraja, and like all off-the-beat temple offerings, has its own small tale.

Chendanaar was a poor but pious inhabitant of the hallowed town of Chidambaram. Like all devout Shaivas of yore, he had inculcated a practice of partaking his mid-day meal only after sharing a portion of it with another Sivanadiyaar (One who offers himself to Shiva). One year, on the day preceding Thiruvadhirai, severe rains had driven people indoors. As a result, Chendanaar's wife had no opportunity to collect the necessary resources for the meal. So, when a Sivanadiyaar showed up at their doorstep in the pouring rain, they had no choice but to serve him a quick, frugal meal of rice flour cooked in jaggery syrup. Greatly saddened by their assumed inhospitality, the couple turned up early at the shrine on the day of Thiruvadhirai. When the priest finally opened up the sanctum for worship, Nataraja stood there, dancing in bliss as always, but with a smattering of Chendanaar's Rice-Jaggery paste across His lips, while scattered Kali lay all over the floor. Chendanaar's eyes welled up at the revelation of his guest being Shiva Himself, while his wife related the incident to others amidst supressed sobs of humility, wonder, and satisfaction. Ever since, the humble Kali has become a staple offering for Nataraja not only at Chidambaram, but also at everyone's homes on Thiruvadhirai. The touching tale brings to one's mind Krishna's words in the Gita :

patram pushpam phalam tOyam, yO mE bhaktyA prayacchatI
tad aham baktyupAhrtam ashnAmi payatyAtmanah.
"If a person offers to me with love and devotion, even a leaf, a flower, a fruit or water
I accept wholeheartedly, that offering made by the pure-hearted being"

It is not the offering that is so important as the spirit in which it is made. With that small thought in mind, lets dive into the recipe.

THIRUVADHIRAI KALI (Serves 2)
Set-up Time :  10 minutes
Experiment Run-Time : 25 minutes

The Shopping List

          Set 1: For the Kali
          Raw Rice : 1/3 Cup
          Moong Dal (Dehusked Green Gram) : 1 Tbsp
          Jaggery/ Brown Sugar : 1/2 Cup, powdered
          Grated Coconut : 1/3 Cup

          Set 2: For the Drool Factor
          Cashew-nuts : about 6, broken
          Cardamom Powder : 1 tsp
          Ghee : 2 Tbsp

Methodology

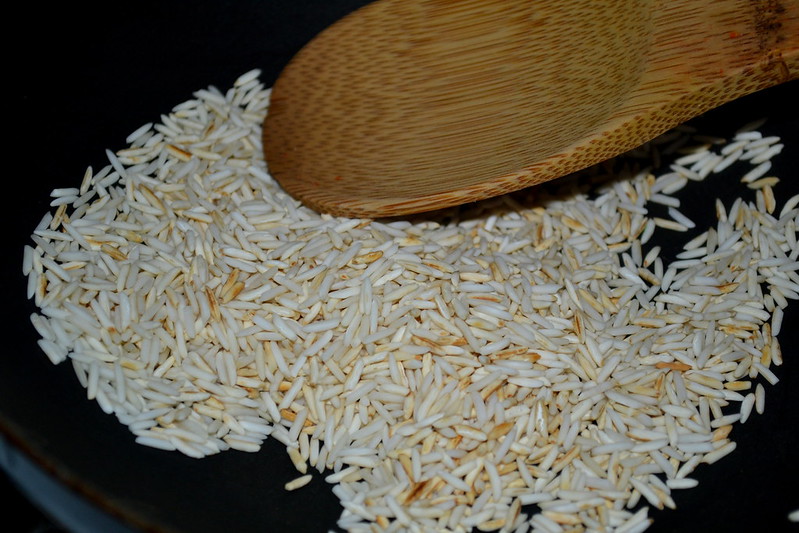
1. In a wide pan, fry the rice on a medium flame until it gives off a nutty aroma and turns a delicate shade of brown. Please, let it be a delicate shade of brown and not the much coveted chocolate brown!


DSC_1648

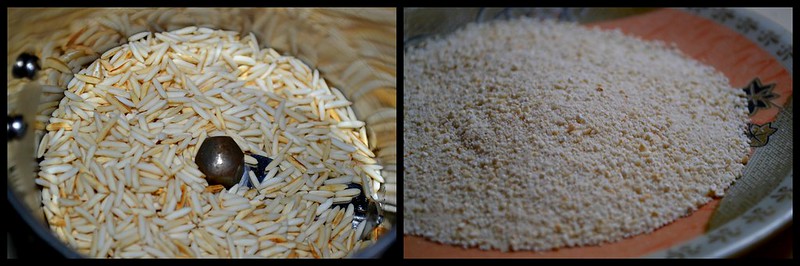
2. Cool it sufficiently (which I always lack the patience to do) and grind it a coarse powder in a blender. A few pulses are usually enough!


Thiruvaadhirai Kali

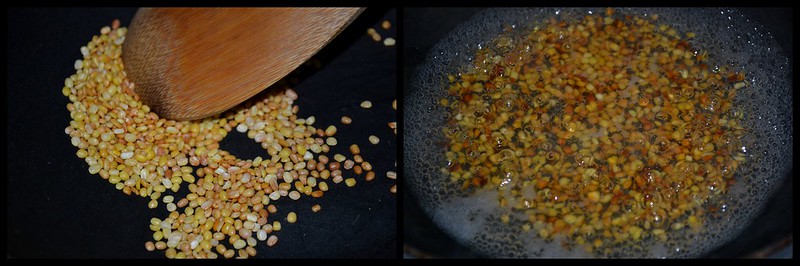
3. In the same pan, fry the Moong Dal until it too starts acquiring a golden-brown hue. Pour in a cup of cold water and watch the Dals dance merrily as it comes to a boil.


Thiruvaadhirai Kali1

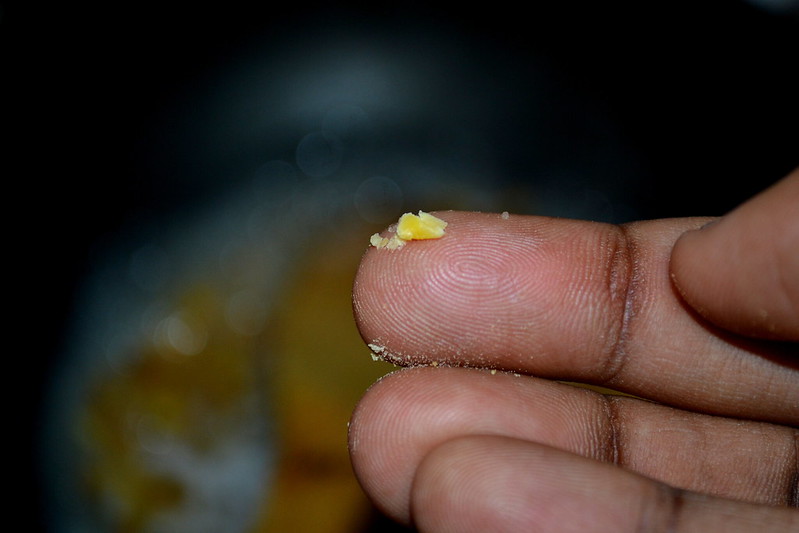
4. Check the Dal in about 10 minutes. It should almost be there. If you tried to squash one between your thumb and forefinger it should give in but with a little resistance.


DSC_1654

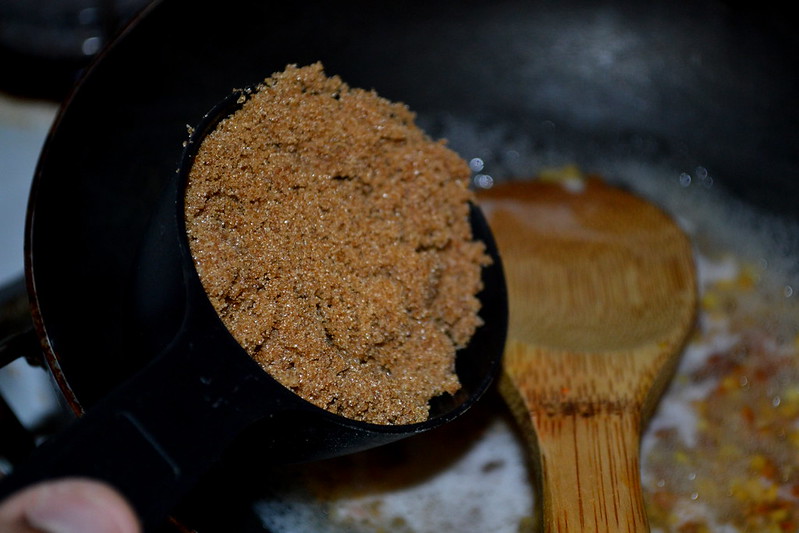
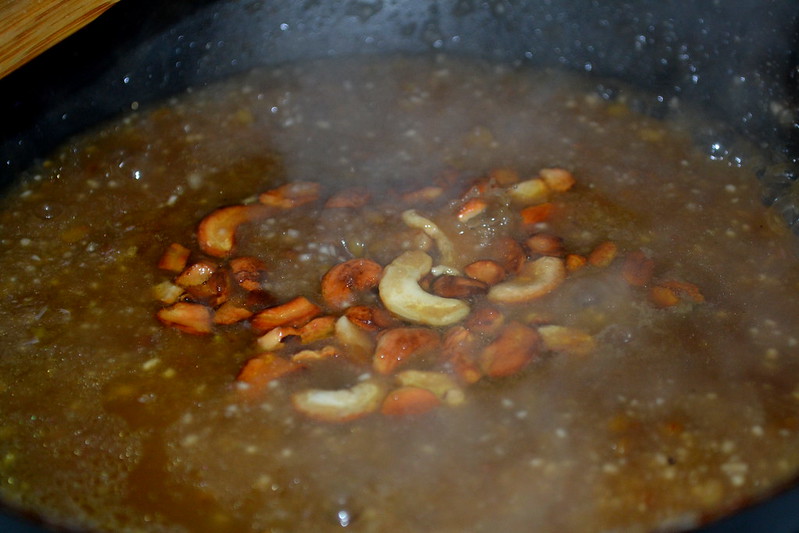
5. Once convinced about the consistency of the Dal, add the powdered Jaggery (Or brown sugars, as I sometimes tend to substitute) into the pan with about 2 cups of water. Let it come to a boil on medium flame 

(If you live within the subcontinent, it would be worth to dissolve the Jaggery in some warm water, filter it, and then proceed with the solution at hand)


DSC_1655

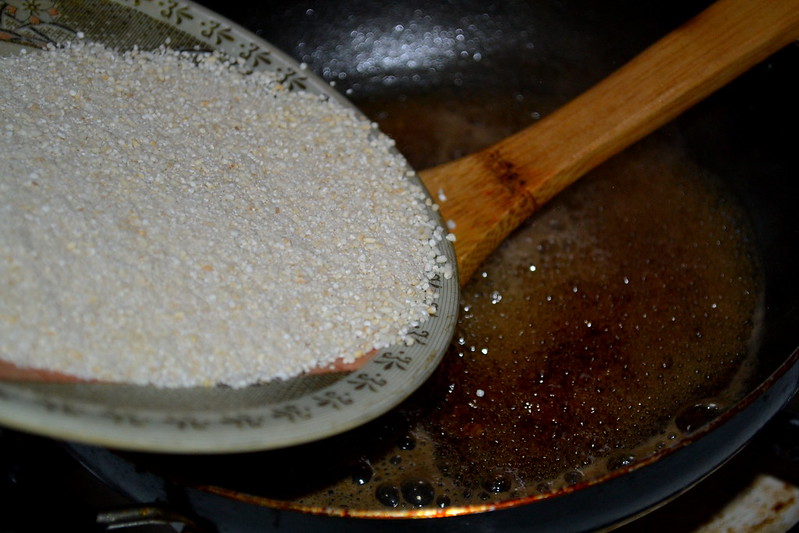
6. When the Jaggery syrup starts to boil, tip in the powdered rice and start to stir until the rice particles are mixed well into the syrup.


DSC_1661

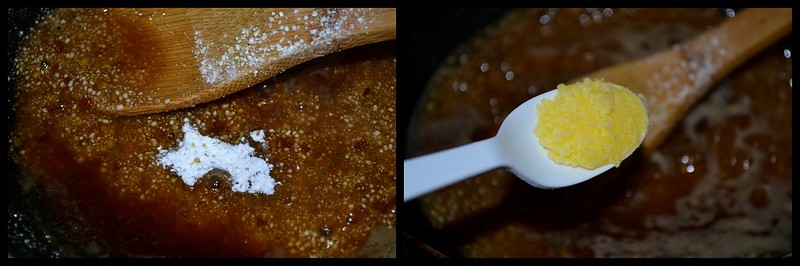
7. Add a tablespoon of ghee and some cardamom powder and watch them get absorbed by the now spluttering mass.


Thiruvaadhirai Kali2

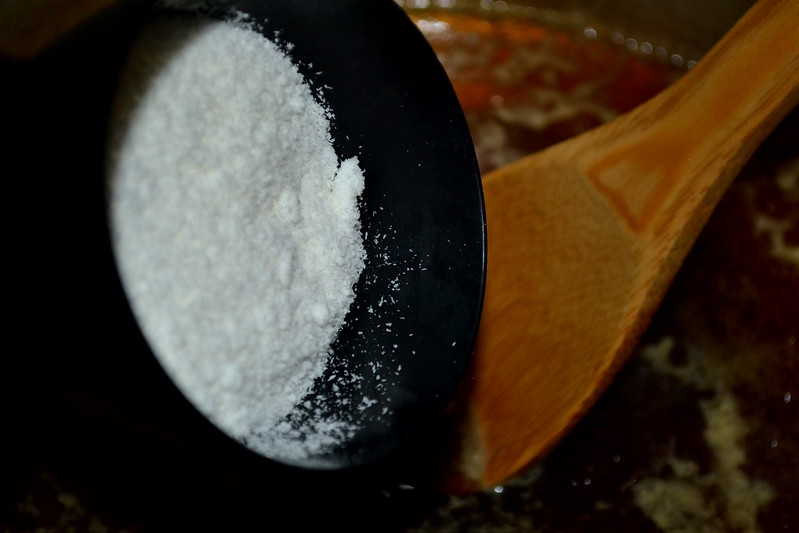
8. Finally, add the grated coconut and incorporate it into the Kali.


DSC_0189

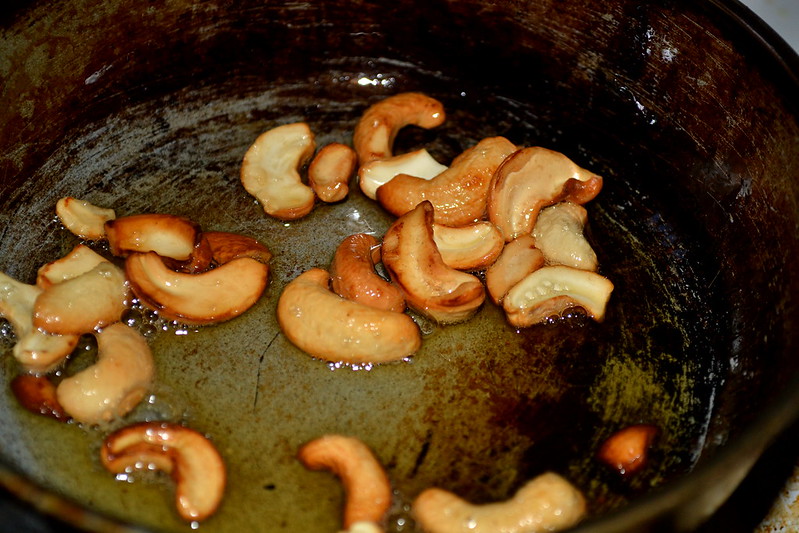
9. In a separate pan, heat the rest of the ghee and fry the cashew-nuts to a golden shade.


DSC_0197

10. When the nuts are done, add them to the spluttering Kali, ghee and all.


DSC_1670

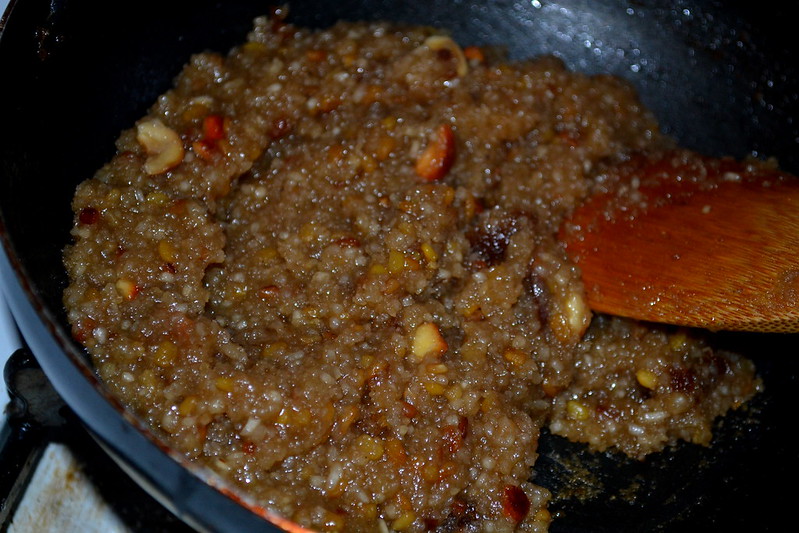
11. When the paste starts to leave the sides of the pan, it is done. Scoop it all up into a bowl and proceed with either your worship or your devouring!

DSC_1672

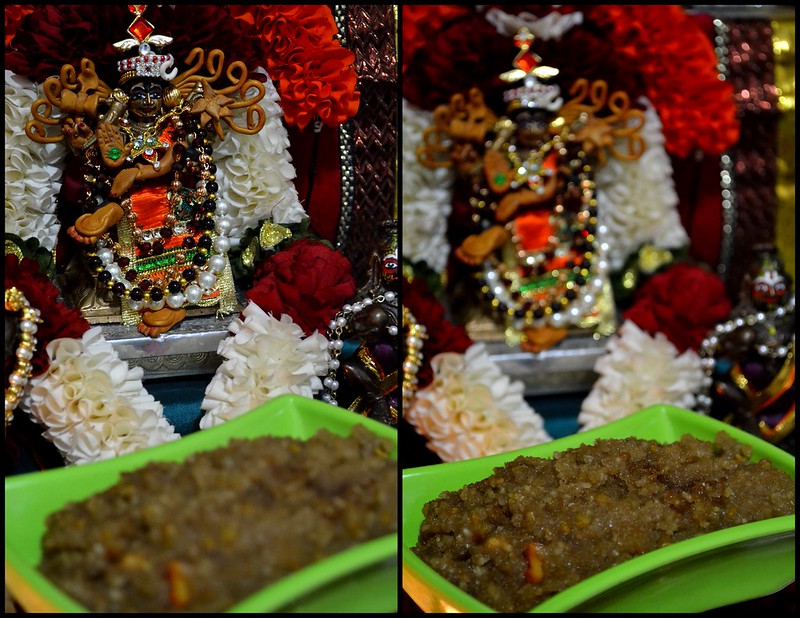
Traditionally, the Kali is accompanied by an Ezhu-Kari Kootu, a yummy Sambhar like medley of seven vegetables. But, Hello! Where am I to go for Avarakkai, Yam, Colocasia, Mochai and the rest of the veggies in the middle of an Ohio winter? So the Nataraja at my home got served only the Kali sans the Kootu. It saddens me a little, but then again, let us all remember Krishna's words in the Gita and make up for the lack of Ezhu-Kari with a little more sincerity, devotion and love!

Thiruvaadhirai Kali3

Sunday, January 4, 2015

Milagai Thokku - Hostel-Life Nostalgia


Did I ever tell you that long ago, like around a decade ago, I joined Mepco Schlenk Engineering College, AKA "The Jail" for my Undergraduate College and ended up spending 4 years of my life there? It was the strictest place I had seen since birth. The professors were strict and tight-lipped about anything beyond the subjects, the wardens were strict about your sleeping-walking-talking-peeing habits, the janitors were strict about your hygiene, the watchmen were strict about your non-IST punctuality... honestly the list is never ending. But to be fair, I enjoyed ALMOST every bit of it. Almost, because, the hostel residents were subjected to three boring/ half-cooked/ tasteless meals every single day in a weekly cycle. The hostel mess was a place where metaphorical rock-idlies, rubber-rotis, noodle-glue and handkerchief-dosas ceased being metaphors and posed severe post-digestive nightmares instead. 

To me, almost every meal was my tongue's funeral. Again, almost because, there was the lunch menu on Tuesdays which somehow managed to jolt your gustatory organs from their coma-state. There was dal (with ghee), rice, some brilliant spinach kootu, more-milagai (fried-buttermilk-soaked-green-chilies) and this whacking milagai thokku! The thokku alone provided enough willpower to make it to the next Tuesday lunch.

The thokku was so awesome that it was the first item I missed after getting out of that place. My mom had no idea about the recipe, and at that time I didn't even know it was called milagai thokku. It was only three years ago, when I was flipping through a random Tamil magazine that I came across a photo of the very familiar dish (and learnt its name in the process). The recipe we are going to see today is what I noted down from that magazine (which I abandoned the next second as I dashed towards the kitchen!)


MILAGAI THOKKU (Serves 4 It's a pickle I say)
Set-up Time :  10 minutes
Experiment Run-Time : 20 minutes

The Shopping List

          Set 1: Spice Base
          Onion : 1 Small, finely chopped
          Tamarind Paste : 1 Tbsp, mixed with 1/2 cup of water
          Spicy Green Chilies : 10-12, slit length-wise

          Set 2: Seasonings
          Asafoetida : 1/4 tsp
          Mustard seeds : 1 tsp
          Curry Leaves : 4-5 leaves (optional)
          Chana Dal (Split ChickPeas) : 2 Tbsp
          Sesame Oil : 3-4 Tbsp (Don't cringe)
          Salt : To Taste

Methodology

1. Slit the chilies as said - along the length. You may deseed the chilies if you believe that you may have trouble sitting down tomorrow, but I must say, you would have missed the point of this dish.

DSC_0036

2. In a small kadai or pan, heat the sesame oil and crackle up the mustard seeds. Follow it up with the asafoetida, Chana Dal and curry leaves.

DSC_0037

3. When the Dal takes on a shiny golden hue, add the chilies and the onion. Sauté, sauté and sauté until the green chilies shrivel a little and the onions are shiny and translucent.

DSC_0040

4. Add the tamarind water to the pan along with some salt. From now, it is just a matter of patience. Keep stirring until the liquid evaporates and oil starts oozing out from the sides. Switch off the stove.

DSC_0043

5. Cool it down to room temperature and transfer to a clean glass bottle if you plan to keep it for sometime. With me it lasts no longer than a day.

DSC_0048
Ready - Gobble at your own risk!
The thokku goes well with dal, sambhar, rasam and most obviously curd rice. The pleasure in rolling up a ball of thacchu mammam, dragging it through the thokku and dropping it in your mouth is indescribable. I sometimes eat it with dosas too and venn-pongal and rava idlies. All delicious. Like I said, it rarely lasts more than a day and I prepare it equally rarely (due to obvious pin-vilaivugal ;) ). But every time I make it, my mind passes through all that Mepco has given me - awesome friends, uncountable memories, a few awards and a great sense of independence. The thokku, in the truest sense, gives pleasure to the both my tongue and mind alike. 

Saturday, January 3, 2015

Arisi Upma - Comfort Breakfast!


There are several ways you come across brilliant new recipes you have not even heard of before. These days, the internet is inherently the best place to stumble across interesting combinations of ingredients accompanied by photographs capable of creating a drool-pool on your keyboard. Televisions come next, with a host of cook-shows starring everyone from incredible seven-star chefs to film-celebrities who have never lit a stove. Then follow the mind-numbing varieties of cookbooks with their glossy covers and hefty price tags, covering every cuisine from everyday Indian to exotic French to Diabetic, Gluten-free, Vegan and what not. And then there are those food items that you hear of when you are least prepared to take notes - at a cousin's wedding with a lavish spread, where the chef is willing enough to share a recipe or two; at a random coffee shop conversation with a friend; at remote, never heard of canteens at government offices or from enthusiastic maamis at Chennai's many sabhas giving their opinion on the ways to make the perfect Keeravadai! This recipe also found its way into my ever-expanding lists of "to-try items" from a friend who was reeling off her amma's and paati's takes on the Arisi Upma, the lesser known southern cousin of the now ubiquitous Rava Upma!

     With her half-baked recipe floating around my head, I had to resort to the above mentioned methods to come up with a good enough source which I could safely mix and match with what I had in mind. Like I always do, after collecting one recipe from a Mallika Badrinath cook book, another from Samaithu Paar, and three more from the internet, I took the best mix of ingredients and proceeded with my own made-up recipe, which is what you are going to be treated to today!

ARISI UPMA (Serves 2-3)
Set-up Time :  10 minutes
Experiment Run-Time : 20 minutes

The Shopping List

          Set 1: Upma Base
          Raw Rice : 1 Cup
          Toor Dal (Red Gram/Split Pigeon Peas) : 1/4 Cup
          Cumin Seeds : 1 Tbsp
          Whole Peppercorns : 3/4 Tbsp
          Grated Coconut : 1/2 Cup (Fresh Preferred)

          Set 2: Seasonings
          Ginger : 1 inch piece, finely minced
          Asafoetida : 1/4 tsp
          Mustard seeds : 1 tsp
          Red Chilies : 4, broken
          Curry Leaves : a strand or two
          Urad Dal (Black Gram) : 1 Tbsp (It is yummy, so I used 2)
          Vegetable Oil : Sufficient to sauté the above
          Coconut Oil : 1 Tbsp
          Ghee : 1 Tbsp
          Salt : Adjust to taste

Methodology

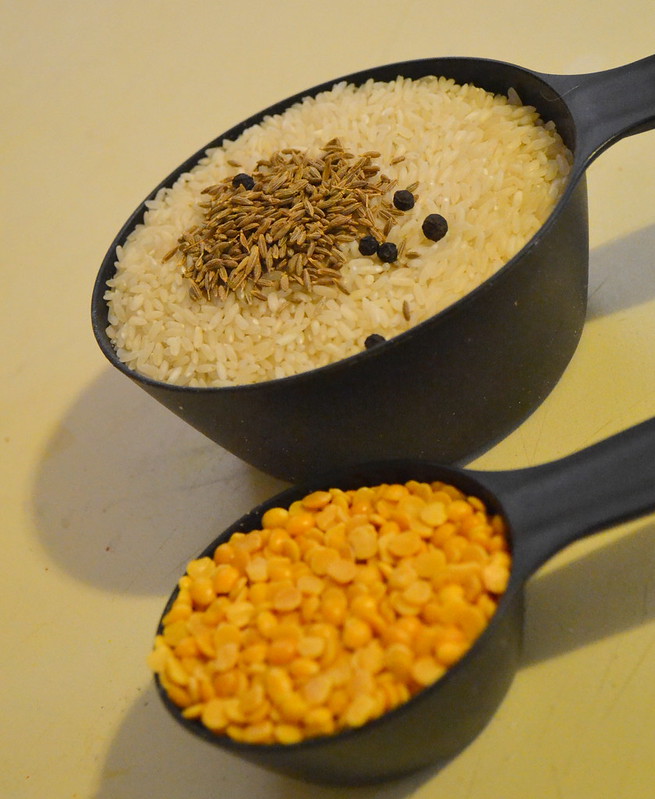
1. Place all the ingredients from Set 1, except the coconut, in a Mixie jar. I used the one which is often dubbed the 'Chutney Jar' back home. It is usually the smallest of the jars and (according to me) is the best way for grinding dry ingredients.


AU3

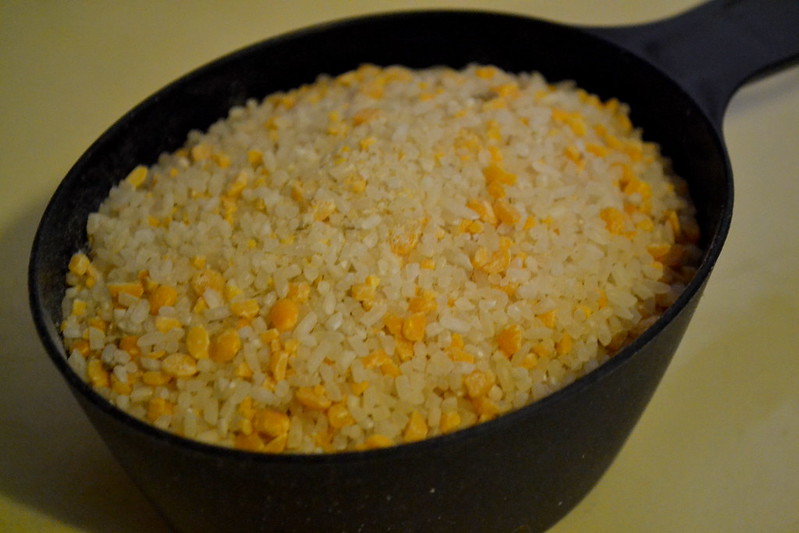
2. Run the Mixie, intermittently on the pulse mode, a couple of times, until you get a coarse powder of dal and rice. If you grind it to a fine powder, then better luck next time. You will not be making any Arisi Upma today.


AU5

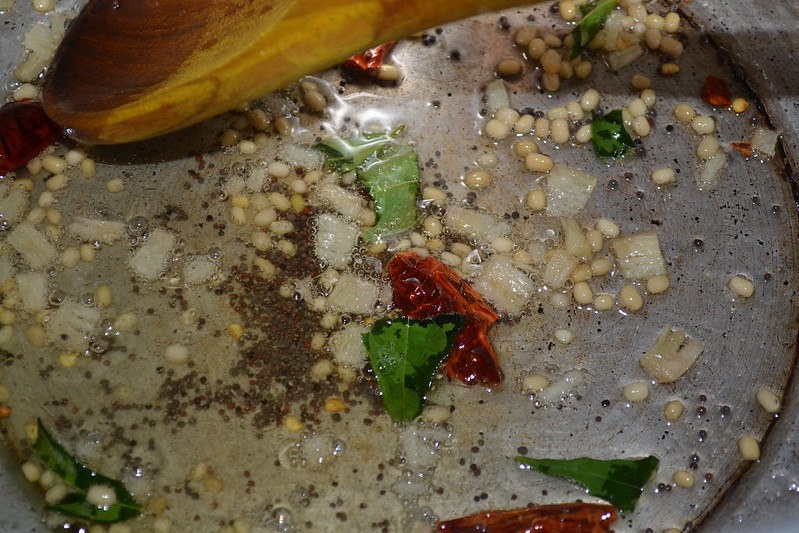
3. Set a pressure cooker on the stove. Heat the Vegetable oil on a medium flame and add the mustard seeds. Once they crackle, add the ginger, red chilies, curry leaves, Urad dal and asafoetida. Stir them around until the Urad dal takes on a reddish-brown hue. 


AU4

4. Immediately add the grated coconut and give a few swift stirring strokes. 


AU6

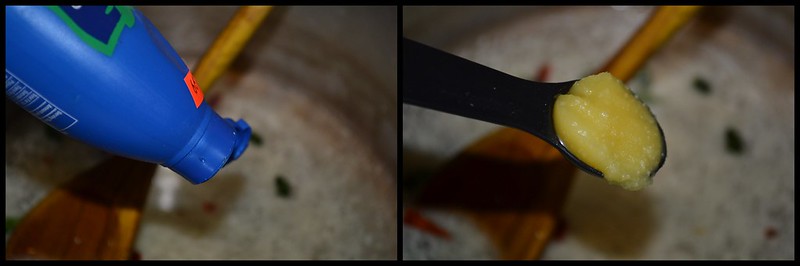
5. Now is the time to squeeze in the coconut oil (Oh yes! I use good old Parachute) and the generous tablespoon of ghee. They are some healthy fats, so let's not worry much here!

Arisi Upma

6. Finally, add the rice-dal-cumin-pepper powder, 3 cups of water, salt and close the pressure cooker.

AU7

7. Cook on a medium flame until you hear three whistles. Switch off the stove. Patience now! Once the pressure is released, you can dole out individual portions which may optionally be topped with more ghee (yumm!)


AU1

I served the Arisi Upma with my mother's special Urad Dal-Tamarind Chutney. I have also eaten it with Tomato Chutney, Aavakkai Pickle and Kaarakuzhambu. Each combination, I must say, is worthy of it's own poem, story and memory. 

Arisi Upma is a simple, fuss-free, breakfast masterpiece which I love to make during the winter months. After I wrap myself with a nice warm comforter, all it takes is a book and a plate of hot Arisi Upma to knock off a few hours from a gloomy Sunday. Hope you find it just as comforting as I do!

Thursday, May 15, 2014

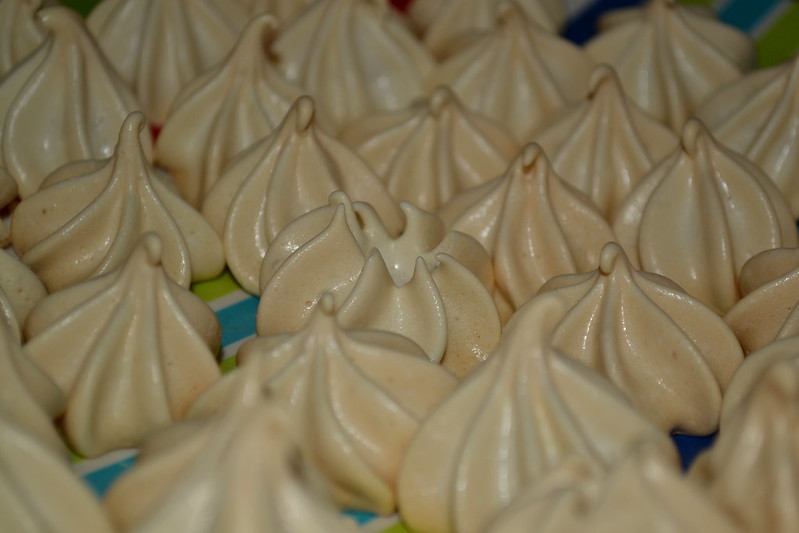
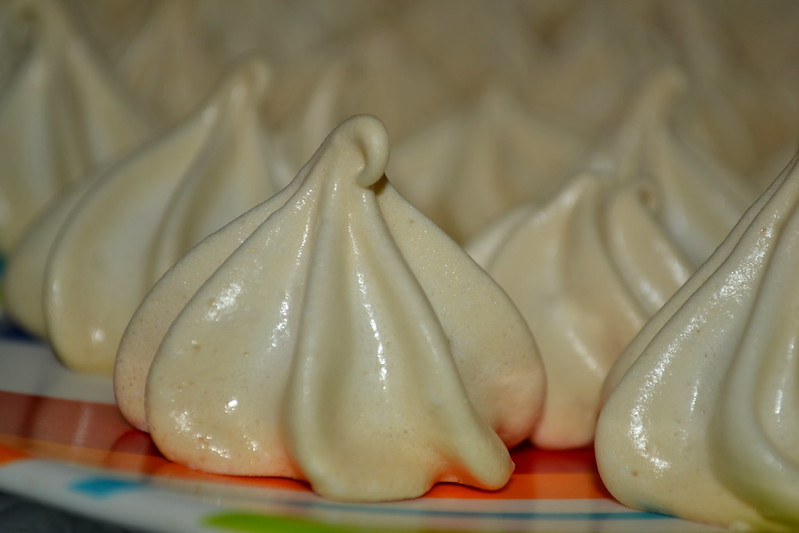
Vanilla/Mocha Meringues - Some French Miracles!


So, last week, I took up a sort of unofficial decision, that I would bake something new every weekend. It could be anything, from something as simple as a cookie to something as elaborate as a multi-tier cake. Yes, it is going to be a hassle, and yes it is going to take a toll on my diet, but hey! Why are friends there for? One Whatsapp message and you have a clean tray 30 minutes later. So I get the double satisfaction of baking an exciting dish and still keeping to the limits of my latest diet-fad.

Last Saturday, I went to bed at 4:30 in the morning and got up at 9:30. Having no mood to go to the university, I decided that it would be the ideal time to bake, as none of my room-mates were at home either. A quick scroll through some famous and not-so-famous cooking sites, and presto, project for the day - Meringues. They are similar to our Thoothukudi Macaroons without the cashews, with a uniform crispness throughout, and are an integral part of French and Swiss cuisine. For around half an hour, I was carried off by the chemistry behind meringue formation and totally forgot that I was looking to cook a dish and not teach advanced courses on protein denaturing and stabilization. Nevertheless, it did not take me too long to notice that in each of these blogs, the notes/tips following the recipes were larger than the recipes themselves. The list of do's and don't's, common mistakes and suggestions to volumize the egg-whites are long enough to fill separate chapters. But again, what dare discourages an ardent experimenting cook?  None but the self!

At the end of the day, after an hour of egg-beating and piping out pretty patterns and another two hours of baking, I had around 90 meringues on hand, half of them vanilla flavored and the rest mocha flavored. Three hours later, they were gone, equally shared between seven eager tummies! And it was not hard at all!

VANILLA/MOCHA MERINGUES (serves 7-8)
Set-up Time :  45 minutes
Experiment Run-Time : 2 hours

The Shopping List

          Set 1: Meringue Base
          Eggs : 4 large
          Salt : A pinch
          Confectioner's Sugar : 3/4 cup

          Set 2: Flavoring
          Vanilla Essence : 2 tsp
          Cocoa Powder : 3 Tbsp, Dutch Processed
          Nescafé Instant Coffee Powder : 1 Tbsp

Methodology

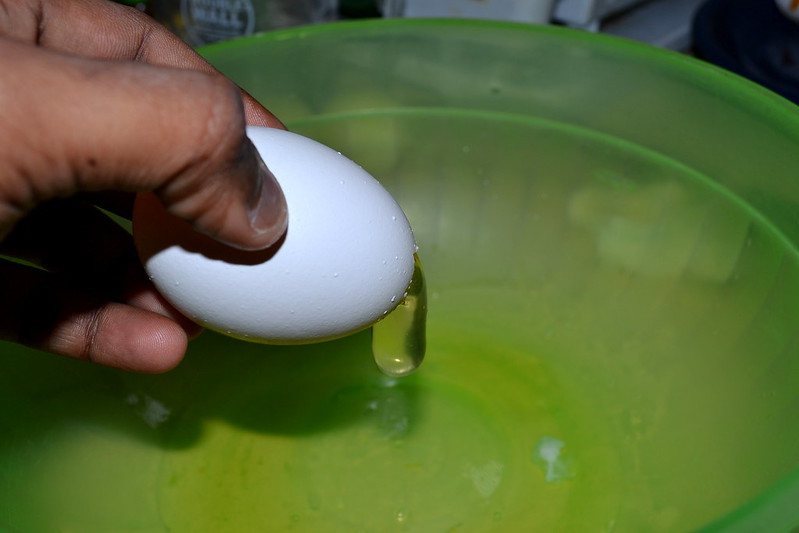
1. The first and the most important step in making Meringues is to get pristine egg-whites. Not a drop of yellow yolk. Chemically, the fats in the yolk hinder the formation of stiff peaks. Therefore, the greatest care is used to obtain the whites. I usually crack a small hole on the top end of the egg and pour out the whites gently, retaining the yolk within the shell. Sometimes, I break the egg onto a plate and use an empty plastic bottle to suction out the yolk. Either way, make sure you get only the whites of the four eggs into a large mixing bowl.

DSC_0643

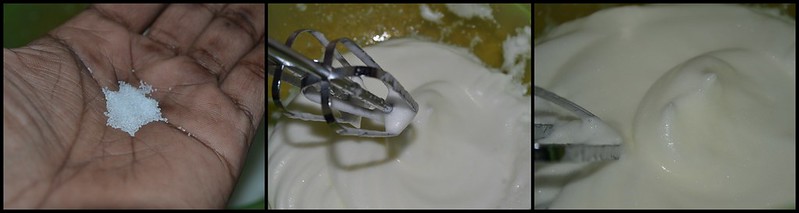
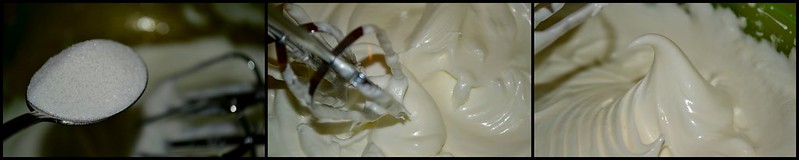
2. Add the salt to the egg whites and start to whisk the whites with an electric beater at medium speed. The salt helps to stabilize the peak formation. Many people use cream of tartar or vinegar for the same purpose but that may give a funny taste to the meringues, so I stuck with salt. Continue to whist the whites until it forms soft foamy peaks. It usually takes about five minutes.

Meringues1

3. This step is a very good test to measure your patience. Once the foamy peaks are formed, start adding the sugar, one teaspoon at a time, whisking for about 10-15 seconds between each addition. You have to make sure every batch of sugar is completely dissolved before the next is added. 

As you proceed you will see the mixture increasing in volume because of the air being incorporated by the whisking process. Continue till the entire 3/4 cup of sugar is done. Beat continuously until stiff peaks are formed when you remove the whisk from the batter.

Meringues3

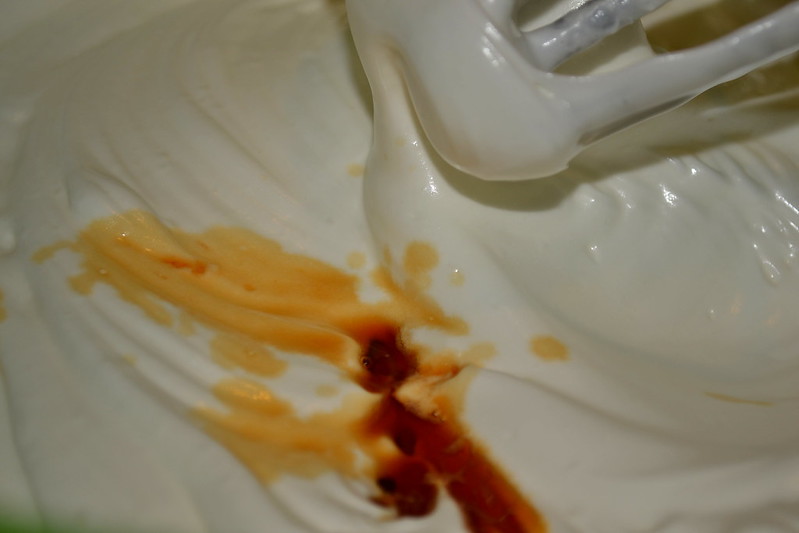
4. Now add the vanilla essence and whisk for an additional 30 seconds. Divide the meringue into two equal portions.

DSC_0655

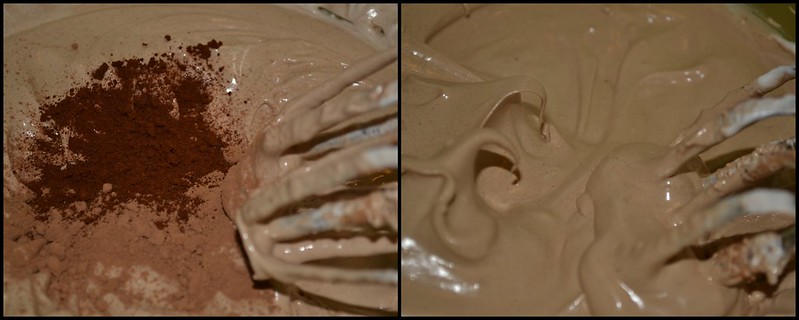
5. To the second portion of the meringue mixture, add the cocoa powder and coffee powder in small increments until they are well incorporated and stiff peaks are formed. At this stage, it is very tempting to take some meringue and taste it. Go ahead and indulge - a little raw egg whites did no one any harm! 

Meringues4

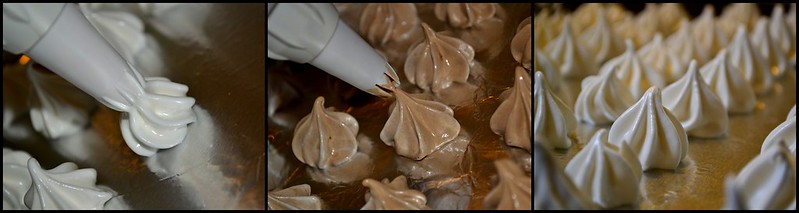
6. Now comes the next testing part. Line two baking trays with aluminum foil and grease it up with very little butter. Fill the meringue mixture into an icing cone or a small ziploc bag with a nipped tip. With the help of a star shaped nozzle, pipe out small meringues directly onto the tray. I used a cupcake decorating set gifted by a friend and reduced the mess substantially. Each tray could accommodate about 45 meringues.

Meringues5

7. Preheat the oven to 200 °F and place the meringue trays into the oven. Bake undisturbed for 1.5 hours or until the meringues are hard to touch. I browned the white macaroons a little but try not to do so. They are supposed to remain as white when they come out as when they went into the oven.

8. Cool the muffins on a wire rack for fifteen minutes and carefully pick them off the tray. They are sticky little monsters and refuse to come off the baking trays without a little fight, but never give in.

DSC_0673

9. Store them in airtight containers and serve with some hot chocolate for some evening fun! 

DSC_0675

Airy, crunchy, and super yummy, the meringues were undoubtedly a success. So much so that I have already done sufficient research into other possible flavorings that may be incorporated. Care has to be taken so as to not use too much of oil-infused flavorings as they would impede the stiff peak formation. Right now, I have strawberry, pistachio, mango, dark chocolate and several other ideas in my little head. Research is also on to find the best recipe to duplicate the perfect Thoothukudi Macaroon. After all, it is just one step further than these meringues. But for now, you can try this super simple recipe and bask in the meringue's crunchiness, without going anywhere near Paris.