My association with Poha is almost as old as my relationship with Cincinnati. A room-mate of mine used to make it so often that it often made me wonder about the charm that it beheld to its loyal followers. I tasted it often, but my unforgiving southern tongue failed to register anything below a five-figure Scoville index, until I decided to take matters into my own hands. A dash of chili powder and a few extra green chilies were all that it took to turn my heart around, completely. Today, Poha has a permanent place on my very cluttered kitchen shelf, fighting for its rightful place among tall jars of dals, rava, countless masala powders and rice. I use it ever so often, not only for preparing its famous namesake, but also for a variety of kheers, sweets and laddus (yes, laddus!).
Poha is a favorite breakfast item in traditional Gujarathi and Marathi households and needless to say, some of the best versions of Poha that I had come across came from tiny kitchens and roadside restaurants in Shirdi and Pune. They are a delight with each mouthful, filling and still manage to score high on the health index (or so continue to I believe). My own Poha recipes keep changing with my mood. Sometimes I add fresh vegetables like peas and carrots, while often, when I am running short of time, it is just the plain old version with zero additional frills. The spices I use keep changing, as do the ways in which the veggies are cooked. However, the spirit remains the same as also the does the feeling of eating something so simple yet elegant. The recipe below is what came out of my mind on a lazy Sunday afternoon, when my room-mate had just strolled into the kitchen, hair tousled and eyes partially open, with hopes of piping hot food.
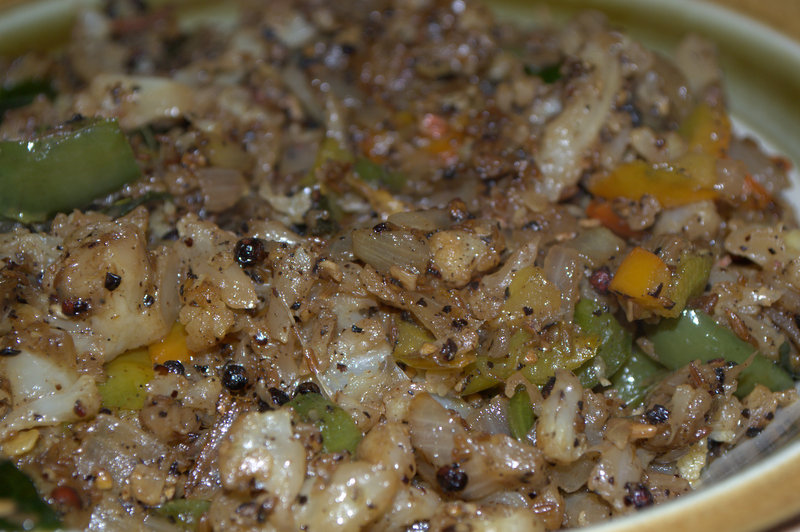
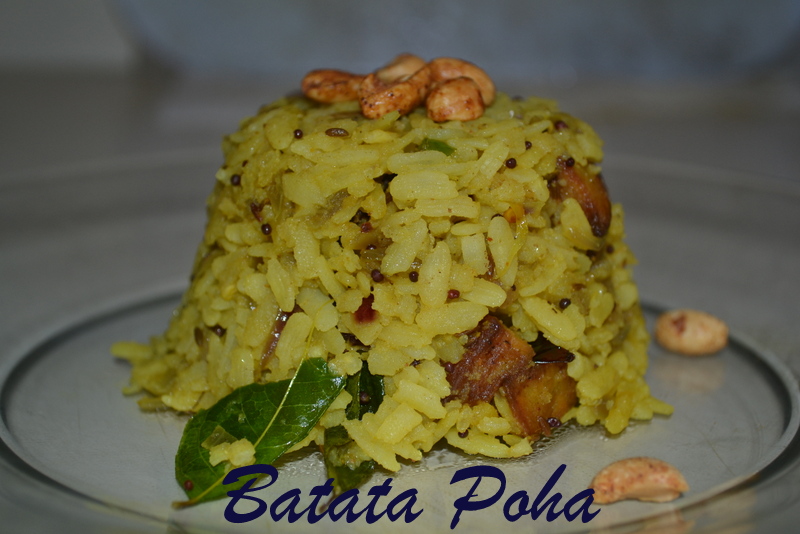
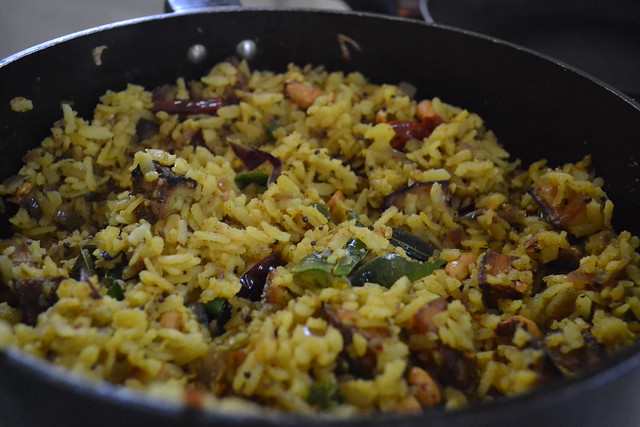
BATATA POHA (Serves 2-3)
Set-up Time : 15 minutes
Set-up Time : 15 minutes
Experiment Run-Time : 15 Minutes
The Shopping List
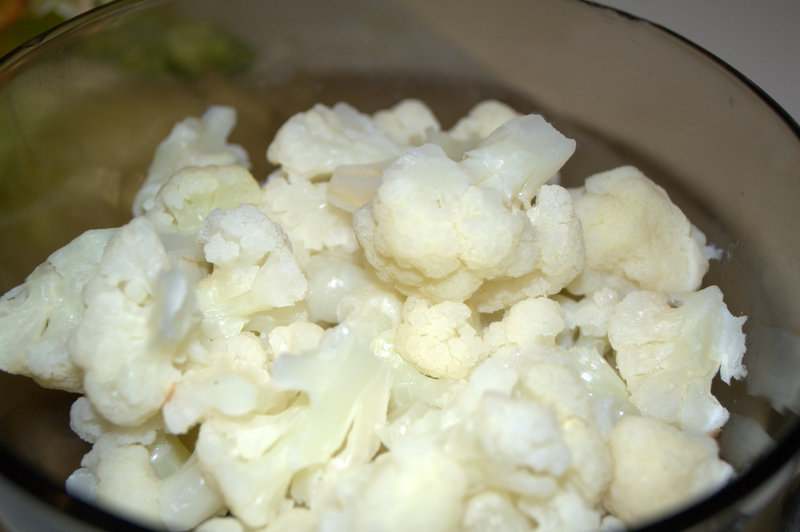
Set 1: Soak-Together
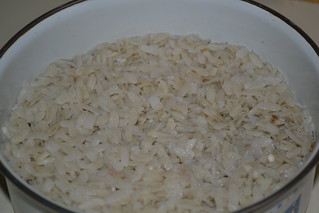
Thick Poha/Aval (Flattened Rice) : 2 cups
Thick Poha/Aval (Flattened Rice) : 2 cups
Water : 3 cups
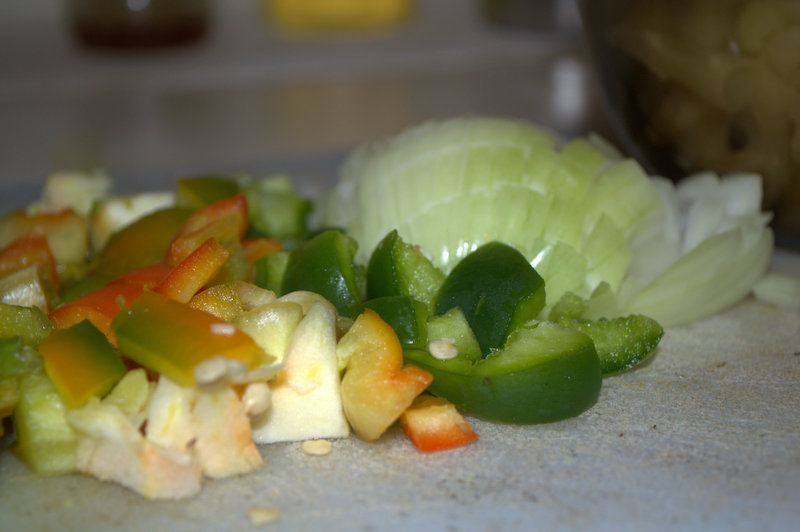
Set 2: Chop-Chop
Onion :1 medium, cut lengthwise- medium thick strands
Green Chilies : 5, cut into rounds
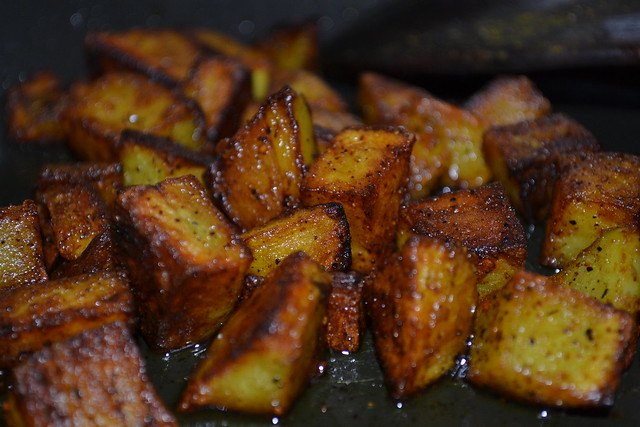
Potato : 1 big or 2 small, cut into half-inch cubes
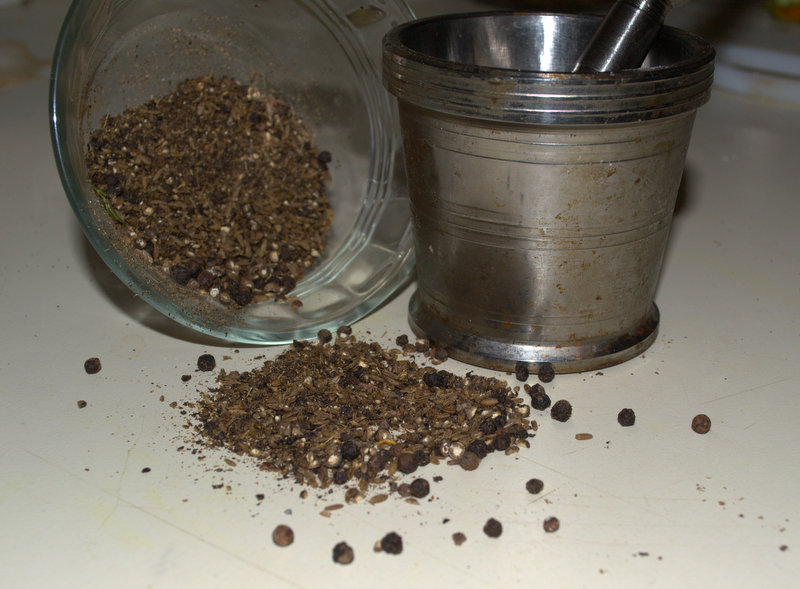
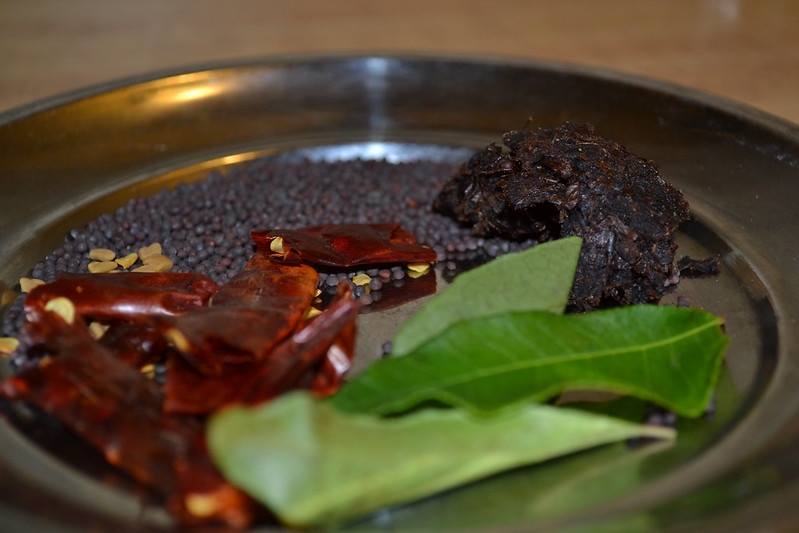
Set 3: The Flavorings
Mustard Seeds : 1 tsp
Cumin Seeds : 1 tsp
Mustard Seeds : 1 tsp
Cumin Seeds : 1 tsp
Red Chilies : 2, broken
Curry Leaves : a strand or two
Turmeric Powder : 1 tsp
Red Chili Powder : 1/2 tsp
Coriander Powder : 1 tsp
Lemon Juice : 2 Tbsp
Roasted Peanuts : a fistful or as much as you like
Turmeric Powder : 1 tsp
Red Chili Powder : 1/2 tsp
Coriander Powder : 1 tsp
Lemon Juice : 2 Tbsp
Roasted Peanuts : a fistful or as much as you like
Vegetable Oil : 2 Tbsp + 2 Tbsp
Salt : Adjust according to taste
Methodology
1. Soak together the ingredients in Set 1 for 15 minutes or until the Poha has absorbed most of the water. Drain and keep aside.
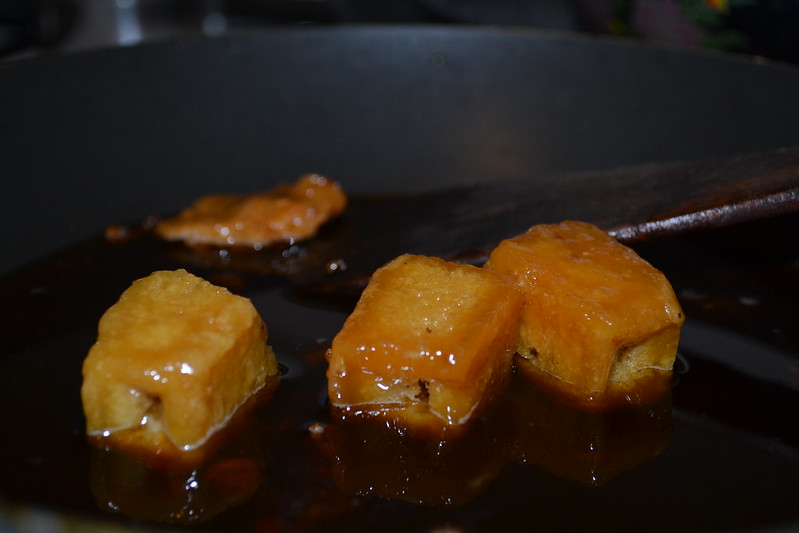
2. In a shallow pan, pour 2 Tbsp of oil and once it is heated, carefully add the potato cubes. Sprinkle with salt, red chili powder and coriander powder. and sauté the potatoes until they are evenly coated with the powders. Continue to cook them on the pan, turning the pieces occasionally, until all of them achieve a uniform roasted-brown shade. Transfer to a paper-towel lined plate and keep aside.
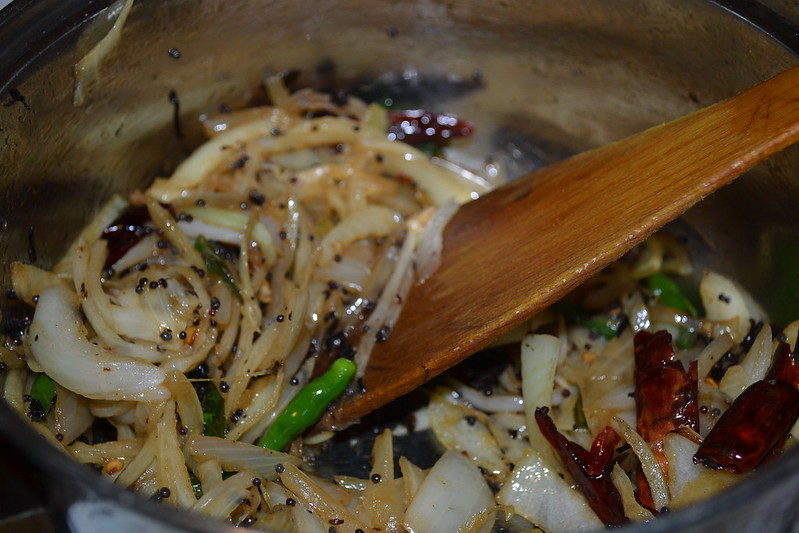
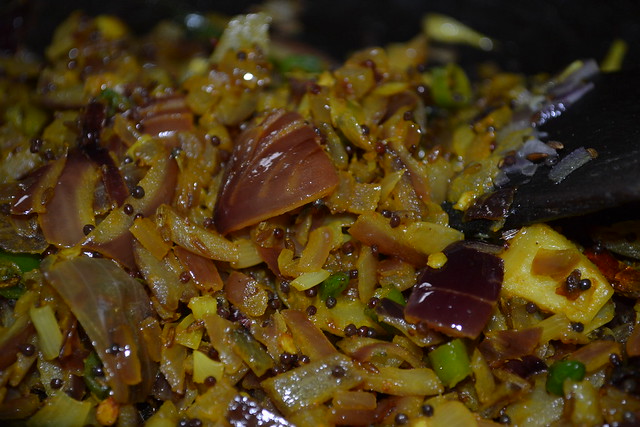
3. In a deeper pan, pour in the remaining oil. When it reaches its smoking point, throw in the mustard seeds, cumin seeds, red chilies and curry leaves and allow them to start popping. At this stage, add the chopped onions, green chilies and slat and cook on until the onions achieve a transparent appearance.
4. Its now about time to give the fried potatoes a good pat with paper towels, to remove excess oil, and transfer them to the cooking pan.
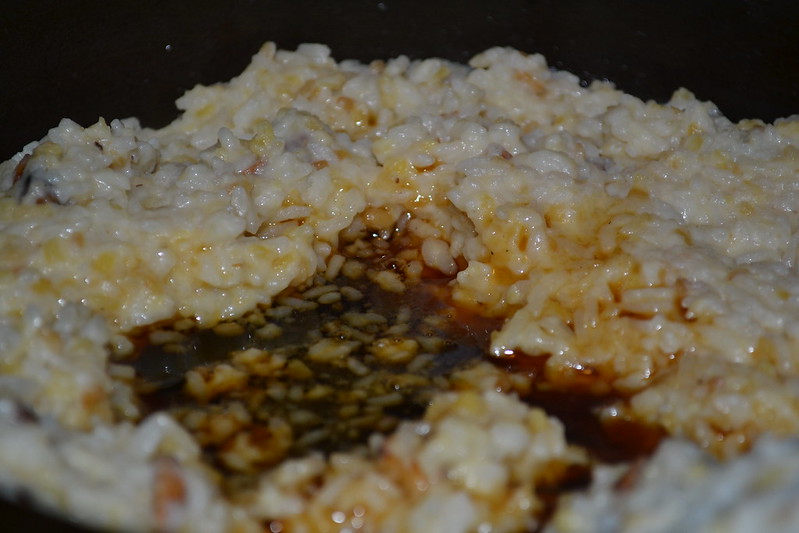
5. Very carefully, add the soaked Poha, a little at a time, interspersed with quick strokes from your wooden spatula to mix them together. Try not to break the Poha as you stir the mixture together. Any residual water in the Poha will evaporate in the first few minutes. So, make sure to turn the heat off when all the water evaporates, else the Poha may burn.
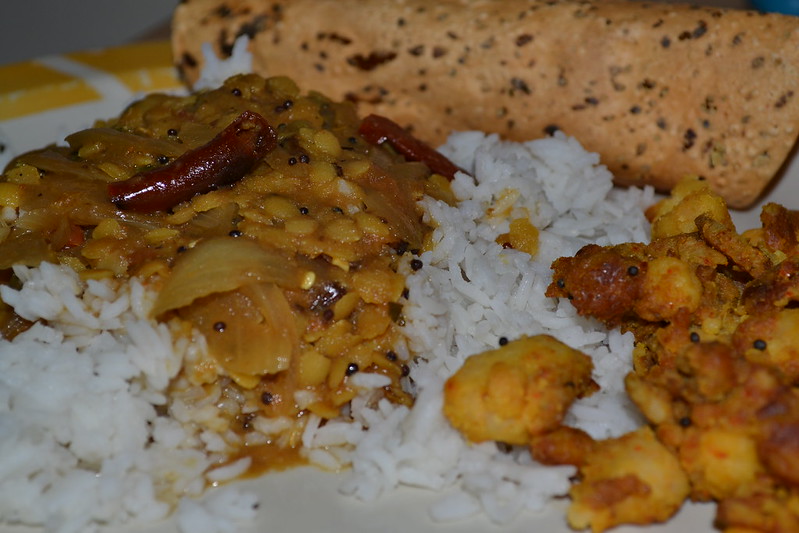
6. Just before transferring to a serving dish, sprinkle the Poha with lemon juice and peanuts. Give a quick toss or two to distribute the added ingredients and serve immediately.
Hot Poha is real good, but so is the one that I eat at school during lunch, after it has remained in my box for a couple of hours. I love to pair it up with some crunchy snacks like chips, kurkure and the likes. I have also tried it with raitha, chutney and pickle and it has never let me down. Looks like the possible combinations are limitless in number, and I am going to try them all, even if it takes me to the end of eternity.
2. In a shallow pan, pour 2 Tbsp of oil and once it is heated, carefully add the potato cubes. Sprinkle with salt, red chili powder and coriander powder. and sauté the potatoes until they are evenly coated with the powders. Continue to cook them on the pan, turning the pieces occasionally, until all of them achieve a uniform roasted-brown shade. Transfer to a paper-towel lined plate and keep aside.
3. In a deeper pan, pour in the remaining oil. When it reaches its smoking point, throw in the mustard seeds, cumin seeds, red chilies and curry leaves and allow them to start popping. At this stage, add the chopped onions, green chilies and slat and cook on until the onions achieve a transparent appearance.
4. Its now about time to give the fried potatoes a good pat with paper towels, to remove excess oil, and transfer them to the cooking pan.
5. Very carefully, add the soaked Poha, a little at a time, interspersed with quick strokes from your wooden spatula to mix them together. Try not to break the Poha as you stir the mixture together. Any residual water in the Poha will evaporate in the first few minutes. So, make sure to turn the heat off when all the water evaporates, else the Poha may burn.
6. Just before transferring to a serving dish, sprinkle the Poha with lemon juice and peanuts. Give a quick toss or two to distribute the added ingredients and serve immediately.
Hot Poha is real good, but so is the one that I eat at school during lunch, after it has remained in my box for a couple of hours. I love to pair it up with some crunchy snacks like chips, kurkure and the likes. I have also tried it with raitha, chutney and pickle and it has never let me down. Looks like the possible combinations are limitless in number, and I am going to try them all, even if it takes me to the end of eternity.