
Back at home, as we grew up, certain celebrations were never complete without exotic cakes. Be it a birthday, an engagement, a wedding, a felicitation or the dozen anniversaries, cakes were an integral part, though not in the strictest traditional manner. And certain cakes were always more preferred than the others. At home, people were unreasonably biased towards the Pineapple Creme, the Triple Chocolate Truffle, the Genoise, the Red Velvet and of course, the hands-down favorite : the Black Forest cake, also referred to as the Black Forest Gâteau, due to its undeniable rich, creamy, melt-in-the-mouth experience.
Therefore, when I was shipped off to the other side of the world, my hopes were pretty high that the Cakeland adventures would continue to unfold on an all-the-more grander scale. Big time FAIL. There proved to be absolutely no signs of my favorite pastries and cakes, and the occasional rare ones that I did manage to stumble upon required that both the eater and the eaten be loaded; the former with dough and the latter with enormous amounts of cream and fat. Hence, we bought nondescript cakes from the supermarket bakery for friends' birthdays, and so very often, fearing the diabetes-inducing-cream more than the cost, tricked the birthday buddy with a single cupcake (which would comfortably feed a party of five anyway). But, that was not enough for Mr. I-am-a-Gourmet Graduate. I had to keep my cake-tooth alive and kicking, and that's when all the baking started. Two years down the line, the efforts clearly show, and I try very hard to make sure that they do.
So, a few days ago, when we were planning a low-key birthday celebration for the person who is my longest-lasting friend, roomie and sous-chef in the US, I could find no better occasion to put all my efforts into the third attempt at making the perfect Black Forest. A favorite German dessert, the traditional Schwarzwälder Kirschtorte, as it is called in its native place, consists of several layers of chocolate cake soaked in Kirsch (a cherry derived liquor), whipped cream, cherries and chocolate shavings. Every mouthful is a new revelation.
It took four hours, a load of cream and a lot of patience to achieve the final product; an effort that was worth every drop of sweat (Well, not exactly. It is freezing here). Unfortunately, I couldn't use the Kirschwasser, as I had to keep the cake alcohol-free, and hence, it technically cannot be called a Kirschtorte. But it was just as heavenly, all the same (You can ask the birthday boy for the attestations). To me it was next best to what you can get at the Hot Breads bakery, 5 minutes from my house at Kilpauk, in Chennai.
BLACK FOREST GÂTEAU (Serves 4)
Set-up Time : 15 minutes + 20 minutes + 10 minutes
Set-up Time : 15 minutes + 20 minutes + 10 minutes
Experiment Run-Time : 60 minutes baking + 60 minutes cooling
Aesthetics : 15-30 minutes depending on skills
Aesthetics : 15-30 minutes depending on skills
The Shopping List
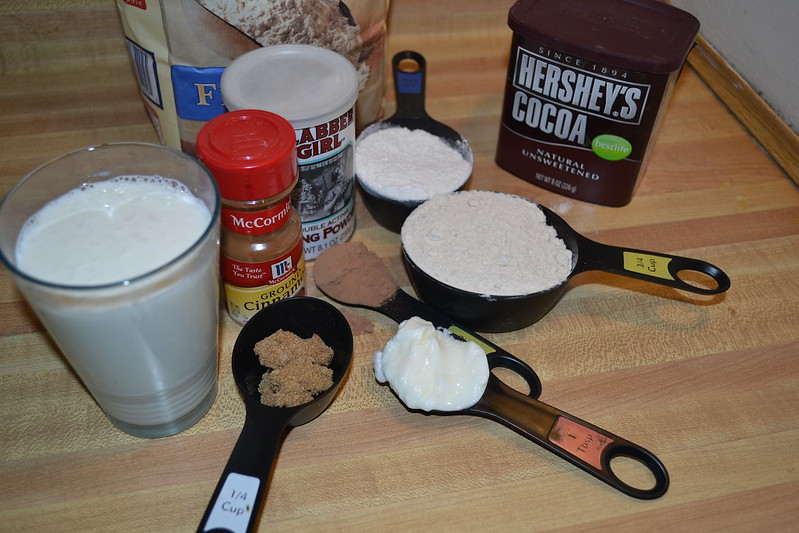
Set 1: The Cake
All Purpose Flour : 1.5 cups
Unsalted Butter : 1 stick
Eggs : 2 large (or) 3 small
Sugar (Brown preferred) : 1 cup(packed)
Granulated Sugar : 1/2 cup
Cold Milk : 3/4 cup
Cocoa Powder (Dutch process) : 3/4 cup
Vanilla Extract : 1.5 tsp
Baking Soda : 1/4 tsp
Baking Powder : 1/2 tsp
All Purpose Flour : 1.5 cups
Unsalted Butter : 1 stick
Eggs : 2 large (or) 3 small
Sugar (Brown preferred) : 1 cup(packed)
Granulated Sugar : 1/2 cup
Cold Milk : 3/4 cup
Cocoa Powder (Dutch process) : 3/4 cup
Vanilla Extract : 1.5 tsp
Baking Soda : 1/4 tsp
Baking Powder : 1/2 tsp
Set 2: Kirsch Replacement
Cherry Syrup : 1/3 cup (From a can of Maraschino cherries)
Coffee Powder : 1 tsp
Set 3: The Best-Part
Maraschino cherries : a dozen,
(removed from syrup and thoroughly rinsed)
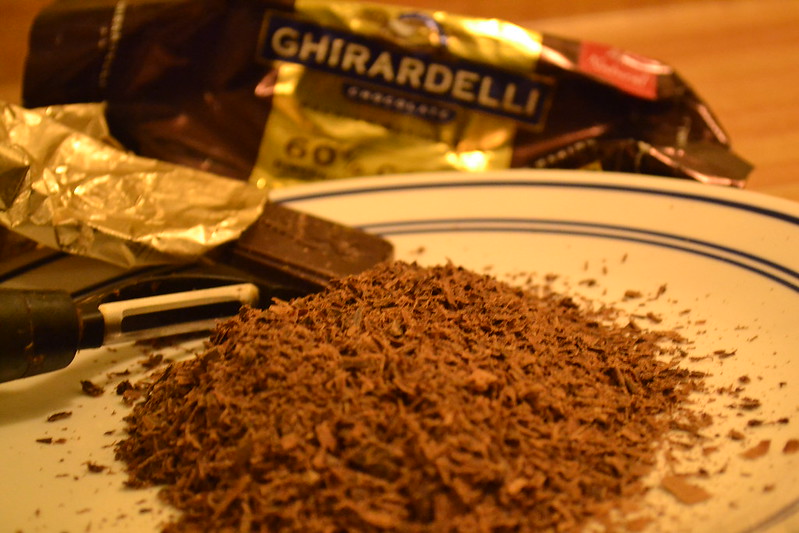
Dark Baking Chocolate : 3 oz bar
(I used Ghirardelli's Semi-Sweet Baking Chocolate)
Methodology
a. The Cake
1. Grease a 9 X 5 X 3 loaf pan with butter and dust with flour. Preheat the oven to 350°F.
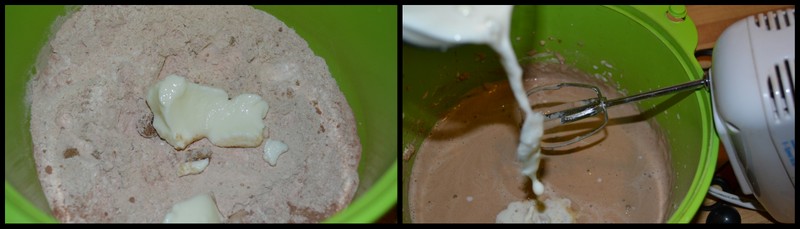
2. In a large mixing bowl, cream the butter until it is fairly soft. Add the sugars gradually, whisking at medium speed, followed by the eggs, milk and vanilla extract.
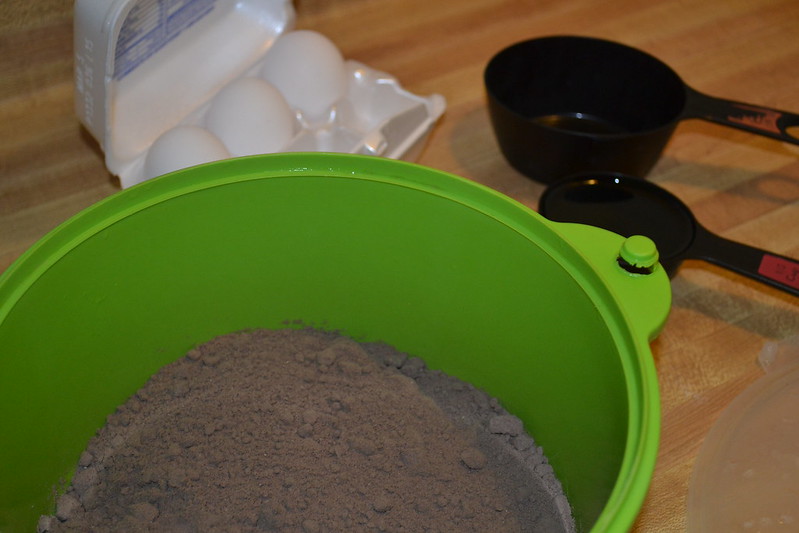
3. Place the flour, brown sugar, granulated sugar, baking powder, baking soda and cocoa in another mixing bowl and whisk gently until combined.
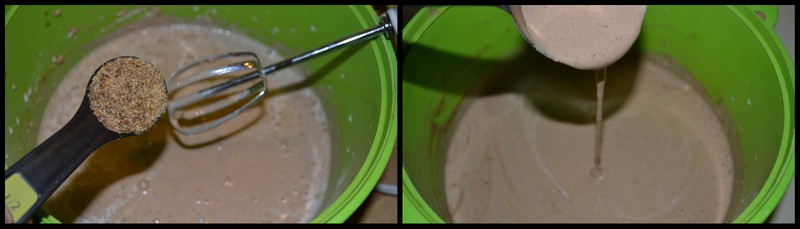
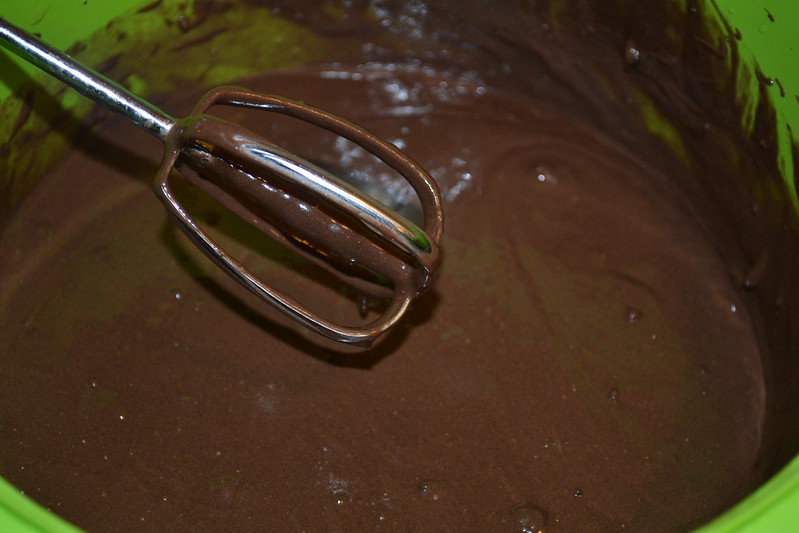
4. Add the dry ingredients to the wet ingredients, whisking continuously until they are well blended and evenly moistened.
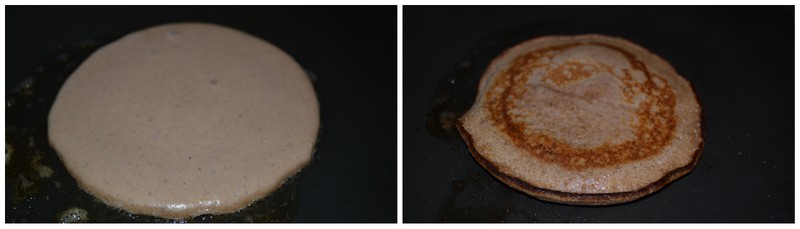
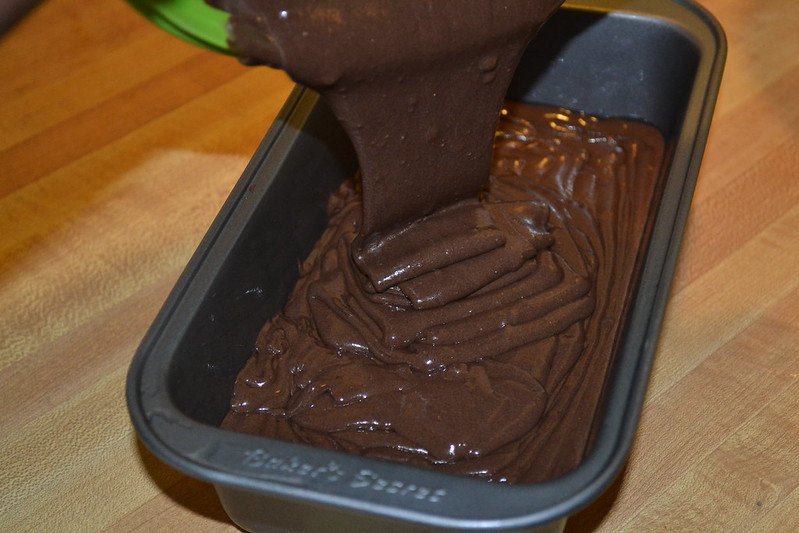
5. Pour into the prepared loaf pan and bake in the oven for 60 minutes, until a knife inserted at the center of the loaf comes out clean. Remove onto the cooling rack and allow it to cool for 30 minutes.
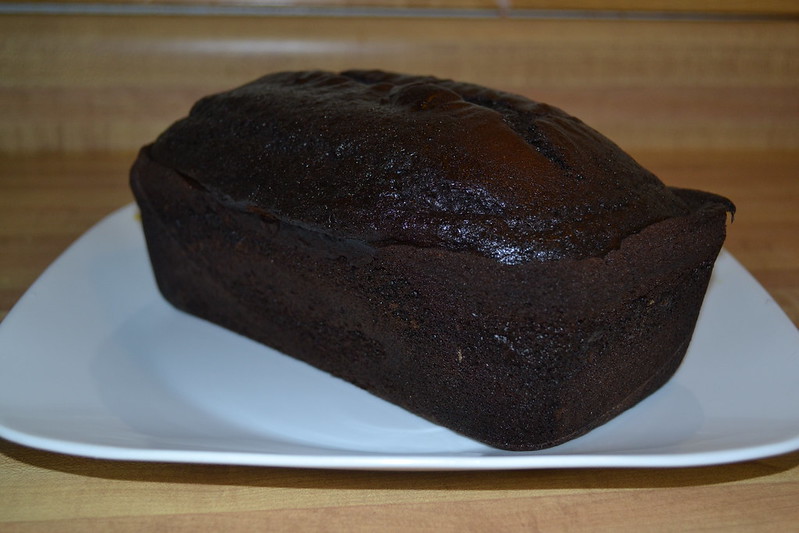
6. Carefully remove the cake from the pan and allow it to cool for an additional thirty minutes. This way the cutting would be easier and a lot less messier.
b. Kirsch Replacement
1. Dissolve the coffee powder in a 1/4 cup of hot water.
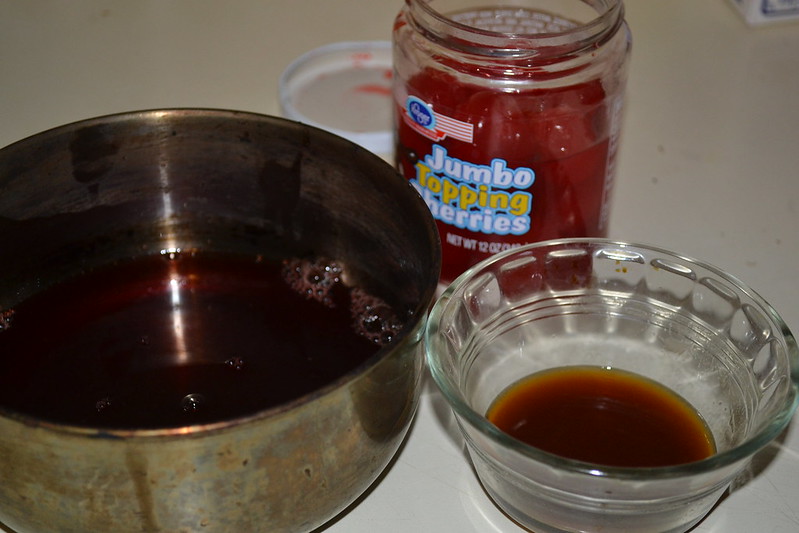
2. In a pan combine the cherry syrup and the coffee solution and allow it to come to a boil.
3. Remove from heat and cool the syrup to room temperature
c. For the Topping
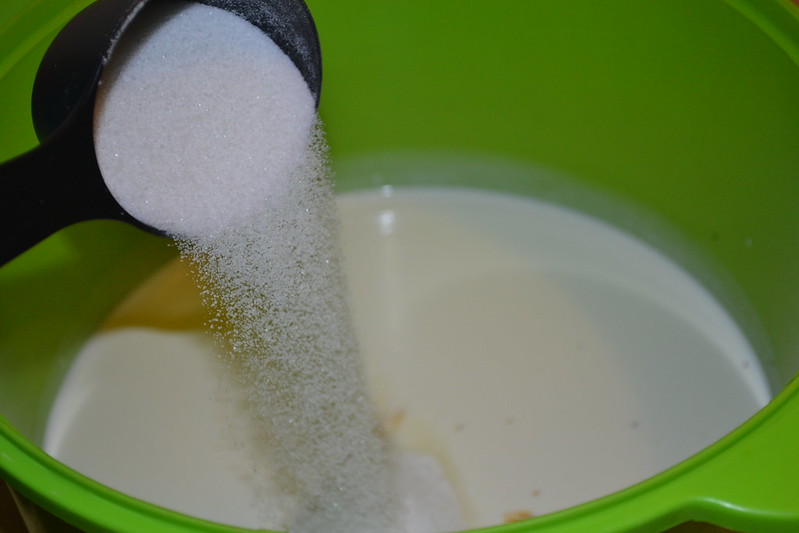
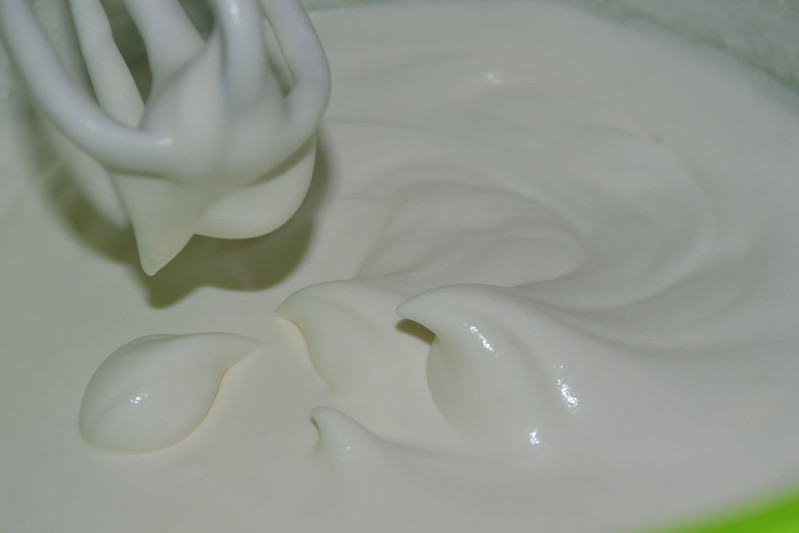
1. In a mixing bowl, place the sugar, the vanilla essence and the heavy cream.
2. With the help of an electric mixer, whisk the cream continuously until stiff peaks are formed. The colder the cream, the sooner it will reach this consistency. I took a whole 20 minutes to reach this stage. Something was not right with either the cream or my watch.
3. Divide the whipped cream into four equal portions and refrigerate until ready for assembly.
4. Drain the cherries fro the syrup and wash them several times in cold water. I prefer them to be devoid of the cherry syrup, which may impart a medicinal flavor to the cake if used in excess.
5. Roughly chop 8 of the cherries and cut the rest into halves. Refrigerate until ready for assembly.
6. Grate the baking chocolate (a potato peeler works amazingly well) onto a clean plate and refrigerate immediately
d. Assembly
1. With a long serrated knife, remove the top and sides of the cake until you are left with a rough cuboid. Save the cake crumbles for a quick dessert that I would be posting soon.
2. With the help of the knife, cut the cake into two horizontal layers. You may attempt to do three, but the slices may them become too thin.
3. Place the bottom layer on the cake tray/pastry stand. I secured it to the bottom of an aluminum foil covered board with the help of a small amount of whipped cream.
4. Generously brush the Kirsch replacement over the bottom layer of the cake. Be careful not to overload the cake with the syrup. Around 3-4 tablespoons should suffice.
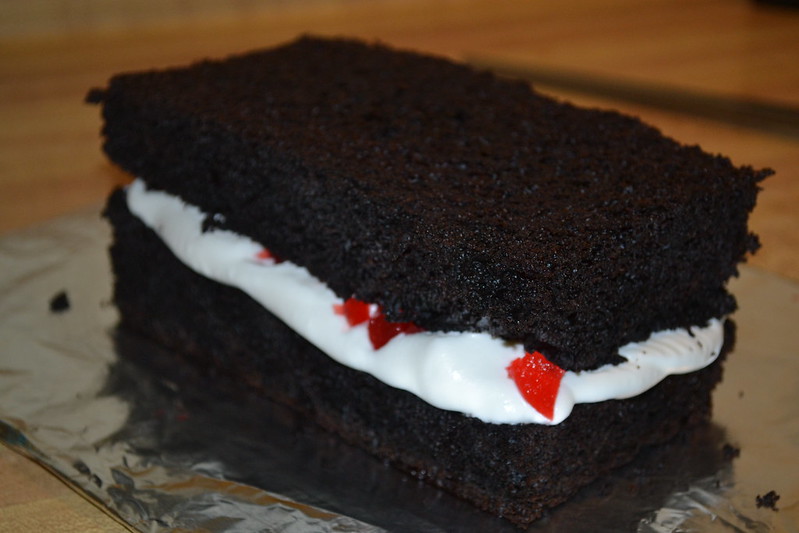
5. With a spatula, spread one portion of the whipped cream on the bottom layer.
6. Sprinkle with the chopped cherries.
7. Place the second layer on the first one and repeat steps 4 and 5.
8. Use the third portion of the whipped cream to evenly coat the sides the cake. I found this a bit tricky and it really helps if the cream is cold.
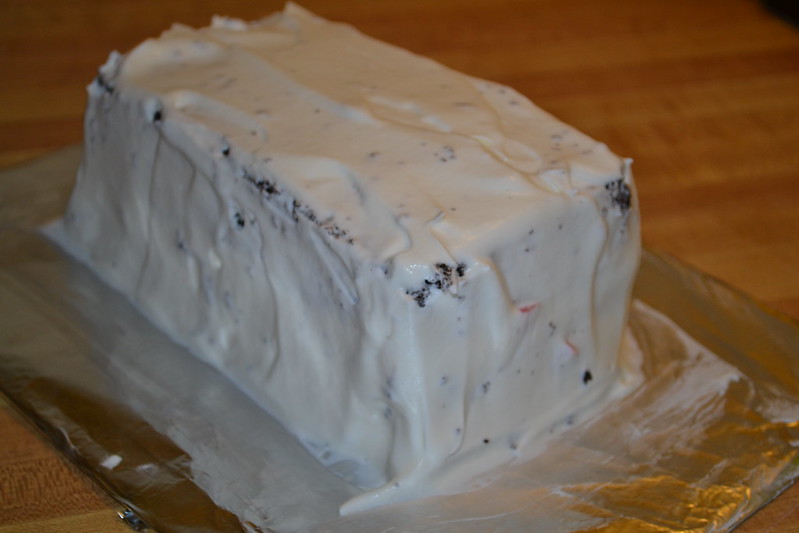
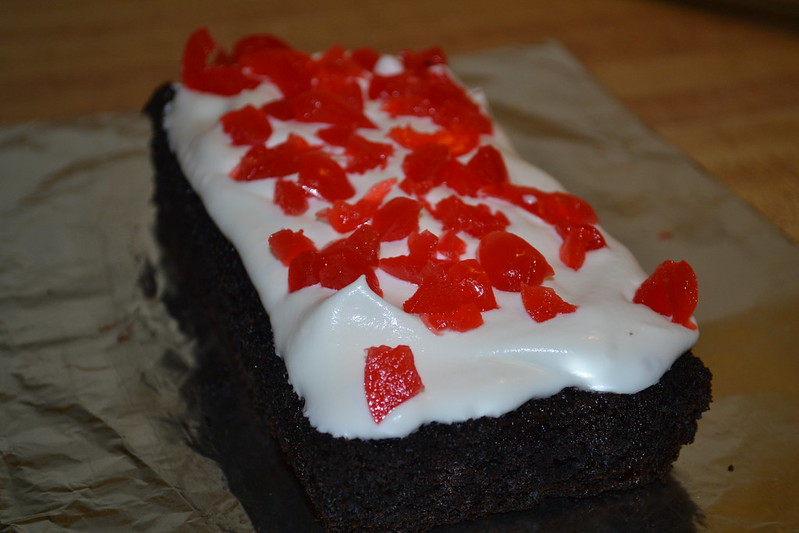
9. Pour the final portion of the whipped cream into an icing bag and pipe small meringues on the top of the cake. Carefully top each meringue with a cherry half.

10. Finally, sprinkle the grated chocolate on the top. I also used a spatula to pat some onto the sides, but this has to be done with caution so as not to disturb the whipped cream covering.
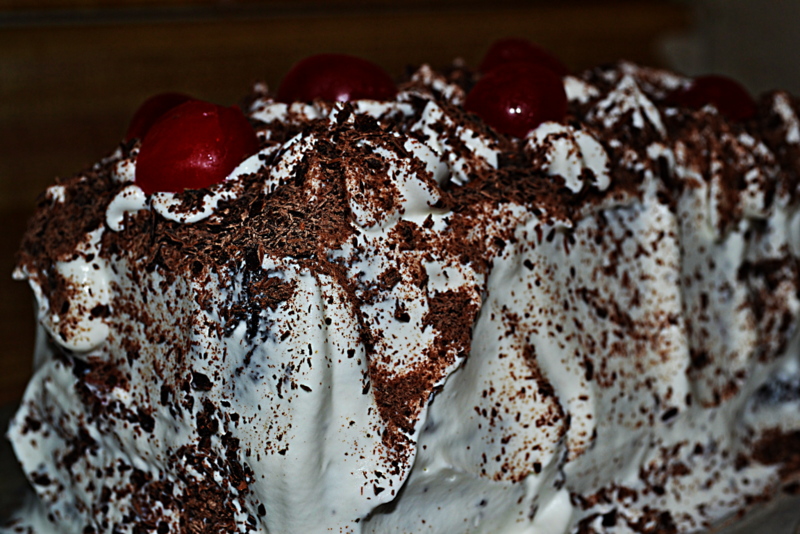
11. Refrigerate the cake for 4-6 hours for the flavors to soak in completely. I froze the cake overnight and thawed it in the refrigerator for 4 hours prior to consumption. It tasted fabulous.
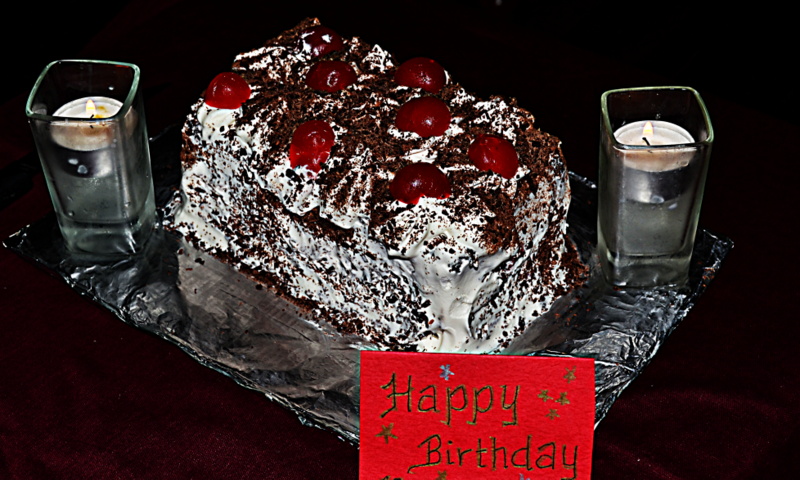
This is what I would consider to be my greatest achievement yet, as a baker. I was on cloud nine, the friends were happy and the birthday babie's face thankfully remained cream-free. I even managed to irritate half-a-dozen people, messaging them pictures of the cake from every possible angle. The cake was a success, and I am going back to it sometime soon, to make it even better. Maybe I will use the actual Kirschwasser or maybe I will try a different substitute. It was even suggested to replace the cherries with strawberries. While that may no longer be a Black Forest Gâteau, I am sure it would be just as much as fun to bake and enjoy!
Coffee Powder : 1 tsp
Set 3: The Best-Part
Heavy Whipping Cream : 2 cups
Vanilla Extract : 1 tsp
Icing Sugar : 1/2 cupVanilla Extract : 1 tsp
Maraschino cherries : a dozen,
(removed from syrup and thoroughly rinsed)
Dark Baking Chocolate : 3 oz bar
(I used Ghirardelli's Semi-Sweet Baking Chocolate)
Methodology
a. The Cake
1. Grease a 9 X 5 X 3 loaf pan with butter and dust with flour. Preheat the oven to 350°F.
2. In a large mixing bowl, cream the butter until it is fairly soft. Add the sugars gradually, whisking at medium speed, followed by the eggs, milk and vanilla extract.
3. Place the flour, brown sugar, granulated sugar, baking powder, baking soda and cocoa in another mixing bowl and whisk gently until combined.
4. Add the dry ingredients to the wet ingredients, whisking continuously until they are well blended and evenly moistened.
5. Pour into the prepared loaf pan and bake in the oven for 60 minutes, until a knife inserted at the center of the loaf comes out clean. Remove onto the cooling rack and allow it to cool for 30 minutes.
6. Carefully remove the cake from the pan and allow it to cool for an additional thirty minutes. This way the cutting would be easier and a lot less messier.
b. Kirsch Replacement
1. Dissolve the coffee powder in a 1/4 cup of hot water.
2. In a pan combine the cherry syrup and the coffee solution and allow it to come to a boil.
3. Remove from heat and cool the syrup to room temperature
c. For the Topping
1. In a mixing bowl, place the sugar, the vanilla essence and the heavy cream.
2. With the help of an electric mixer, whisk the cream continuously until stiff peaks are formed. The colder the cream, the sooner it will reach this consistency. I took a whole 20 minutes to reach this stage. Something was not right with either the cream or my watch.
3. Divide the whipped cream into four equal portions and refrigerate until ready for assembly.
4. Drain the cherries fro the syrup and wash them several times in cold water. I prefer them to be devoid of the cherry syrup, which may impart a medicinal flavor to the cake if used in excess.
5. Roughly chop 8 of the cherries and cut the rest into halves. Refrigerate until ready for assembly.
6. Grate the baking chocolate (a potato peeler works amazingly well) onto a clean plate and refrigerate immediately
d. Assembly
1. With a long serrated knife, remove the top and sides of the cake until you are left with a rough cuboid. Save the cake crumbles for a quick dessert that I would be posting soon.
2. With the help of the knife, cut the cake into two horizontal layers. You may attempt to do three, but the slices may them become too thin.
3. Place the bottom layer on the cake tray/pastry stand. I secured it to the bottom of an aluminum foil covered board with the help of a small amount of whipped cream.
4. Generously brush the Kirsch replacement over the bottom layer of the cake. Be careful not to overload the cake with the syrup. Around 3-4 tablespoons should suffice.
5. With a spatula, spread one portion of the whipped cream on the bottom layer.
6. Sprinkle with the chopped cherries.
7. Place the second layer on the first one and repeat steps 4 and 5.
8. Use the third portion of the whipped cream to evenly coat the sides the cake. I found this a bit tricky and it really helps if the cream is cold.
9. Pour the final portion of the whipped cream into an icing bag and pipe small meringues on the top of the cake. Carefully top each meringue with a cherry half.
10. Finally, sprinkle the grated chocolate on the top. I also used a spatula to pat some onto the sides, but this has to be done with caution so as not to disturb the whipped cream covering.
11. Refrigerate the cake for 4-6 hours for the flavors to soak in completely. I froze the cake overnight and thawed it in the refrigerator for 4 hours prior to consumption. It tasted fabulous.
This is what I would consider to be my greatest achievement yet, as a baker. I was on cloud nine, the friends were happy and the birthday babie's face thankfully remained cream-free. I even managed to irritate half-a-dozen people, messaging them pictures of the cake from every possible angle. The cake was a success, and I am going back to it sometime soon, to make it even better. Maybe I will use the actual Kirschwasser or maybe I will try a different substitute. It was even suggested to replace the cherries with strawberries. While that may no longer be a Black Forest Gâteau, I am sure it would be just as much as fun to bake and enjoy!