
At the very onset, I must say that I am way overdue with this post. Intended to be a part of Blogging Marathon #28 hosted by Srivalli, my trip back home in May-June and the random academic rigor of a PhD have delayed this post by nearly two months. Nevertheless, Srivalli has graciously accepted my apologies and has encouraged me to go on with the Marathon and see it to it's completion. So here comes the final recipe that I had saved up for the first phase of BM#28 - Keerai Payattham Kootu (BTW, for refreshment's sake, we were doing Kootus for the Marathon). The Keerai Payattham Kootu was one of the best discoveries that we (my roomies and I) made during the early days of my PhD, apart from the non-culinary academic stuff that is. Through a rare stroke of good fortune, we were able to obtain "fresh" spinach at the grocery store that day. Having cooked with frozen-chopped-preprocessed spinach all my graduate life, we were dumb-struck as to how to proceed with the 'edibilization' of this bunch of spinach, which by the way, reminded me of all the Agatthi-Keerai that I had fed to every willing cow that I had come across. We bought the spinach nevertheless, and some quick fridge-googling threw up this recipe, which was one of the first that went down in my shiny-new recipe-notebook, with an impeccable handwriting and exact measurements. Here, I shall share the recipe for that Kootu, which is ridiculously simple by the way, just as it was written down nearly two years ago. It is a dish that I have made several times over since that day and yet, it manages to cling onto its simple charm.
KEERAI PAYATTHAM KOOTU (Serves 3-4)
Set-up Time : 15 minutes
Set-up Time : 15 minutes
Experiment Run-Time : 30 minutes
The Shopping List
Set 1: At the Chopping Board
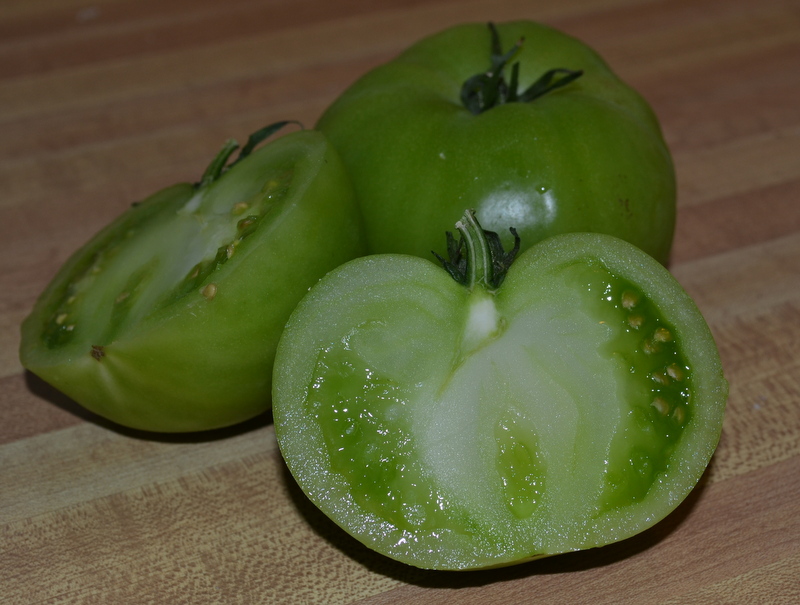
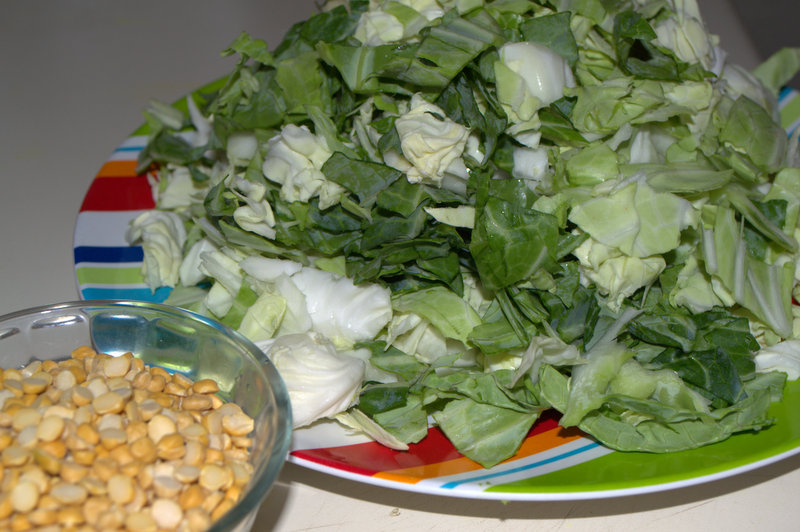
Spinach : 2 bunches (fresh) or a 12 oz frozen packet
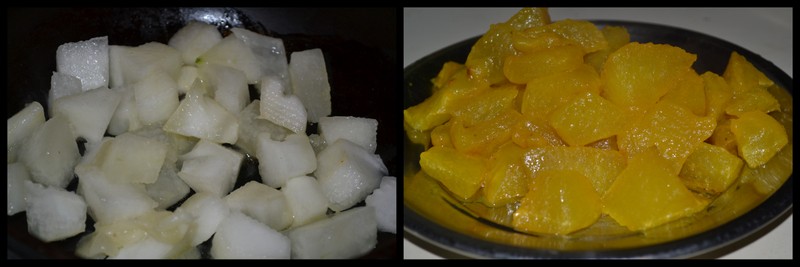
Onion : 1 small, finely chopped
Onion : 1 small, finely chopped
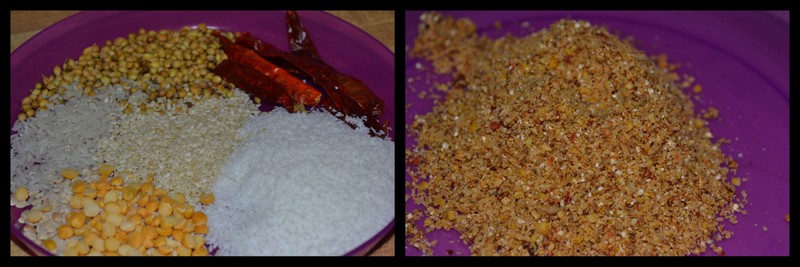
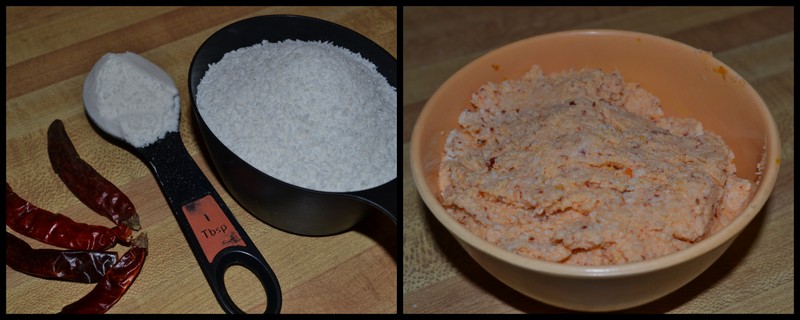
Set 2: For the Mixie
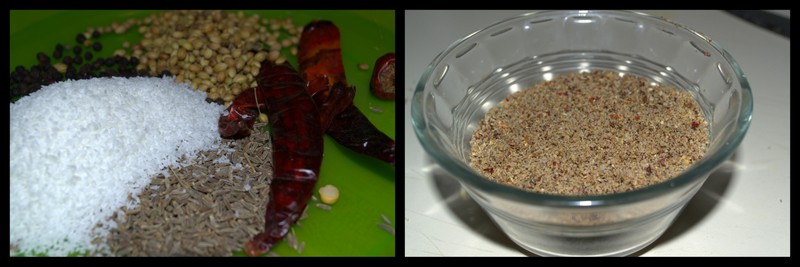
Grated Coconut : 3/4 cup
Rice Flour : 1 Tbsp
Dried Red Chilies : 6
Set 3: Protein Base and Seasoning
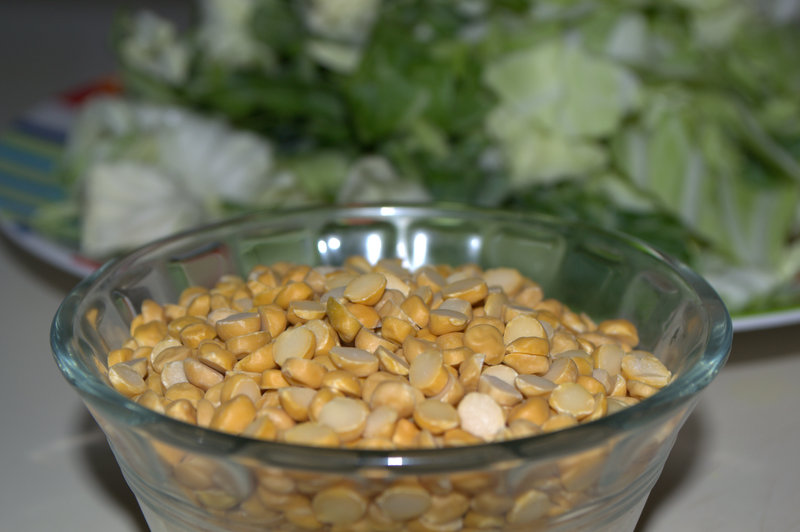
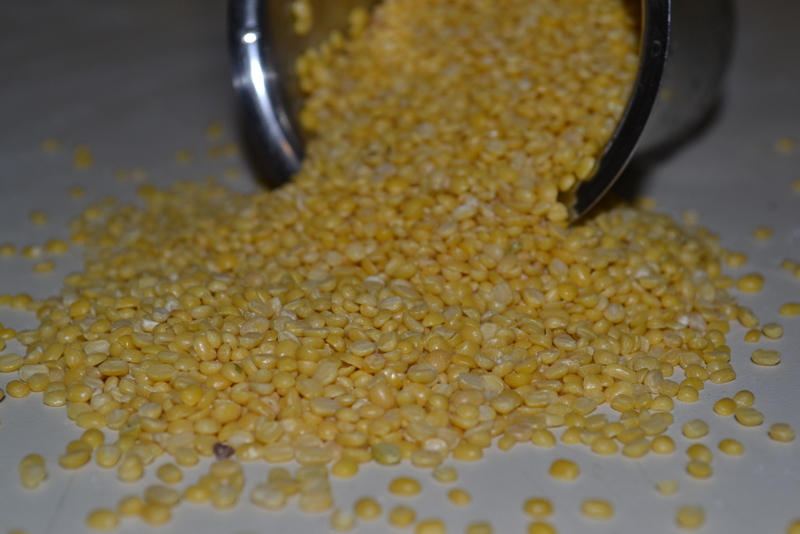
Dehusked Green-Gram Dal/ Moong Dal : 1 Cup
Sambhar Powder : 2 Tbsp (I used MTR)
Turmeric Powder : 1/2 tsp
Mustard Seeds : 1 tsp
Turmeric Powder : 1/2 tsp
Mustard Seeds : 1 tsp
Asafoetida : a generous pinch
Dried Red Chilies : 1, broken
Curry Leaves : 1 strand
Vegetable Oil : 1 Tbsp
Salt : As required
Methodology
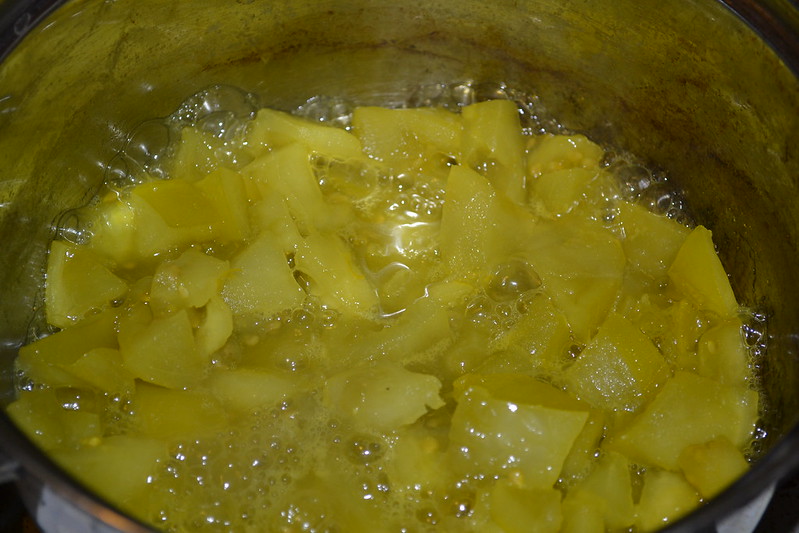
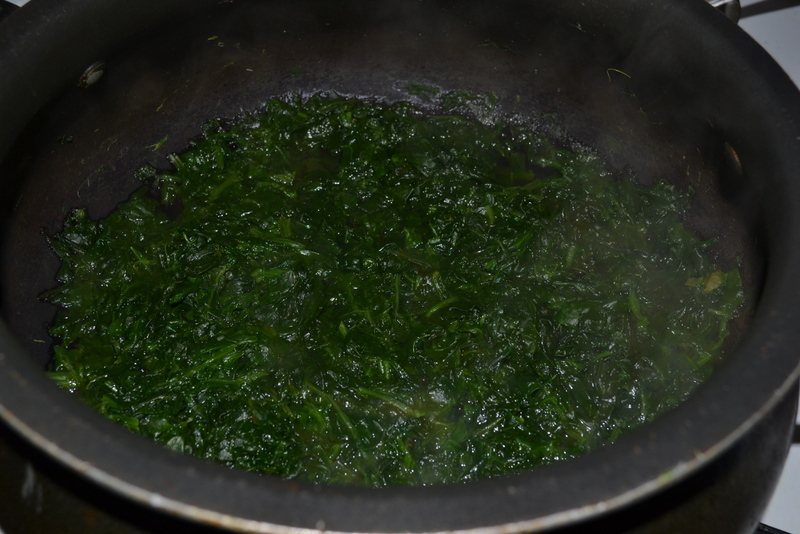
2. Clean the fresh spinach with running cold-water and cut-off any abnormally thick stalks and stems from the leaves. Place a large pot of water on the stove and bring it to boil. Add the cleaned spinach and a pinch of salt into the boiling water. When the leafs just begin to wilt, remove them with the help of a filter.
You may retain the water for further use in the recipe. (All this becomes much simpler if you have a packet of frozen spinach. You just need to dump the spinach into a microwave safe-bowl, add 5 tablespoons of water and microwave on high for 3-4 minutes)
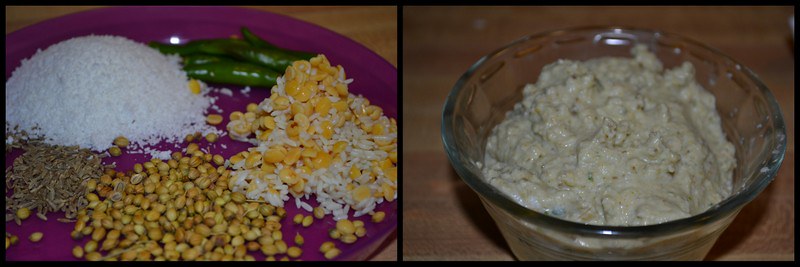
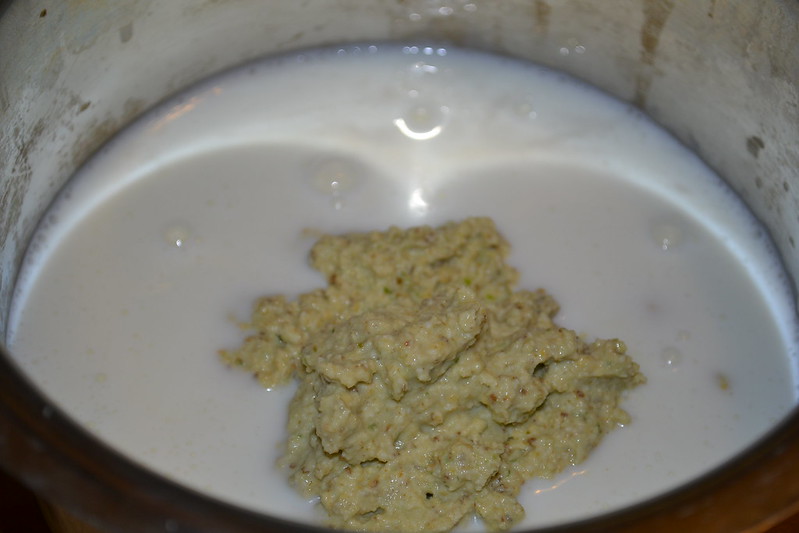
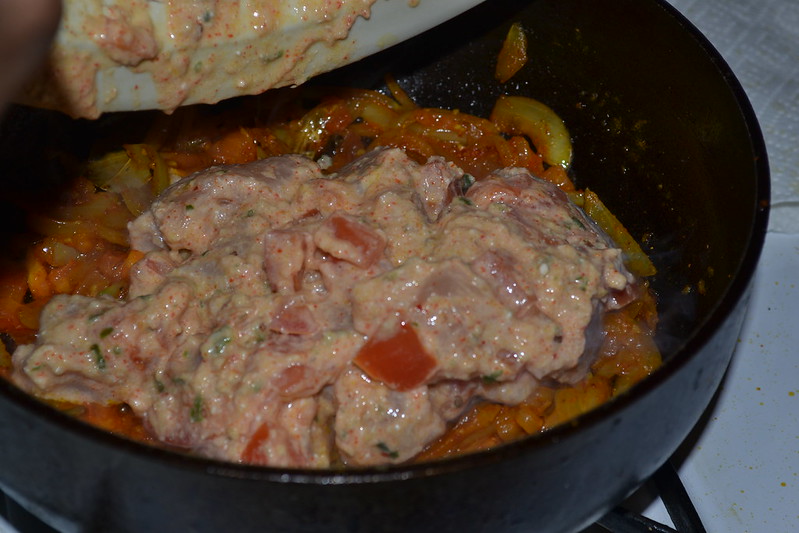
3. Grind together the ingredients given under Set 2, with as little water as possible. The goal is to achieve a very-thick paste that is pinkish-orange in colour.
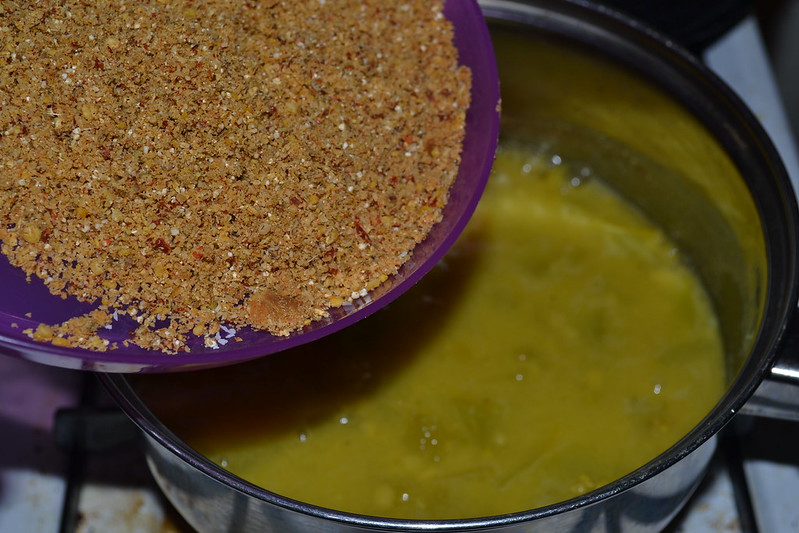
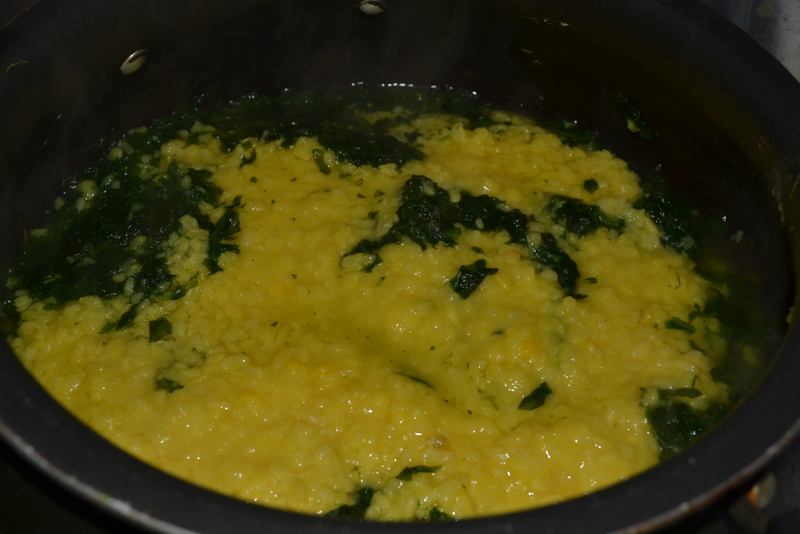
4. Take the boiled-mashed Dal in a large vessel and heat it up gradually until the dal begins to splatter. Add the cooked spinach to the bubbling Dal and stir it in completely.
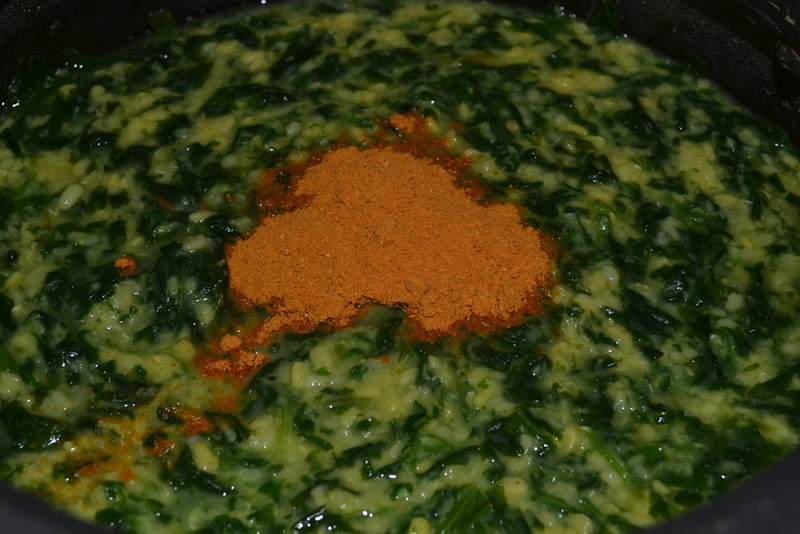
5. When the spinach-Dal begins to bubble, empty the ground paste into the vessel followed by the Sambhar Powder, and sufficient salt. Mix thoroughly. You may use some of the preserved water from the Step 2, to bring the Kootu to the desired consistency.
Let the Kootu cook on a low-flame for 5 more minutes, before taking it off the stove and transferring it to a serving bowl.
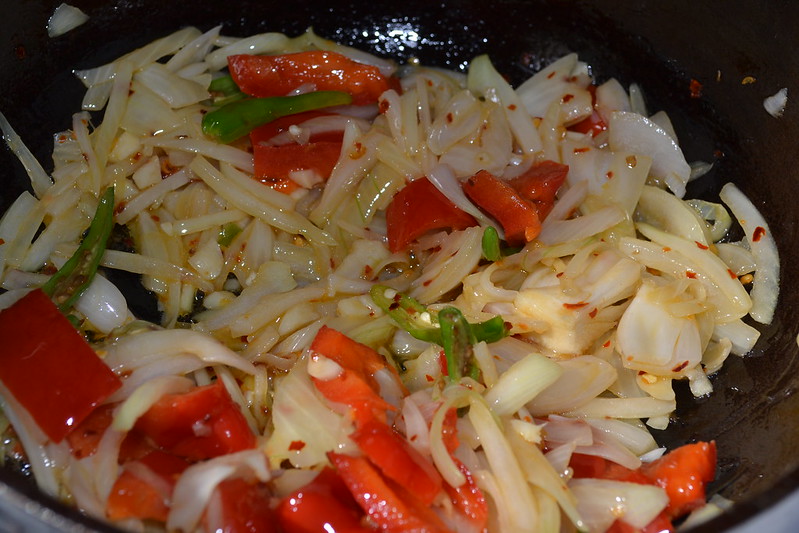
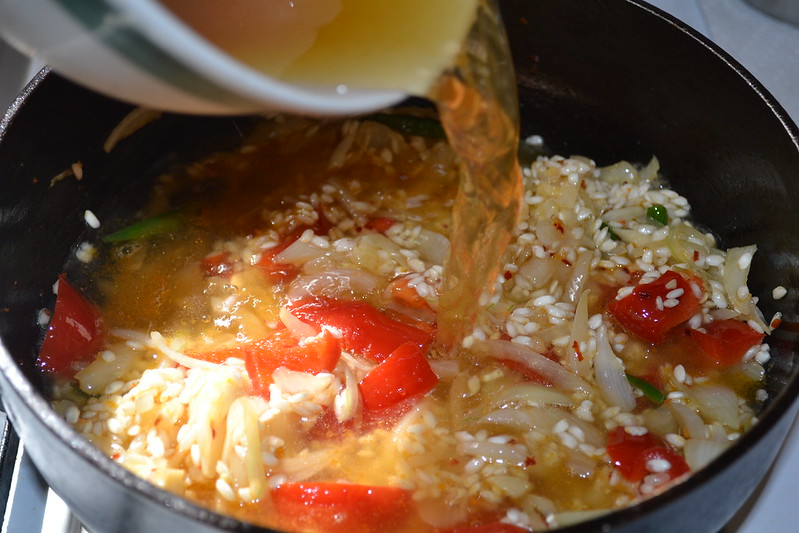
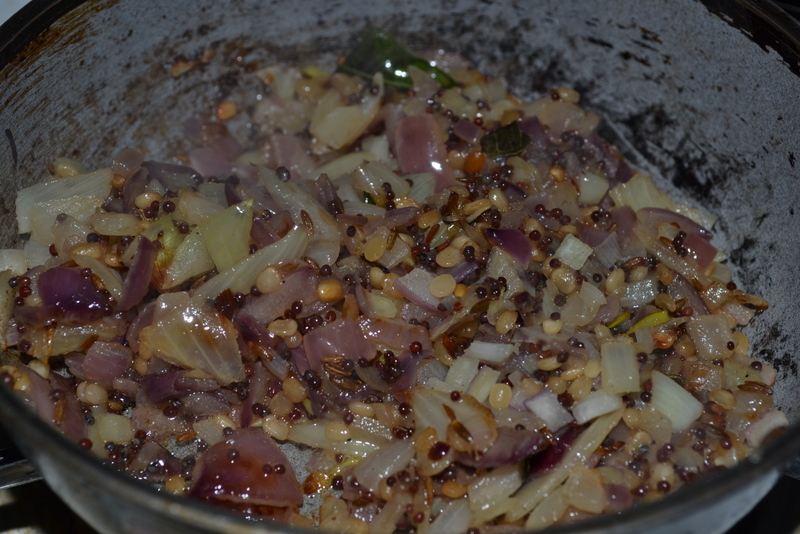
6. In a separate pan, heat up the oil and add the rest of the ingredients given under Set 3. Once the mustard splutters, and the red chili crackles, throw in the finely chopped onion and continue to sauté until the onion turns light-brown.
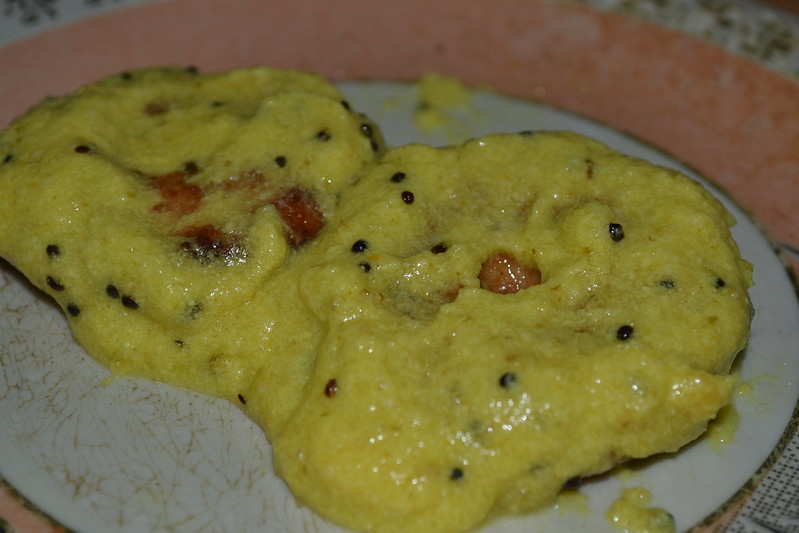
7. Empty the entire seasoning-mix on top of the Kootu in the serving bowl and mix it in just prior to serving.
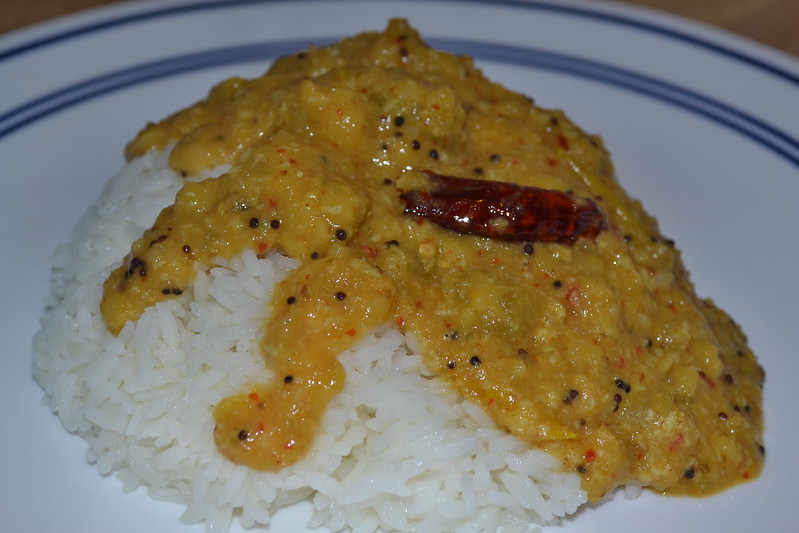
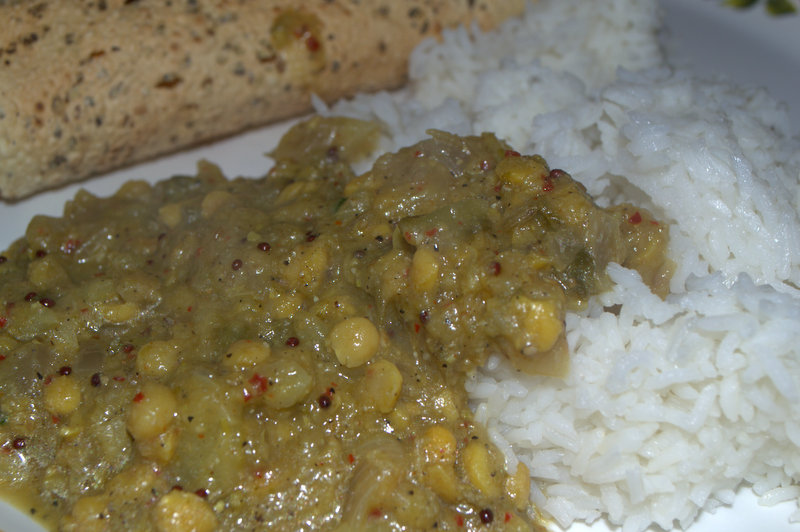
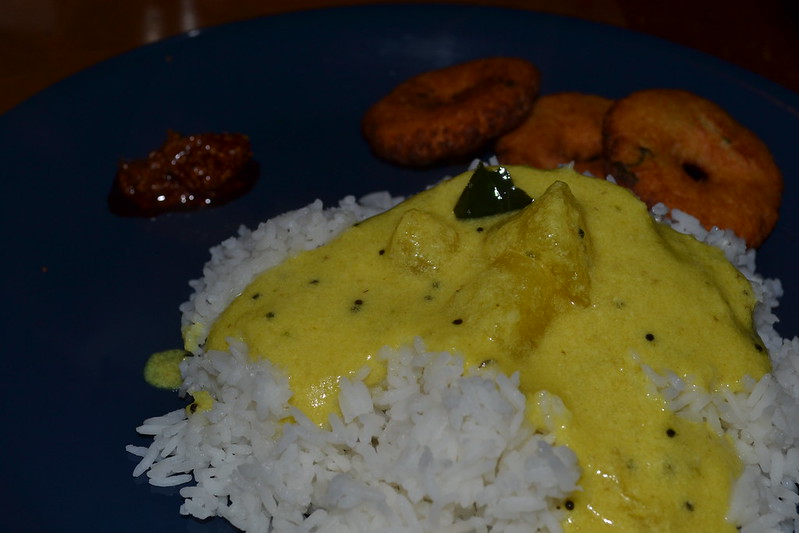
Today, every person who eats this Kootu asks for its recipe, to the extent that I have sent photos of the hand-written recipe, on Whatsapp, to a couple of ardent fans. To this day, A.V., one of the four roomies, who relished the results of the first attempt, calls it the "Saravana Bhavan Kootu". According to her, it is a near-perfect match with the Kootu that you get with your meals at SB. And that is saying something!
Methodology
1. Pressure cook the Moong Dal with 2 cups of water, turmeric powder and salt, for upto four whistles. Moong Dal cooks easily, and you should be left with a near-paste consistency of bright yellow Dal, when you open up the cooker.
2. Clean the fresh spinach with running cold-water and cut-off any abnormally thick stalks and stems from the leaves. Place a large pot of water on the stove and bring it to boil. Add the cleaned spinach and a pinch of salt into the boiling water. When the leafs just begin to wilt, remove them with the help of a filter.
You may retain the water for further use in the recipe. (All this becomes much simpler if you have a packet of frozen spinach. You just need to dump the spinach into a microwave safe-bowl, add 5 tablespoons of water and microwave on high for 3-4 minutes)
3. Grind together the ingredients given under Set 2, with as little water as possible. The goal is to achieve a very-thick paste that is pinkish-orange in colour.
4. Take the boiled-mashed Dal in a large vessel and heat it up gradually until the dal begins to splatter. Add the cooked spinach to the bubbling Dal and stir it in completely.
5. When the spinach-Dal begins to bubble, empty the ground paste into the vessel followed by the Sambhar Powder, and sufficient salt. Mix thoroughly. You may use some of the preserved water from the Step 2, to bring the Kootu to the desired consistency.
Let the Kootu cook on a low-flame for 5 more minutes, before taking it off the stove and transferring it to a serving bowl.
7. Empty the entire seasoning-mix on top of the Kootu in the serving bowl and mix it in just prior to serving.
 |
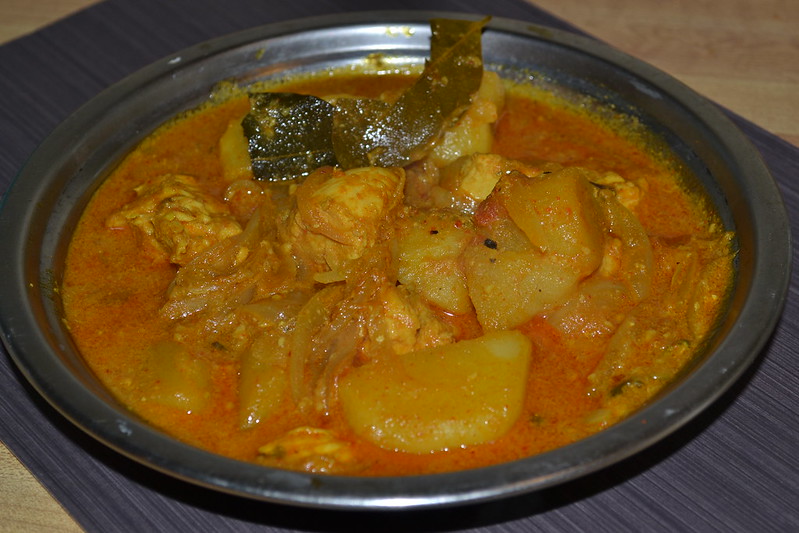
| And there is the result of 20 minutes of 'hard' work! |