Wednesday, July 8, 2015

Masala Crème Brûlée - A Franco-Indian Love Story!

DSC_0370

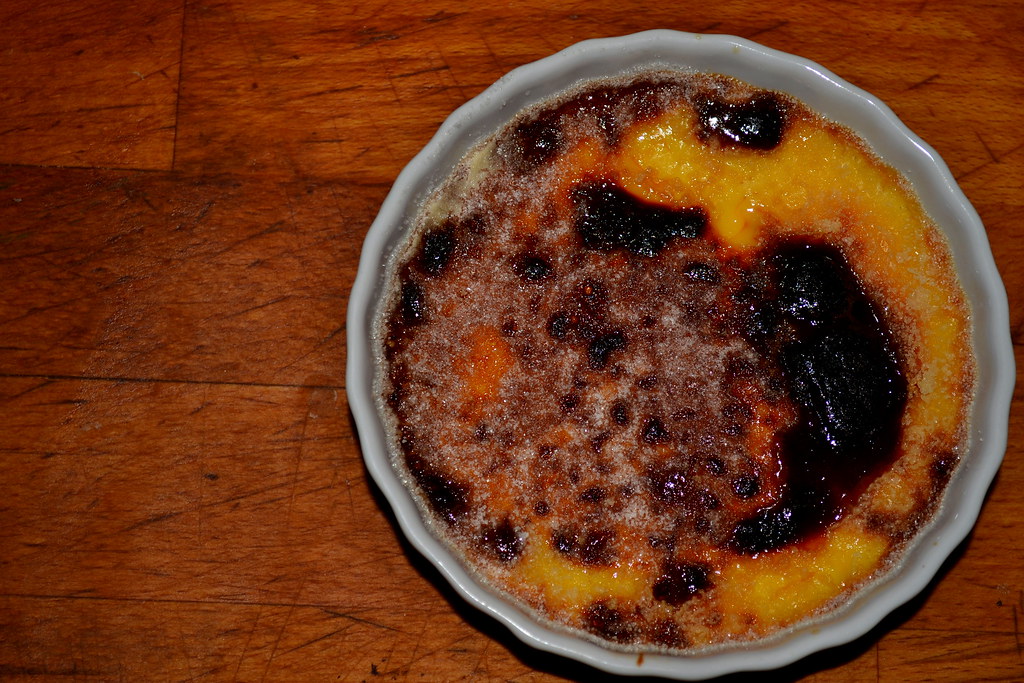
Have you ever tasted a Crème Brûlée? If you did, you would perfectly understand if I said that it tastes like a dream layered in sugar! Literally translating to 'Burnt Cream' in French, it is one of the several hallmarks of French Cuisine, known for its Crepes and Soufflés. This renowned French dessert may be simple in its appearance - looking like some over-burnt cheese pie, but serving it is an art, practiced to the tee in any French restaurant worthy of its name and origin. 

I had my first proper Crème Brûlée experience at Le Petit Cochon Dingue, a cosy French Cafe located in the Lower-Town of Old Quebec. A dear friend, his wife and I were visiting Quebec City, Canada, and we decided to try this restaurant after a long tiring walk along the narrow streets of Quebec. Seeing it to be an authentic French place, I excitedly ordered the dessert without even bothering about the entrée. After some good ten minutes, the waitress brought a small ramekin full of something that looked like thick-set-yogurt strewn with sugar. She then whipped out a small gun-like device and in front of my eyes spewed fire on the dainty custard. Then with a smile, she said "Enjoy your dessert Monsieur!", and walked away as briskly as she had come. 

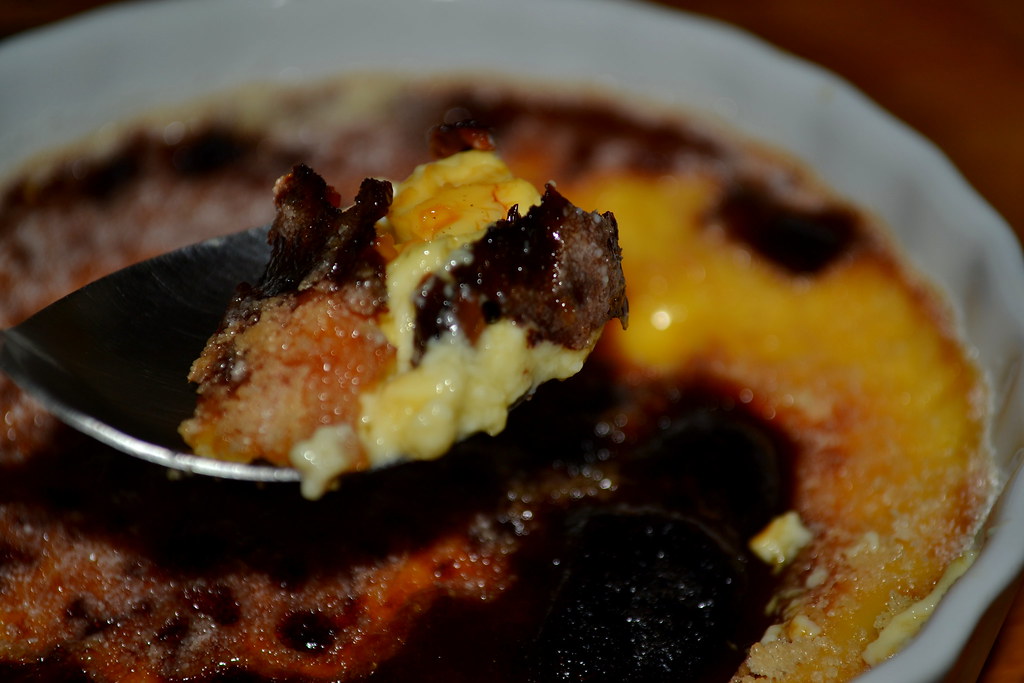
When I turned my eyes back to the ramekin, I saw that the sugar had been uniformly burnt and caramelized into a thin, shiny layer. With the tears of joy blurring my sight, I picked up my spoon, ready for attack. CRUNCH! My friend's spoon had somehow found its way into the ramekin, and the first piece was already on its way into his mouth! "Mmmmmmm..." He said. "Mmmmmm..." Not wanting to waste a second longer, I quickly followed, and dug my spoon into the hardened caramel crust, cracking it open, and just gulped up some of the underlying custard with the shattered crust! "Mon Dieu! Magique!" Like I had said before - it tasted like a dream!
But today's post is not just about this French dream of mine, experienced in one of the most 'Frenched-up' regions outside France! It is also about the Indian in me, and the inborn Desi love for Payasams and Halwas, delicately spiced with the finest ingredients from the Malabar Coast. I figured that we whip up some Masala Crème Brûlée to celebrate both. French in its origins but Indian at its soul, the Masala Crème Brûlée was ironically inspired by the Chai Tea Latte from the Starbuck's franchise on my College Campus!

MASALA CRÈME BRÛLÉE (Serves 2)
Set-up Time :  10 minutes
Experiment Run-Time : 40 minutes

The Shopping List

          Set 1: For the Custard
          Heavy Cream : 1 Cup
          Egg Yolks : 2 Large
          Sugar : 4 Tbsp
          Vanilla Essence : 1 Tbsp

          Set 2: Spice Rack
          Cardamom : 2
          Cinnamon : 1 inch stick
          Cloves : 2-3

         Set 3: Caramel Crust
         Sugar : 1.5 tbsp

Methodology

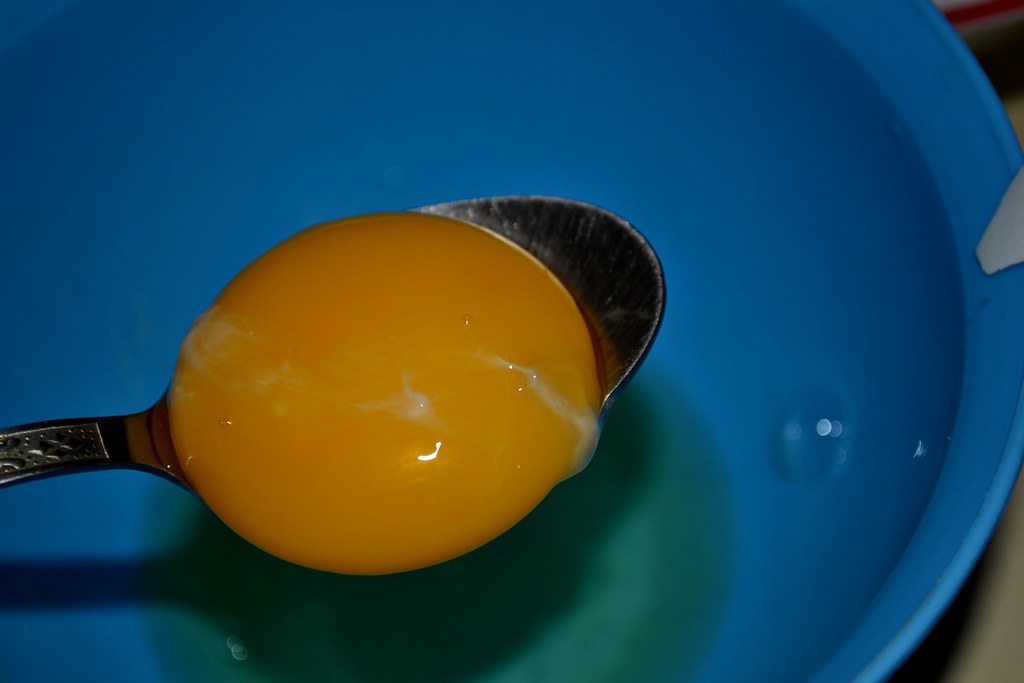
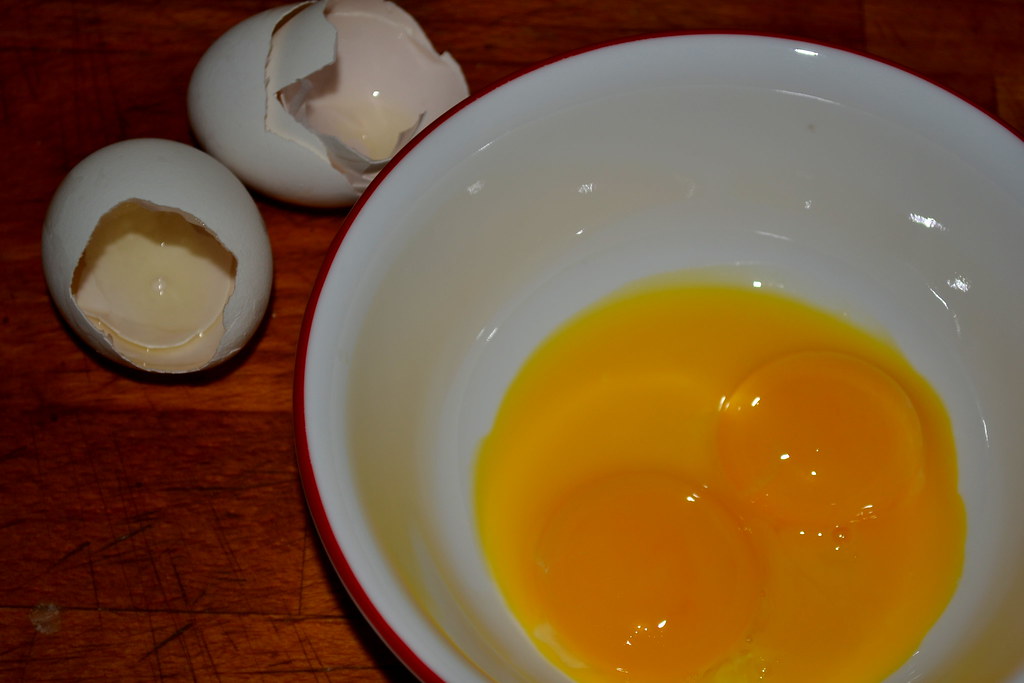
1. Carefully break the two eggs into a bowl and separate the yolks into a dry mixing bowl. There are several easy methods to separate the yolk, depending on the final product. Meringues and Macarons require pure egg whites, with not even a speck of the yolk, so the separation has to be super meticulous. Custards, Cakes, Ice-Creams, and Crème Brûlée are not as stringent in their yolk requirements, and a little white here and there does not spell disaster.This time, I simply used a spoon to lift out the thick yolks away from the whites, with considerable ease and success.

1

A little practice goes a long way here. I am now an expert at separating eggs using spoons and sometimes with just the palsm of my hands, using the gaps between the fingers as a sieve to let the more fluid white flow out.

DSC_0308

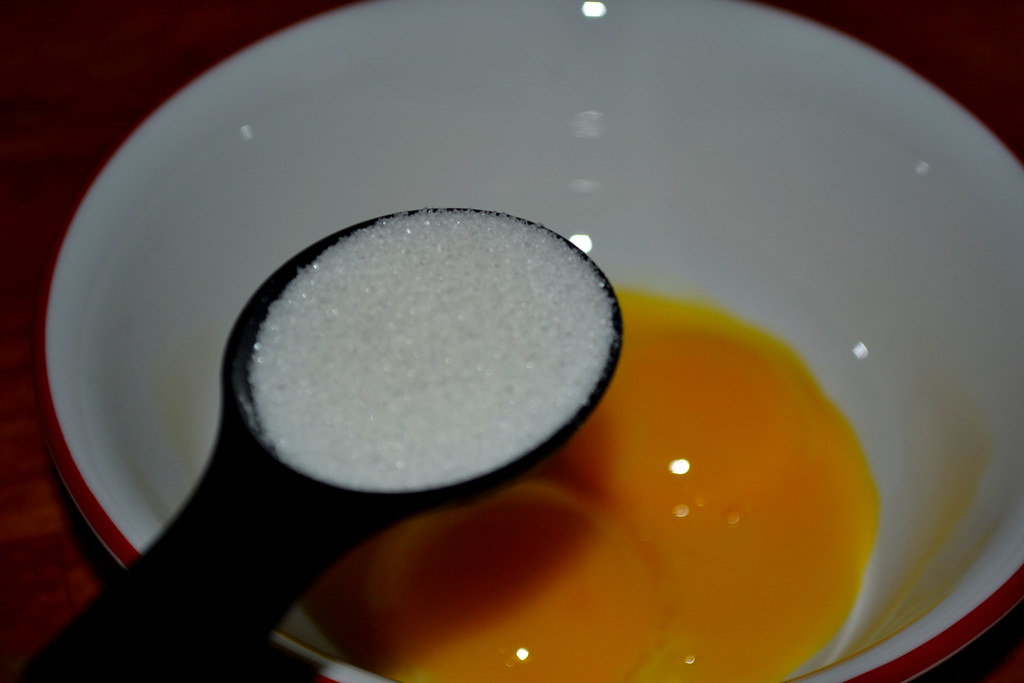
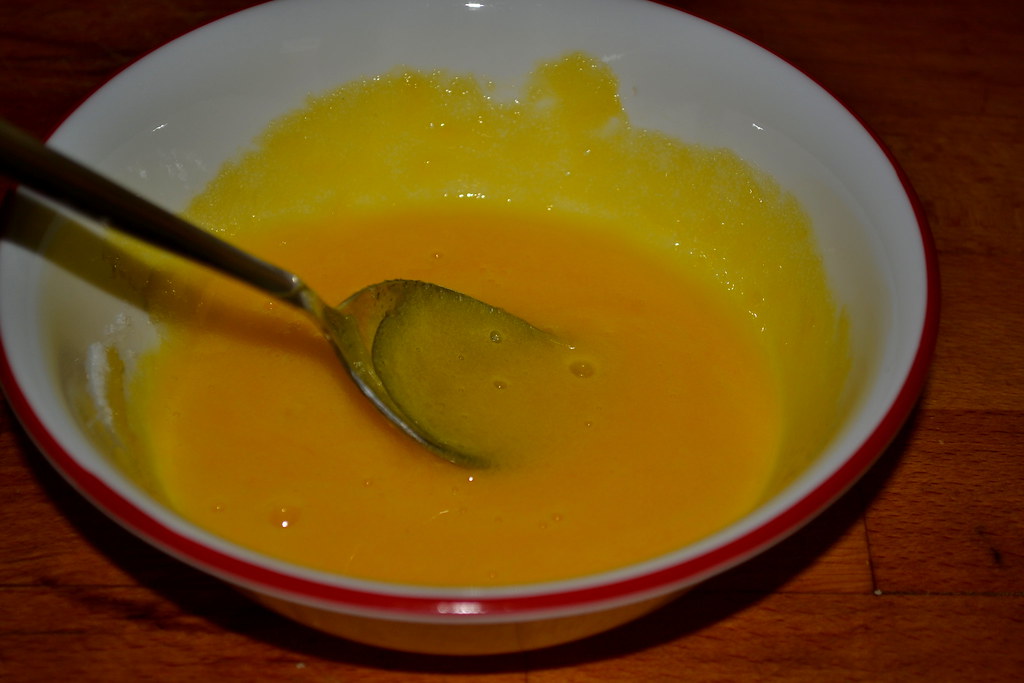
2. Add sugar to the egg yolks and whip them at medium speed until the sugar is completely dissolved in the yolks, resulting in a smooth pale yellow mixture.

DSC_0309

I skipped using a whisk of any sort and instead, used a fork to whip them together.

DSC_0311

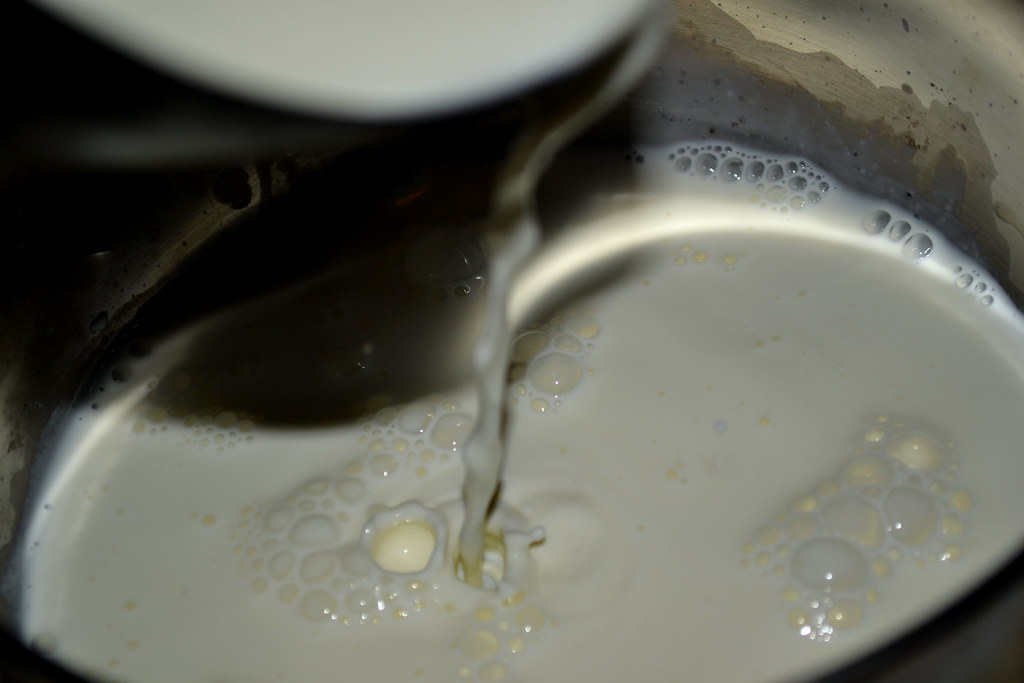
3. In a thick-bottomed pan, add the cream and heat it up.

DSC_0314

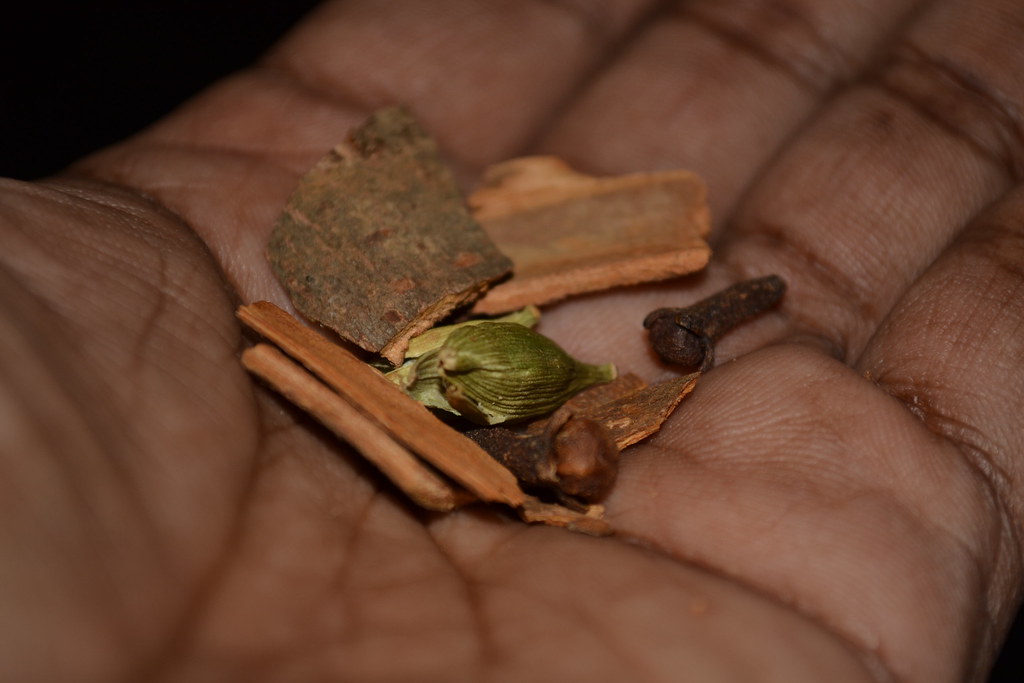
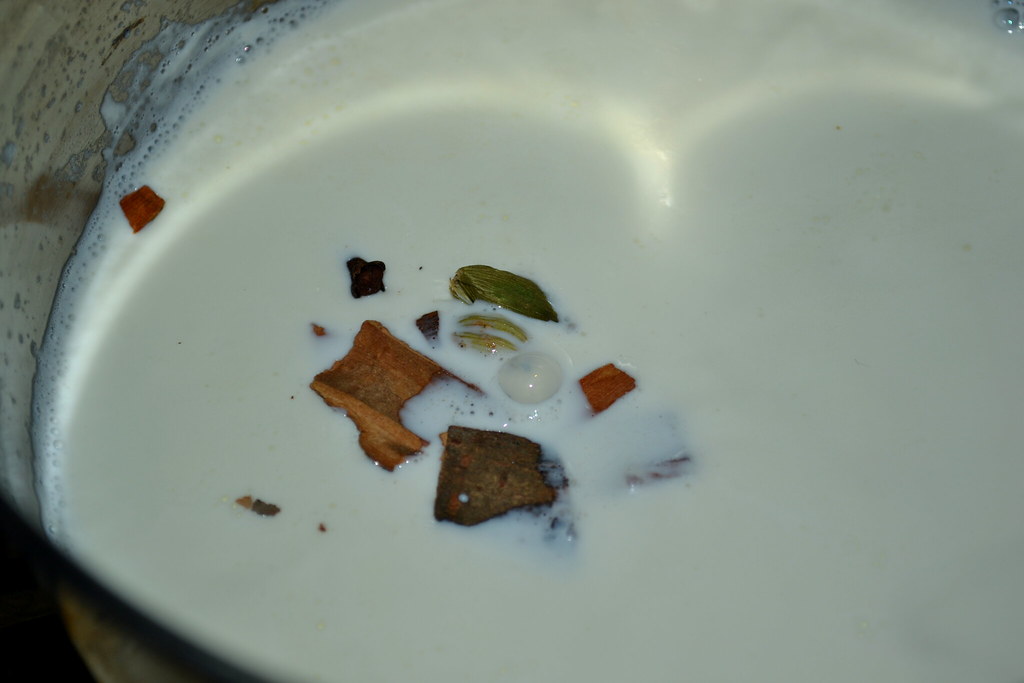
Throw in the spices from Set 2, and bring the cream to a simmer. 

DSC_0320

Keep an eye on the cream at all times and take it off the heat once it starts simmering. Else, all hell breaks lose and you might rather start again.

DSC_0321

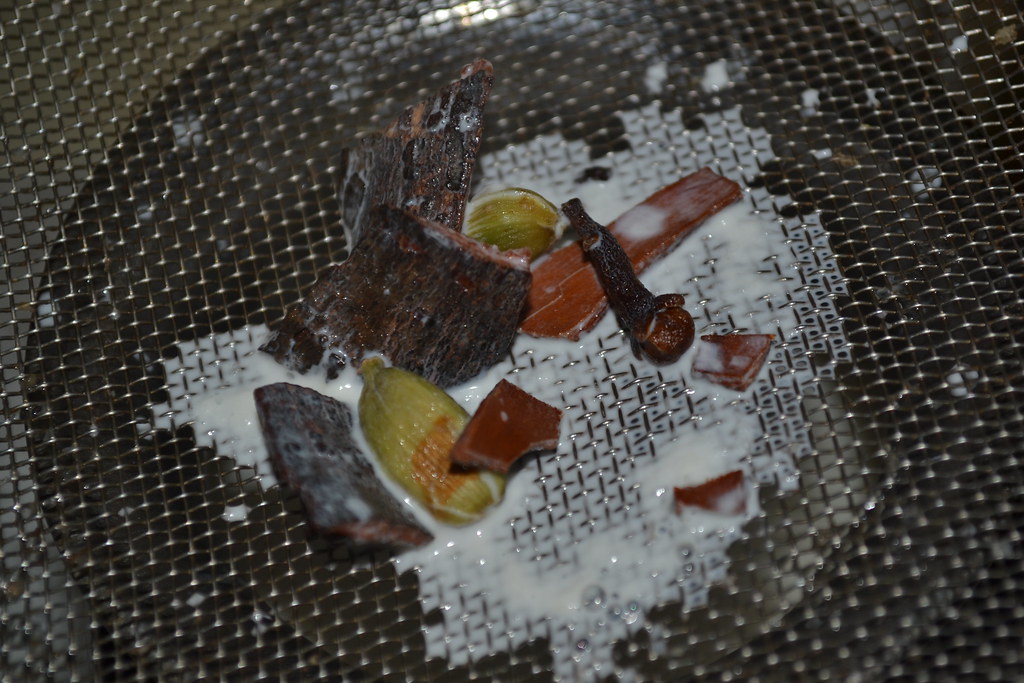
4. Discard the whole spices using a sieve. (It is so sad to throw away these beauties, but their duties have all been done!)

DSC_0324

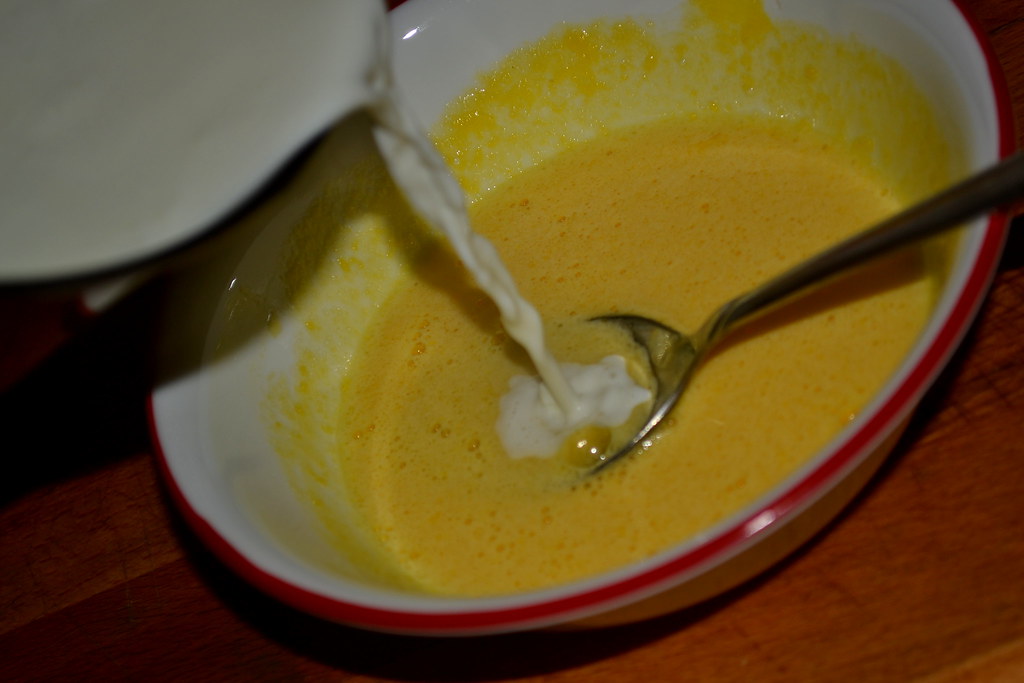
Use some of the hot cream to temper the yolks by pouring in a few tablespoons of the cream into the yolk-mixture while constantly beating it. This prevents the yolks from instantly curdling when adding them into the hot cream.

DSC_0318

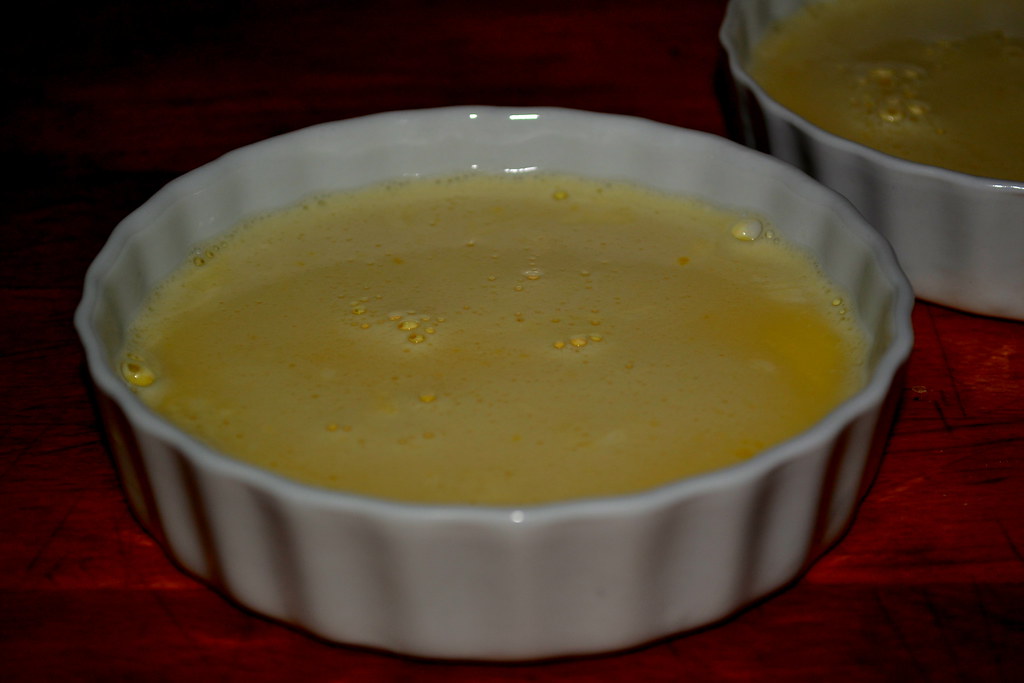
5. Add the tempered yolk-mixture back into the hot cream and mix them well. Add the Vanilla and divide the mixture between two ramekins. (I had picked up these dainty ramekins at Kroger, at very reasonable prices that too.)

DSC_0335

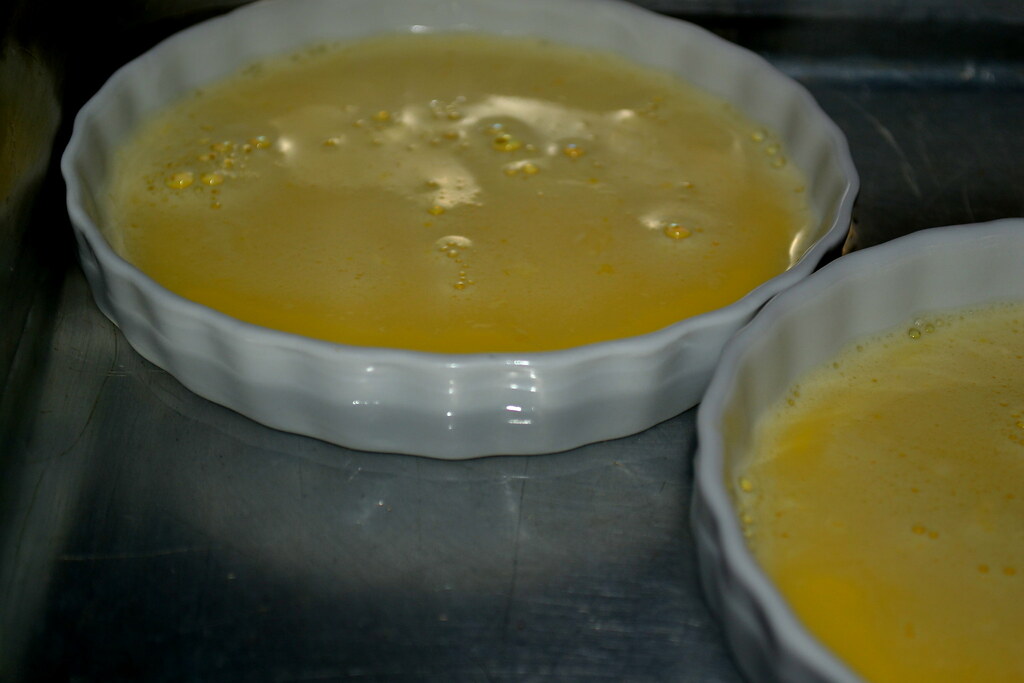
6. Place the ramekins in a baking pan and fill the pan with hot water until it reaches half-way up the sides of the ramekins. This arrangement is called a Bain-Marie, and it ensures moist texture and even cooking within the oven.

DSC_0343

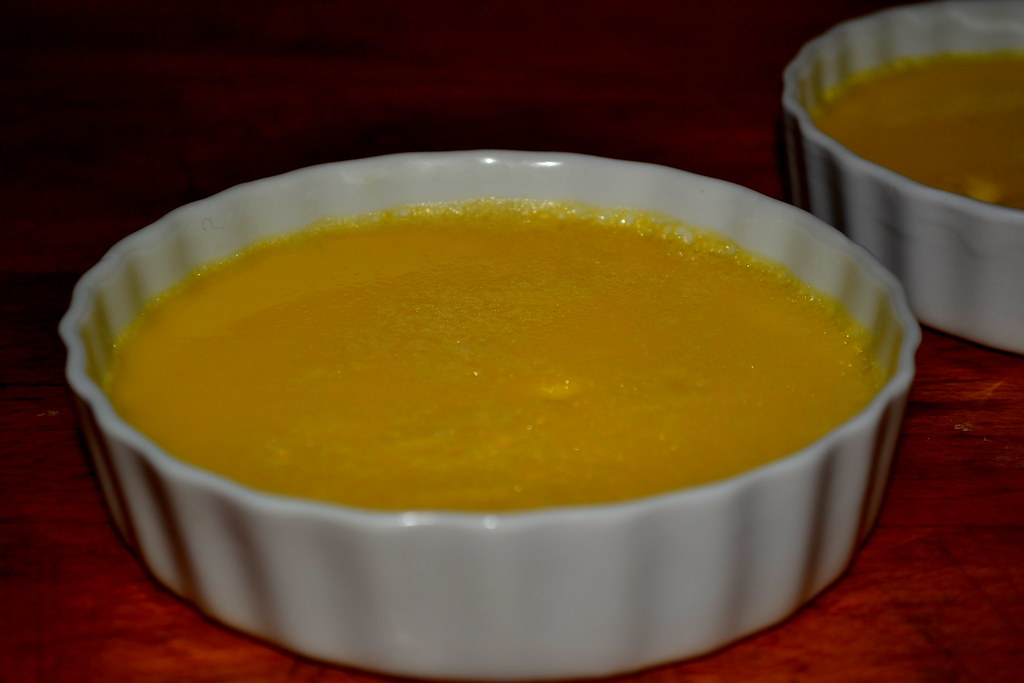
7. Pre-heat the oven to 320 °F and place the Bain-Marie with the custard ramekins into the oven for 30 minutes. The custard is done when the mixture is firm at the sides but a teeny-weeny bit wobbly at the center. Carefully, remove the ramekins from the Bain-Marie. 

The custard, at this stage, is good enough to eat by iteslf!

DSC_0344

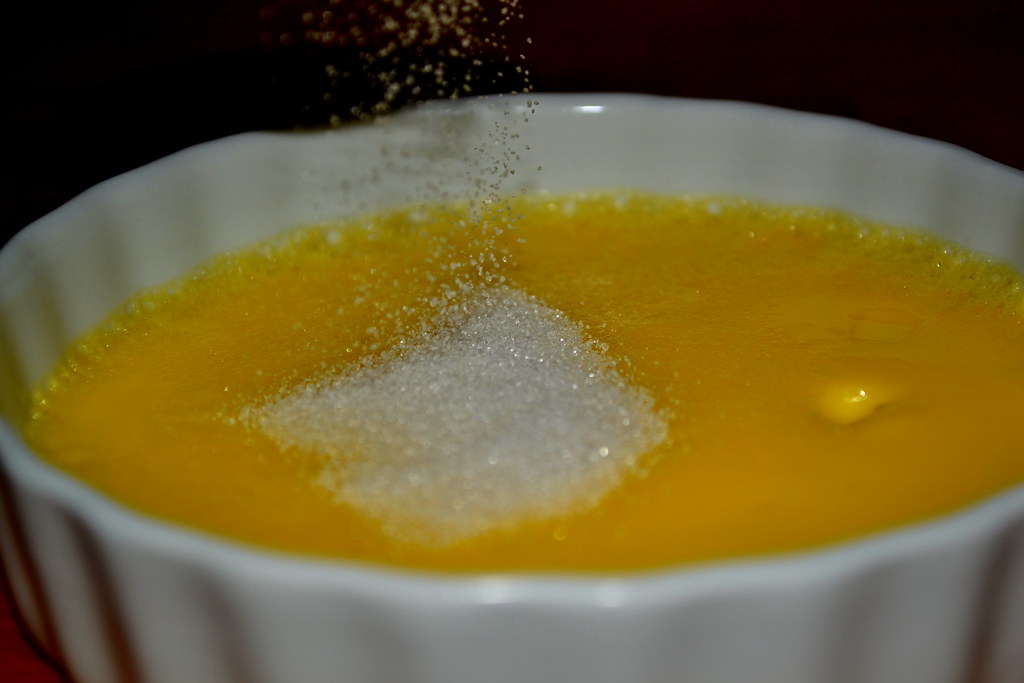
8. Sprinkle the sugar from Set 3 evenly over the two ramekins. 

DSC_0349

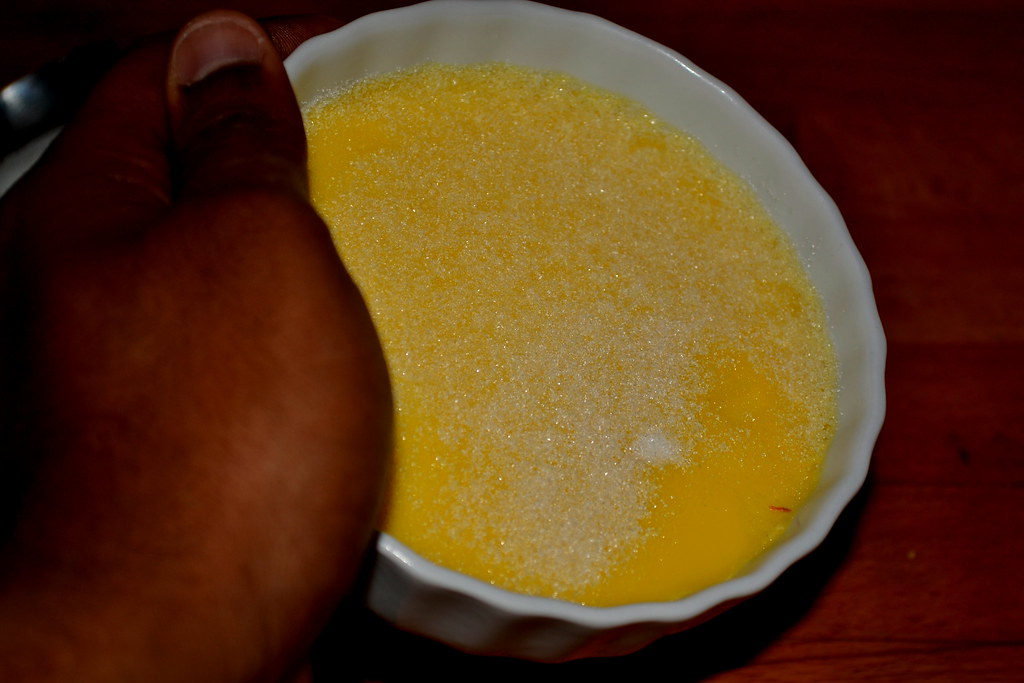
First tap the sugar around the ramekins as you hold it tilted slightly towards you. Turn the ramekins while tapping to ensure a thin even layer of sugar all over the custard's surface.

DSC_0353

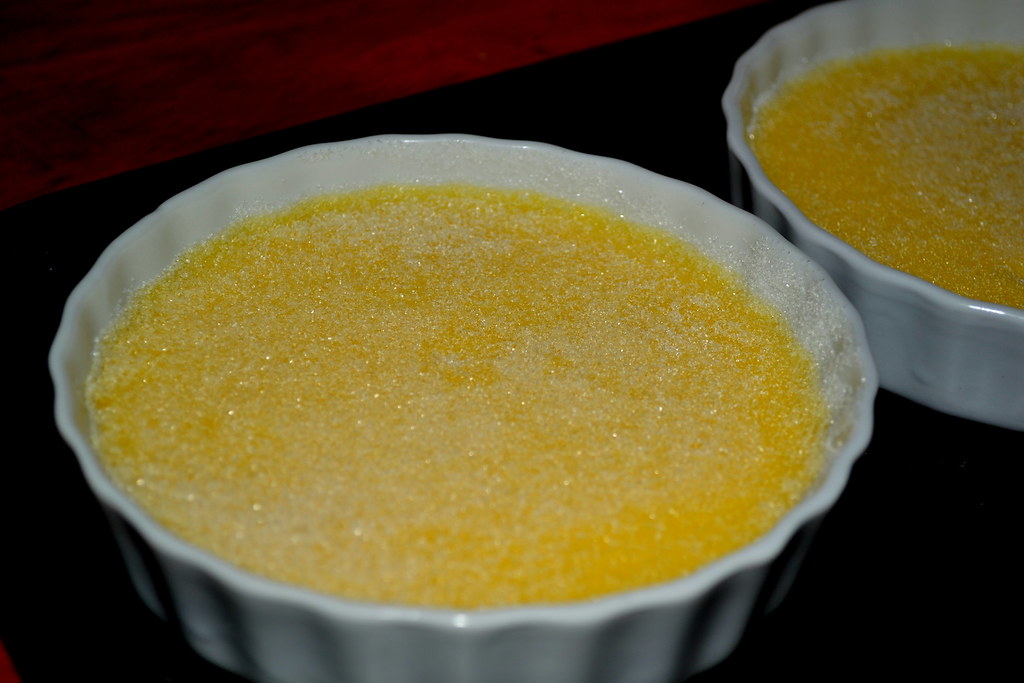
Now, tap off the excess sugar and return the ramekins to the baking pan without the water.

DSC_0358

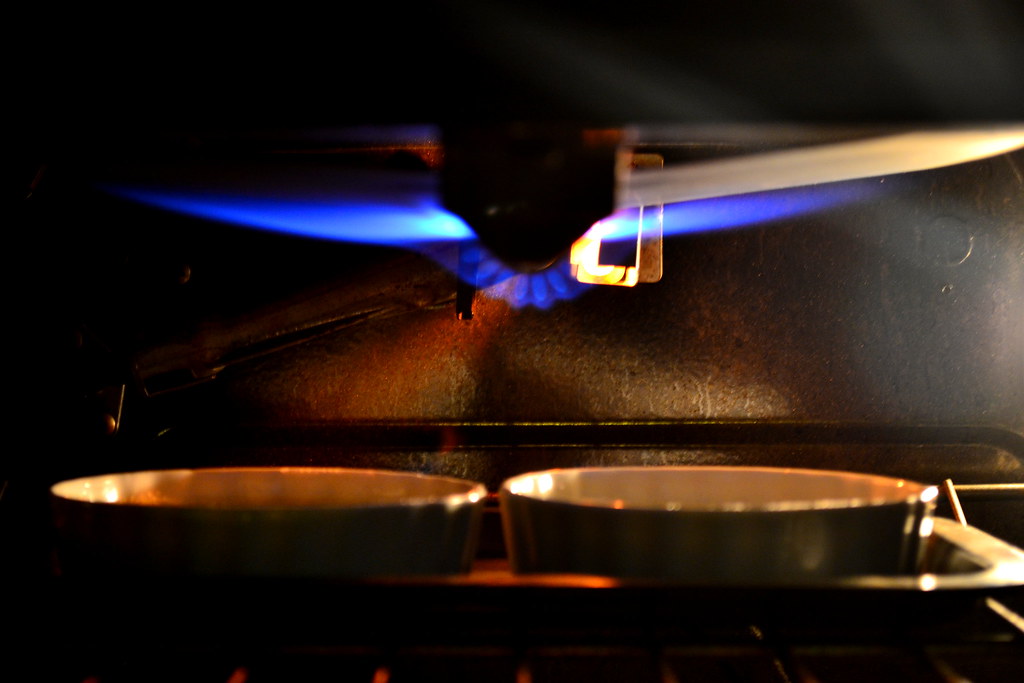
9. I did tell you that the waitress used a gun-like device to caramelize the sugar, but since not all of us happen to have a kitchen torch (which is the name that the device actually went by) at our reach, I resorted to a different method.

10 Place an oven rack as close to the top of the oven as possible and turn on the 'Broil' mode. Place the ramekins under the broiler and keep the oven door cracked open with the help of a wooden ladle. About 3-5 minutes should do the trick. Carefully, and I mean very carefully, take out the ramekins and you should see that the sugar has been beautifully caramelized. 

DSC_0360

11. Allow the Crème Brûlée to come to room temperature before the final attack with a good friend, spouse, parent or sibling.

DSC_0367

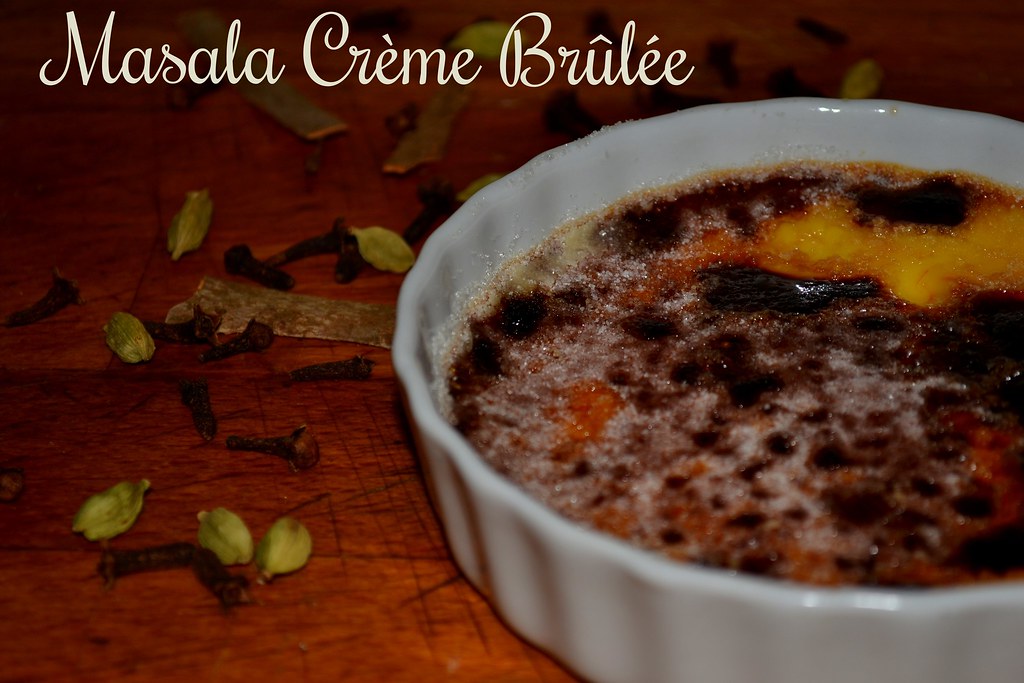
The Masala Crème Brûlée was gone in two eye-blinks. Actually, one eye-blink, if you count just the first one and me! Each mouthful was an experience and each swallow, an un-quenching desire for more, until I had clean-wiped out one entire ramekin. I am sure going to try making some other fusion versions of this classic French dessert, but whether its soul will be as Desi as this, is to be seen! Until then, Au Revoir!

DSC_0376
Come, take a bite!

Tuesday, May 12, 2015

Maangai Saadham - Reminiscing Summers at Chennai!


It is May, which translates to Summerest at Chennai. For the uninitiated Chennai-ite, we have four seasons back at Chennai - Summer (December - February), Summerer (March - April), Summerest (May - August) and If-Fortunate-Wet (September - November). Summerest is economically bad, because it is the root-cause of shooting electric bills, medical bills, cosmetic bills, cool-drink bills, and transportation bills. With Katri-Veyyil (Agni Nakshatram) at it's peak people refuse to leave air-conditioned rooms to go outside sans an air-conditioned cars, thick layers of sunscreens and a bottle or two of frozen-coke at hand. But for the seasoned Summerest foodie soul (not me), Summerest is the best. There are cart-loads of Water Melons, Musk melons, Jack Fruits, Goose Berries and juicy Mangoes. Quirky vendors are all afoot on the street with their refrigerated boxes brimming with Paal-Ice, Kulfis, Cola-Ice, Nannari Sherbats and Vettiver drinks. One only needs to step out of home and head to the nearest market street (T-Nagar, Purashawalkam, Aminjikarai, Thiruvanmiyur...) to take it all in.

Armed with all these Summerest specials, all paattis, athais, chitthis, ammas, periammas and every other conceivable female relative from the last generation rush back home to make them into delicacies that are available only during those burning months. Musk Melon Coolers, Jack-Fruit Seed curries, Gooseberries in Simple Syrup and of course Mango Pickles, Mango Pacchadis, Mango Squash, Mango Jams... I have to stop somewhere, for the king of fruits and it's raw counterpart are used in a delightfully large number of ways. 

The recipe here is one that my cousin sister makes for a quick lunch during the most sweat-bathed days, when people want to run out of the kitchen at the earliest excuse available. It is made for picnics and festivals, for get-togethers and lunch-boxes, and it tastes like summer in your mouth!

MAANGAI SAADHAM (RAW MANGO RICE) (Serves 2-3)
Set-up Time :  10 minutes
Experiment Run-Time : 30 minutes

The Shopping List

          Set 1: For the Base
          Raw Rice : 2 Cup
          Oil : 1 tbsp
          Salt : a pinch
          Water : 3 1/2 Cups

          Set 2: Flavorings & Seasonings
          Raw Mango : 1 Medium sized, sour as can be
          Ginger : 1 inch piece, grated
          Green Chilies : 6-7, sliced
          Groundnuts : 1/2 Cup
          Mustard Seeds : 1 tsp
          Chana Dal : 1 Tbsp
          Red Chilies : 2-3, crushed
          Urad Dal : 1 Tbsp
          Asafoetida : a pinch
          Salt : as required
          Oil : 2 Tbsp

Methodology

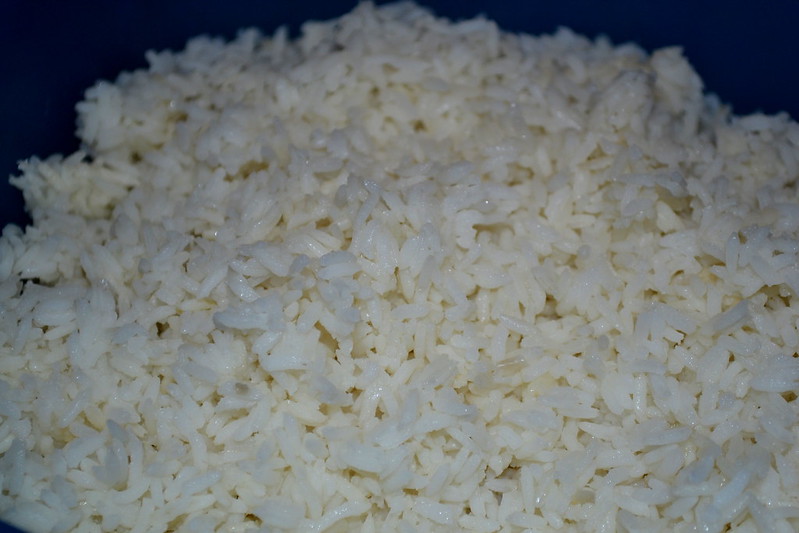
1. Prepare rice as is usually done using the ingredients in Set 1. Rice-Cooker, Pressure Cooker, open vessel - anything is fine. Forget not to add the oil, for it helps to retain the integrity of every individual grain. Once done, spread it on a large plate and allow the cooked rice to cool.

DSC_0004

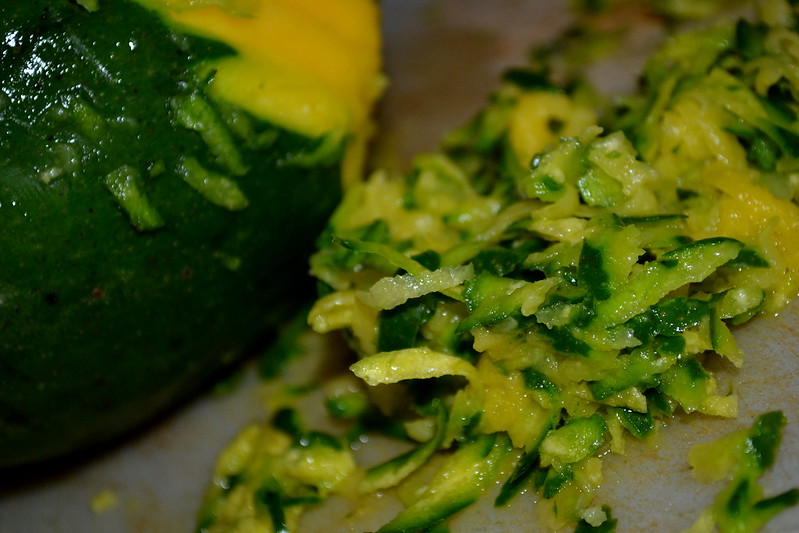
2. Grate the raw mango, skin and all. Do throw away the seed though.

DSC_0003

3. Heat the oil in a pan. Once hot enough, add all the items in Set 2, starting with the mustard (wait till it crackles), Chana Dal, Urad Dal, Red Chilies, Green Chilies, Asafoetida, Ginger, Salt and Groundnuts. Cook on a low flame until the groundnuts start to get browned. (If you have roasted groundnuts, add them at the end, just before serving).

Maangai Saatham

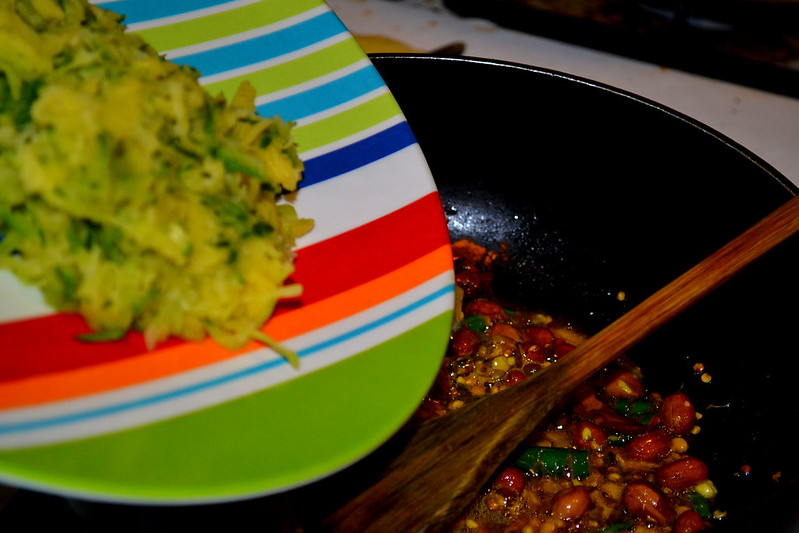
4. Add the grated mango to the pan and continue to cook on a medium flame.

DSC_0011

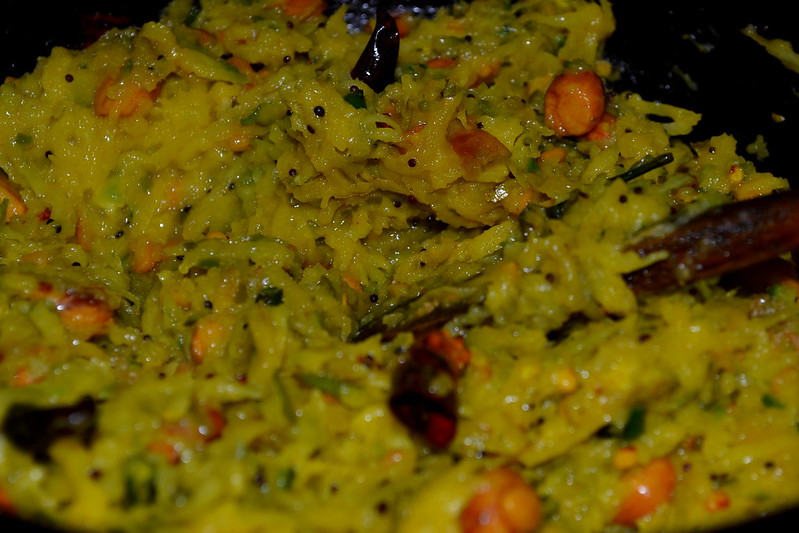
5. Continue cooking, until the mango softens sufficiently and all the contents come together in a fragrant paste like mass. Remove from flame and cool. This is what is called the Maangai Thokku. If stored in a dry glass bottle, it keeps well in the refrigerator for about a week.

DSC_0014

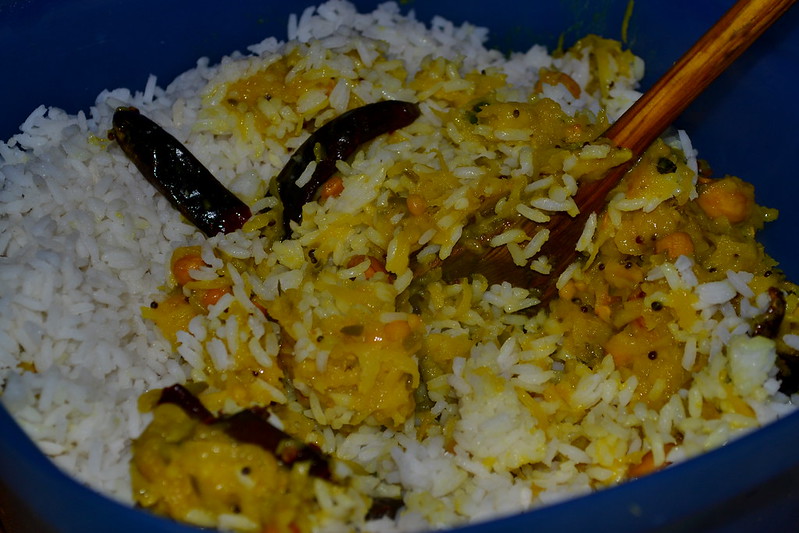
6. Gently mix the Maangai Thokku with the cooled rice in a bowl large enough to hold them. Hands usually work the best, especially to break lumps of cooked rice and ensure homogenous mixing. Queasy people may use a strong wooden ladle.

DSC_0016

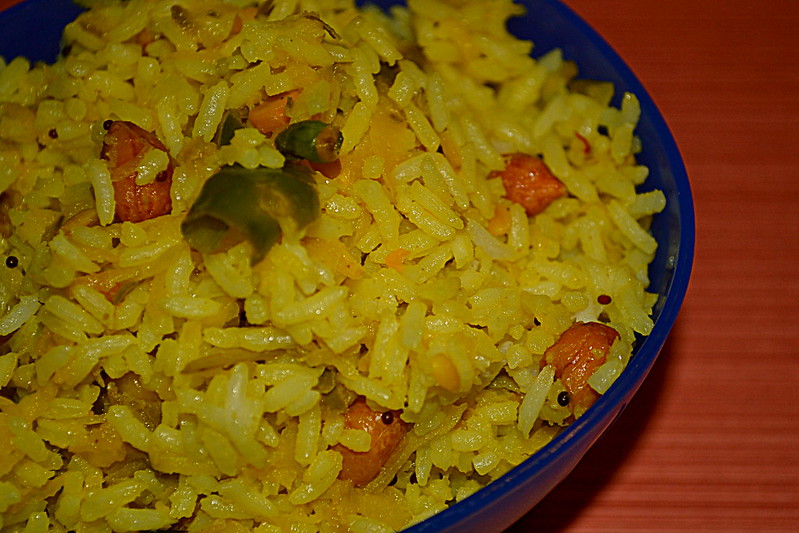
7. Check for salt and serve with papads, a dry curry or some raita.

One mouthful of this quick variety rice, as they tend to be called in South-India, and you are hooked for life. It is sour and spicy and crunchy and pasty and a lot of other things at the same time. I can inhale large quantities of this delicacy at one sitting, especially with some aloo curry and a jug of seasoned buttermilk. It brings along memories of summer vacations, impromptu picnics, and large family gatherings. 

DSC_0040

Maangai Saatham tends to remain good for a few days if stored in a cool dry place. I usually make it in large quantities, but it never seems to last with all the people around. And here in Cincinnati, it is a pain to get the mangoes to be right. Apparently the words 'sour' and 'green-mangoes' do not get to come in the same sentence this side of the Mississippi. This was one of the rare times that everything came together so well. I will carry the taste in my memories until the next perfect mango comes along.

Tuesday, April 21, 2015

Fiery Tilapia Pan Fry - A note from Dhivya!


I guess I have made it pretty clear in one of the previous posts that I don't fancy anything that looks, tastes, smells and feels like a fish. Be it the Vanjiram fry made at home, the nethili kuzhambu that inevitably results in people clucking loudly as they lick their fingers in glee, or the held-in-high-esteem Karuvadu Curry. No Sir! Not for me.
But then, with all the recent furor about clean proteins, Omega-3-Fatty Acids and the obsession with fish-diets and what not, I decided that it was high-time that I too jump on the seafood-bandwagon. So, next time when I went to the store, I bought a packet of the least fishiest of all the fishes available - the ubiquitous Tilapia. There were four fillets and I decided to try something different with each one. The first day, I seasoned it with some spices and put it into the oven. Result - detestable. The Chinese style fry and the Indian semi-gravy that followed could do nothing much for redemption either. So, I resolutely threw the last fillet into the farthest corner of the freezer and went on a vacation with my friends. Five days later, I attacked the final fillet with new-found-enthusiasm. The reason - Dhivya's Recipe that I had tested and tasted over the Vacation.

Ever since, it has been my go-to recipe for fish and has never failed yet. And since Dhivya doesn't maintain cooking blogs as a rule, I thought that I would go ahead and do the world a favour by publishing her recipe here!

FIERY TILAPIA PAN FRY (Serves 1)
Set-up Time :  10 minutes
Experiment Run-Time : 10 minutes

The Shopping List

          Set 1: The Marinade
          Coriander Seeds : 1 Tbsp
          Red Chilies : 2 (3 if you want to breathe fire)
          Curry Leaves : 4-5
          Ginger-Garlic Paste : 2 tsp
          Thick Curd : 1 Tbsp
           Lemon Juice : A few drops
           Salt : As Required

          Set 2: The Fish and Other Stuff
          Tilapia : 1 fillet (I used a frozen one)
          All Purpose Flour : 1 Tbsp
          Oil : 2 Tbsp, to Pan-Fry

Methodology

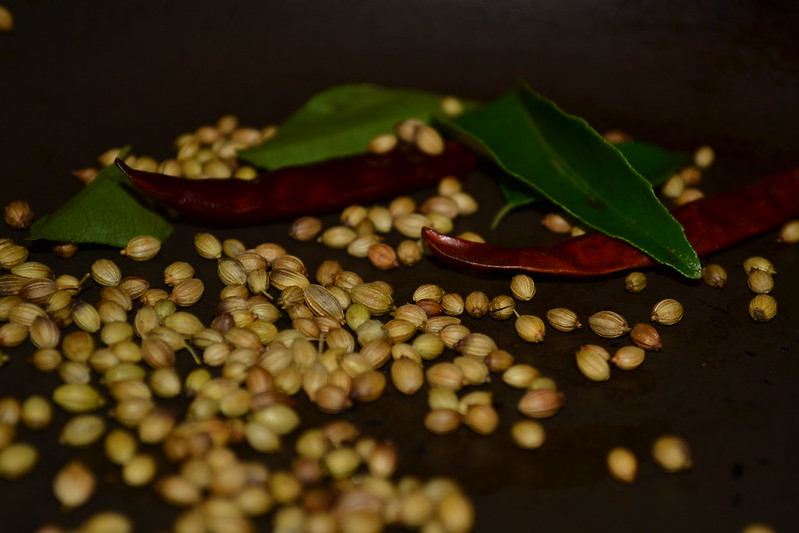
1. In a dry pan, roast the Coriander Seeds, the Red Chilies and the Curry Leaves until the seeds release a toasted aroma.

DSC_0585

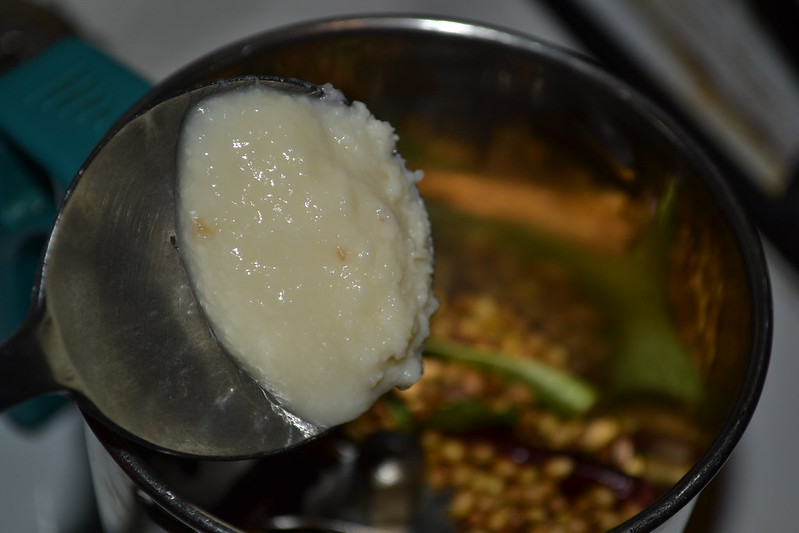
2. Once cool, transfer the roasted ingredients into a blender along with the Ginger-Garlic Paste. Give it a quick blend until they all mush up into a coarse paste.

DSC_0586

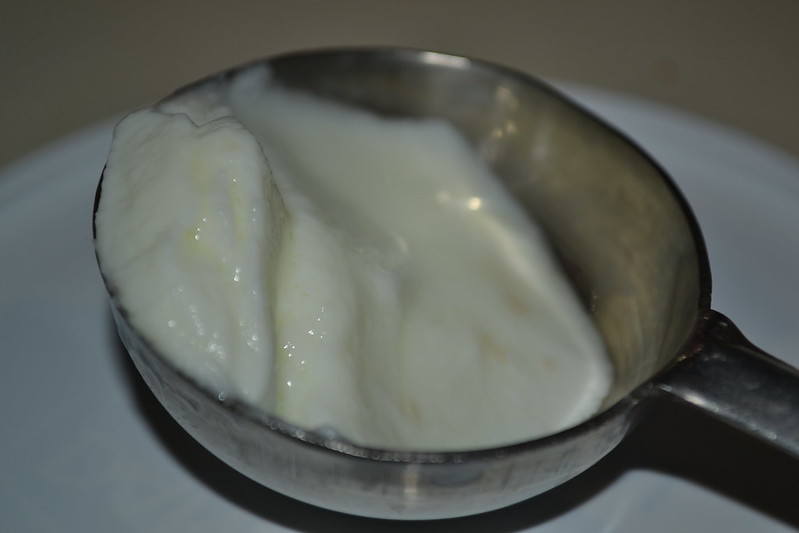
3. Remove the marinade onto a plate and mix a fresh scoop of thick curd. Mix it well.

DSC_0587

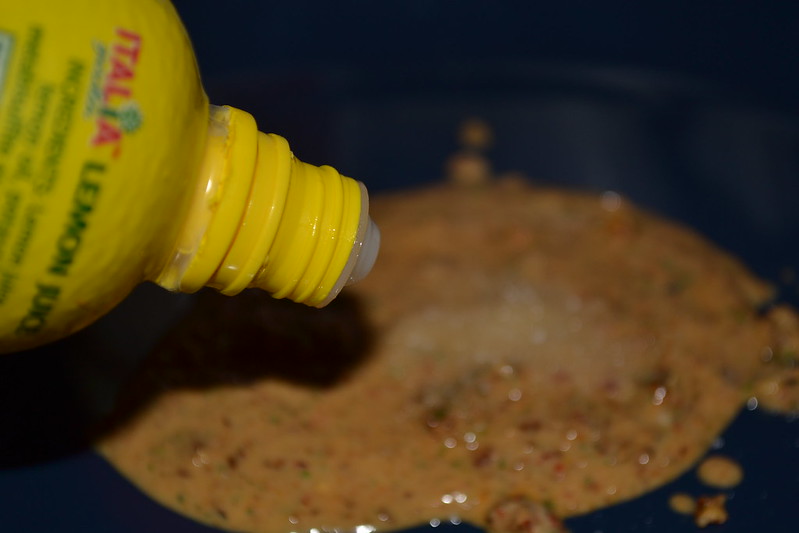
4. Finally, squeeze some drops of lemon juice into the marinade and let it rest for 10 minutes.

DSC_0588

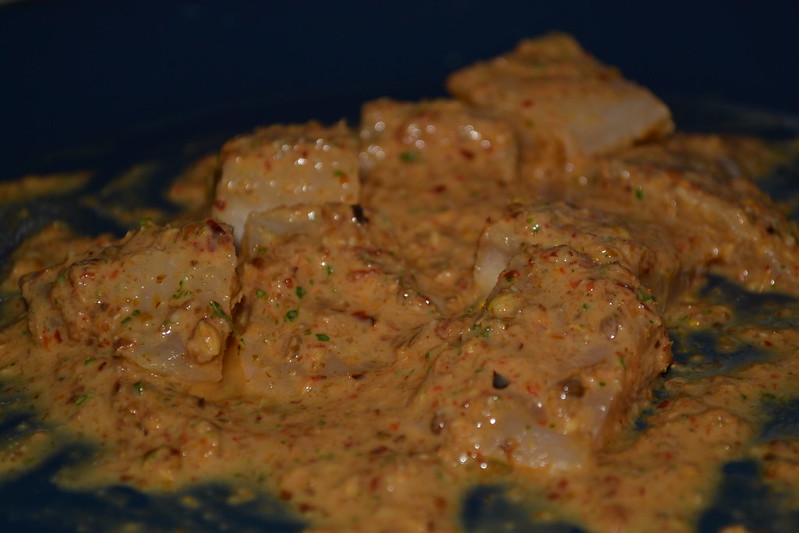
5. In the mean time, cut the fish fillet into bite-size pieces and dunk them into the marinade. Turn them over a couple of times until they are well coated.

DSC_0590

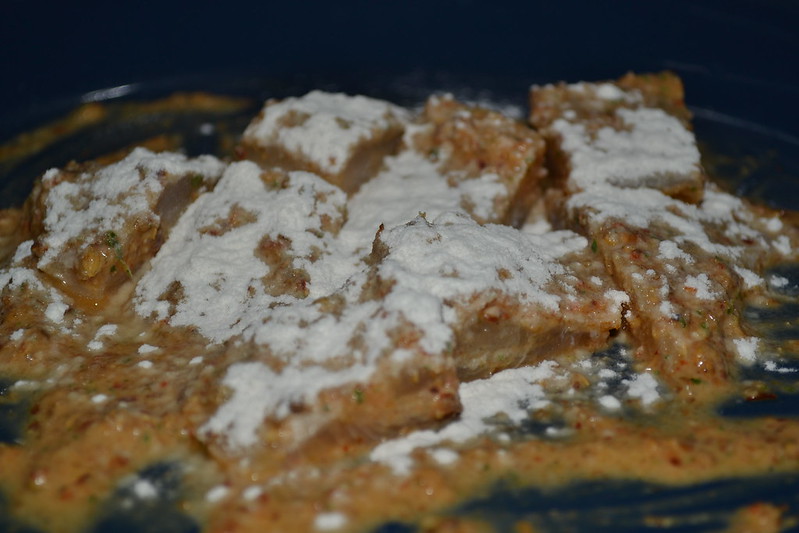
6. Heat a tava or a frying pan, along with the oil spread over it. Just before you are ready to fry the fish, coat the fish pieces with All Purpose Flour in such a manner so as it traps the marinade inside.

DSC_0592

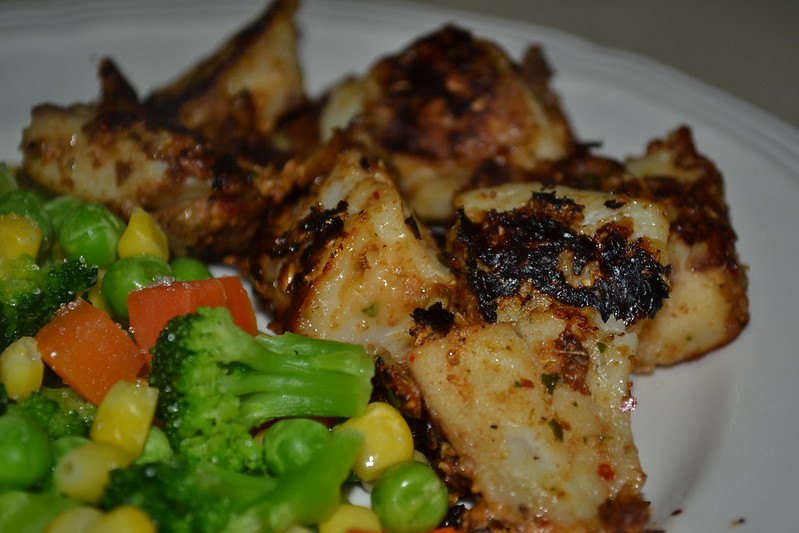
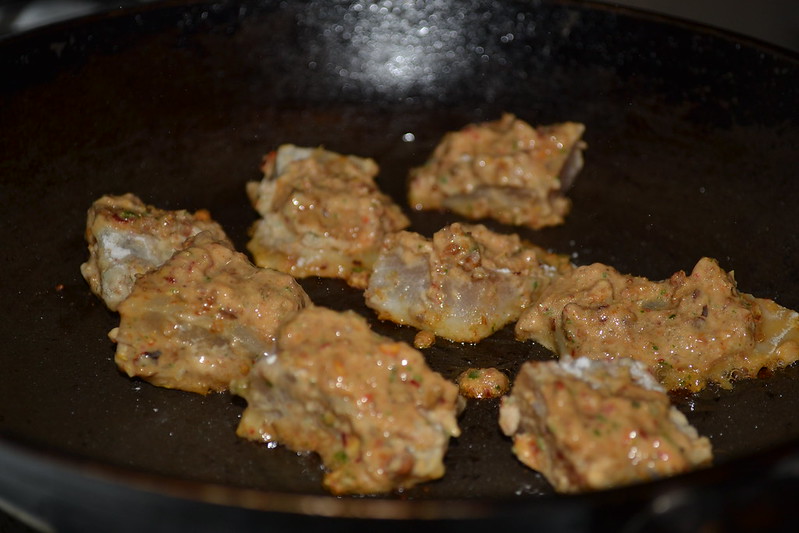
7. Gently place the flour-coated fish pieces into the pan and let them turn brown and crispy on all sides. A good two minutes on each side should do the work.

DSC_0593

8. Place the pan-fried pieces on a kitchen towel to remove excess oil and serve immediately with steamed vegetables.

DSC_0597

     I assure you that you will be blown off. The marinade successfully masks the fishy flavor and lends the dish it's own unique taste. Add to it the gently crisped outer-coating of flour and the side of warm veggies, you have a winner every time. All thanks to Dhivya who literally did not accept a no when I refused to try her dish the first time!

Monday, January 5, 2015

Thiruvadhirai Kali - To Nutty with Love!


Today is Thiruvadhirai - a day of special celebration, worship, and feasting at all Shaivite shrines in South India; and Tamil Nadu in particular. Even though the asterism of Thiruvadhirai occurs once in every 27 days, its occurrence during the Tamil month of Maargazhi (Mid-December to Mid-January) is observed with much grandeur. It is said to be the day when Shiva answered the prayers of the saints Vyagrapaada and Patanjali, and blessed them with a vision of His cosmic dance. The grandest of these celebrations are observed at the Shrine of Chidambaram where Shiva appears as Nataraja (AKA Nutty), the Lord of Dance, housed in a hall roofed with golden tiles. The festivities begin at 2 in the early morning when the murti (idon/idol) of Nataraja (Yes, the same bronze masterpiece whose replicas are seen worldwide from the CERN campus to the humblest of homes) is bathed in fragrant powders, followed by a procession around the temple to the tune of several instruments. Several hours after being woken up at an unearthly 2AM, He is finally offered a large cauldron of something that looks like mashed Sakkarai Pongal. This is the famed Kali, that is offered just once a year to Nataraja, and like all off-the-beat temple offerings, has its own small tale.

Chendanaar was a poor but pious inhabitant of the hallowed town of Chidambaram. Like all devout Shaivas of yore, he had inculcated a practice of partaking his mid-day meal only after sharing a portion of it with another Sivanadiyaar (One who offers himself to Shiva). One year, on the day preceding Thiruvadhirai, severe rains had driven people indoors. As a result, Chendanaar's wife had no opportunity to collect the necessary resources for the meal. So, when a Sivanadiyaar showed up at their doorstep in the pouring rain, they had no choice but to serve him a quick, frugal meal of rice flour cooked in jaggery syrup. Greatly saddened by their assumed inhospitality, the couple turned up early at the shrine on the day of Thiruvadhirai. When the priest finally opened up the sanctum for worship, Nataraja stood there, dancing in bliss as always, but with a smattering of Chendanaar's Rice-Jaggery paste across His lips, while scattered Kali lay all over the floor. Chendanaar's eyes welled up at the revelation of his guest being Shiva Himself, while his wife related the incident to others amidst supressed sobs of humility, wonder, and satisfaction. Ever since, the humble Kali has become a staple offering for Nataraja not only at Chidambaram, but also at everyone's homes on Thiruvadhirai. The touching tale brings to one's mind Krishna's words in the Gita :

patram pushpam phalam tOyam, yO mE bhaktyA prayacchatI
tad aham baktyupAhrtam ashnAmi payatyAtmanah.
"If a person offers to me with love and devotion, even a leaf, a flower, a fruit or water
I accept wholeheartedly, that offering made by the pure-hearted being"

It is not the offering that is so important as the spirit in which it is made. With that small thought in mind, lets dive into the recipe.

THIRUVADHIRAI KALI (Serves 2)
Set-up Time :  10 minutes
Experiment Run-Time : 25 minutes

The Shopping List

          Set 1: For the Kali
          Raw Rice : 1/3 Cup
          Moong Dal (Dehusked Green Gram) : 1 Tbsp
          Jaggery/ Brown Sugar : 1/2 Cup, powdered
          Grated Coconut : 1/3 Cup

          Set 2: For the Drool Factor
          Cashew-nuts : about 6, broken
          Cardamom Powder : 1 tsp
          Ghee : 2 Tbsp

Methodology

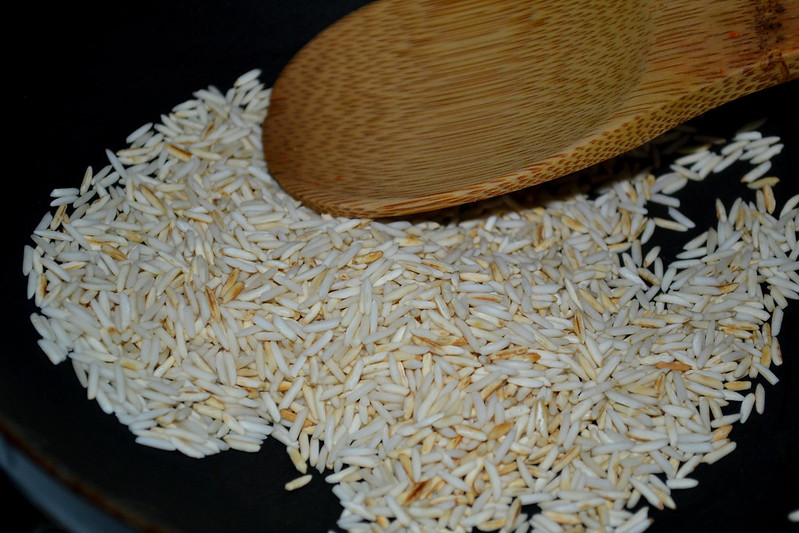
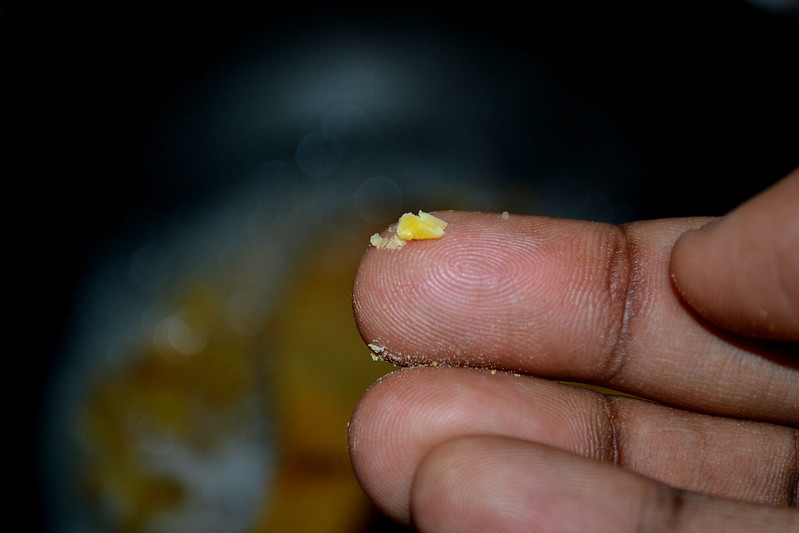
1. In a wide pan, fry the rice on a medium flame until it gives off a nutty aroma and turns a delicate shade of brown. Please, let it be a delicate shade of brown and not the much coveted chocolate brown!


DSC_1648

2. Cool it sufficiently (which I always lack the patience to do) and grind it a coarse powder in a blender. A few pulses are usually enough!


Thiruvaadhirai Kali

3. In the same pan, fry the Moong Dal until it too starts acquiring a golden-brown hue. Pour in a cup of cold water and watch the Dals dance merrily as it comes to a boil.


Thiruvaadhirai Kali1

4. Check the Dal in about 10 minutes. It should almost be there. If you tried to squash one between your thumb and forefinger it should give in but with a little resistance.


DSC_1654

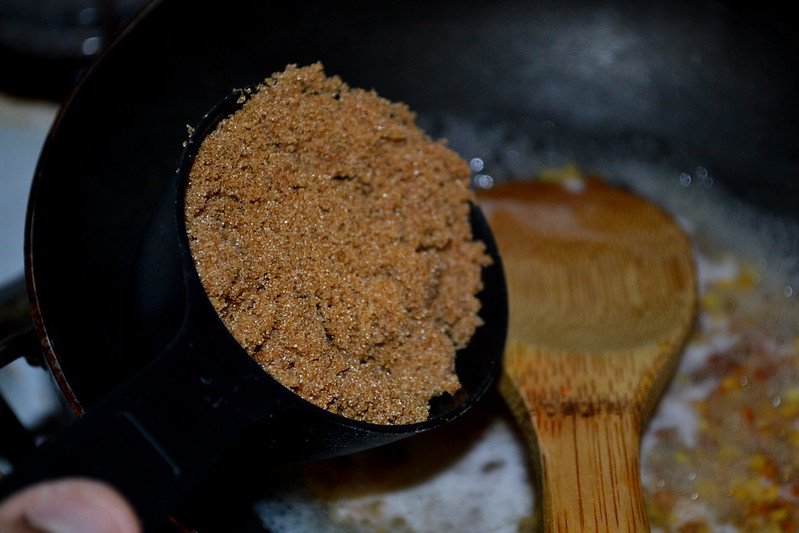
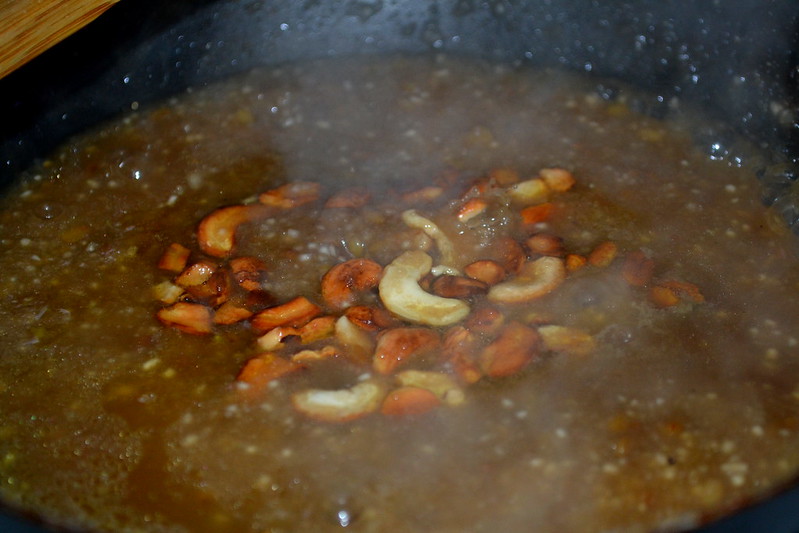
5. Once convinced about the consistency of the Dal, add the powdered Jaggery (Or brown sugars, as I sometimes tend to substitute) into the pan with about 2 cups of water. Let it come to a boil on medium flame 

(If you live within the subcontinent, it would be worth to dissolve the Jaggery in some warm water, filter it, and then proceed with the solution at hand)


DSC_1655

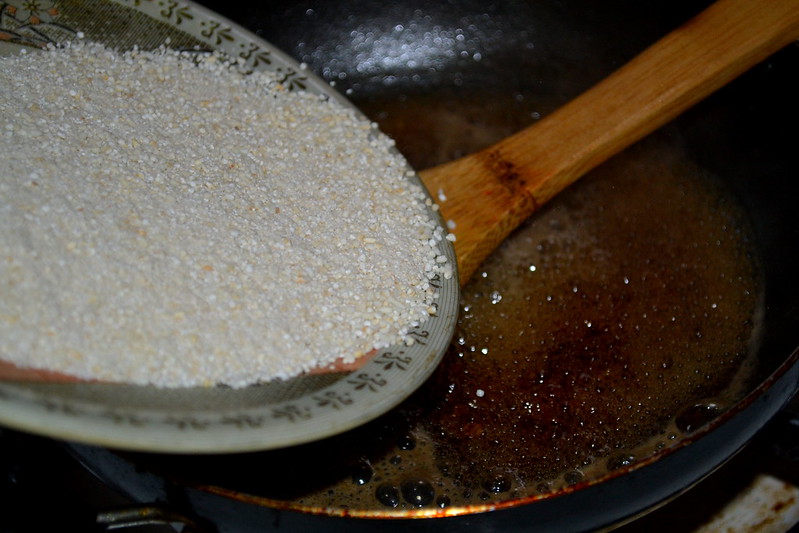
6. When the Jaggery syrup starts to boil, tip in the powdered rice and start to stir until the rice particles are mixed well into the syrup.


DSC_1661

7. Add a tablespoon of ghee and some cardamom powder and watch them get absorbed by the now spluttering mass.


Thiruvaadhirai Kali2

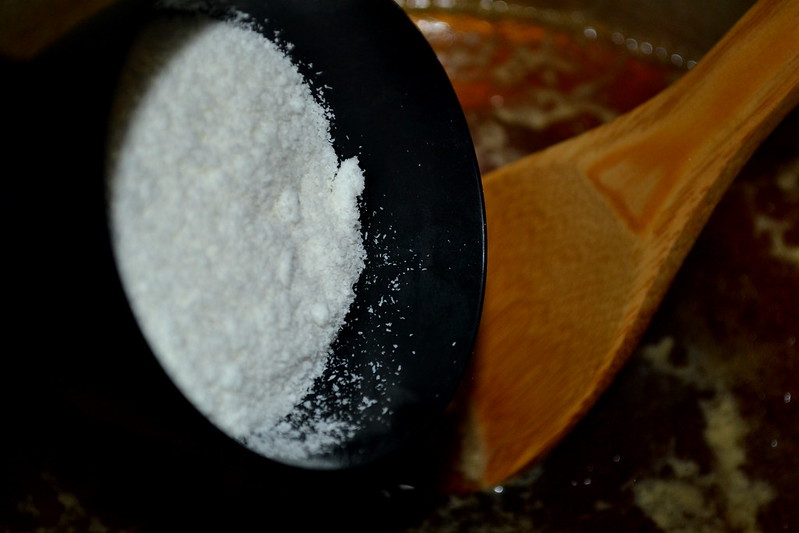
8. Finally, add the grated coconut and incorporate it into the Kali.


DSC_0189

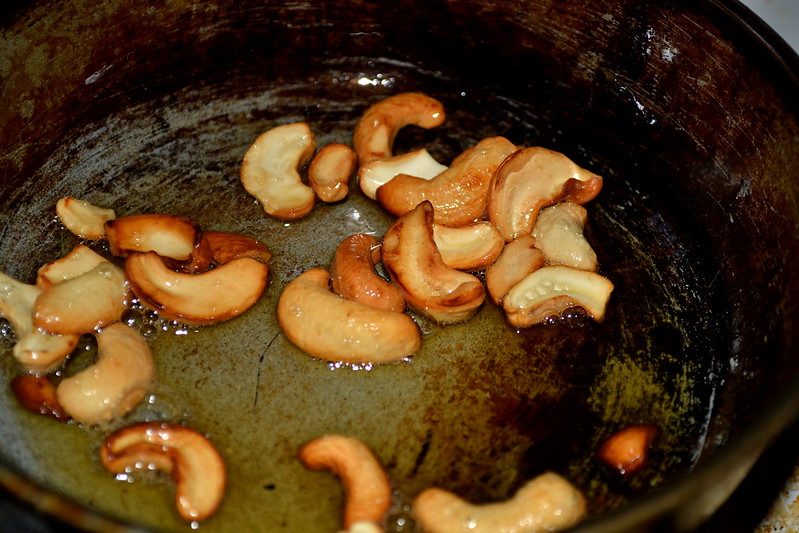
9. In a separate pan, heat the rest of the ghee and fry the cashew-nuts to a golden shade.


DSC_0197

10. When the nuts are done, add them to the spluttering Kali, ghee and all.


DSC_1670

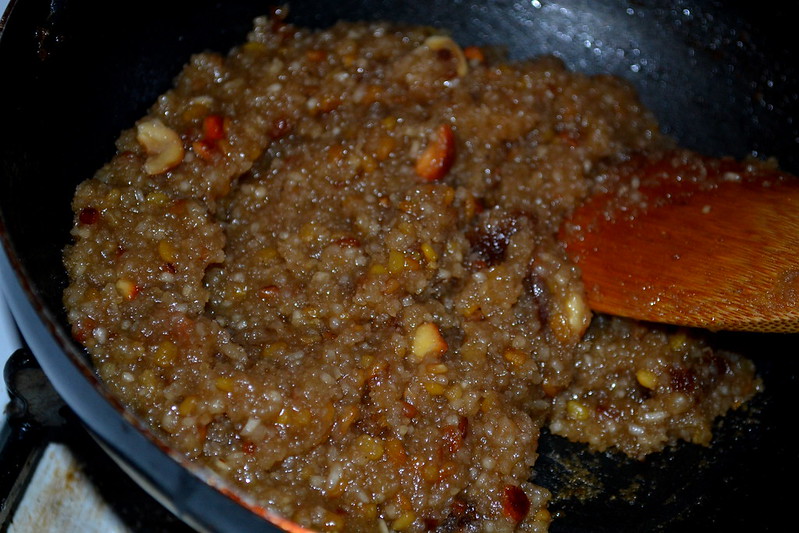
11. When the paste starts to leave the sides of the pan, it is done. Scoop it all up into a bowl and proceed with either your worship or your devouring!

DSC_1672

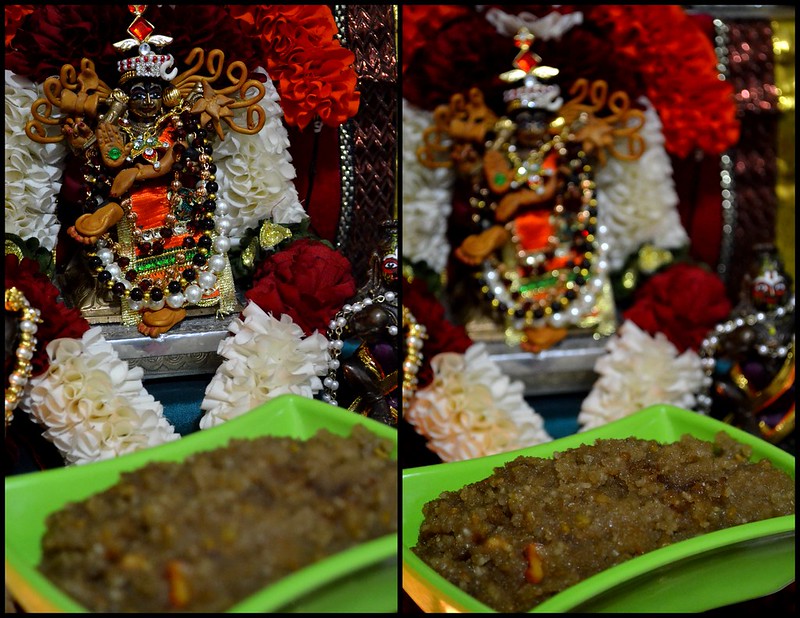
Traditionally, the Kali is accompanied by an Ezhu-Kari Kootu, a yummy Sambhar like medley of seven vegetables. But, Hello! Where am I to go for Avarakkai, Yam, Colocasia, Mochai and the rest of the veggies in the middle of an Ohio winter? So the Nataraja at my home got served only the Kali sans the Kootu. It saddens me a little, but then again, let us all remember Krishna's words in the Gita and make up for the lack of Ezhu-Kari with a little more sincerity, devotion and love!

Thiruvaadhirai Kali3

Sunday, January 4, 2015

Milagai Thokku - Hostel-Life Nostalgia


Did I ever tell you that long ago, like around a decade ago, I joined Mepco Schlenk Engineering College, AKA "The Jail" for my Undergraduate College and ended up spending 4 years of my life there? It was the strictest place I had seen since birth. The professors were strict and tight-lipped about anything beyond the subjects, the wardens were strict about your sleeping-walking-talking-peeing habits, the janitors were strict about your hygiene, the watchmen were strict about your non-IST punctuality... honestly the list is never ending. But to be fair, I enjoyed ALMOST every bit of it. Almost, because, the hostel residents were subjected to three boring/ half-cooked/ tasteless meals every single day in a weekly cycle. The hostel mess was a place where metaphorical rock-idlies, rubber-rotis, noodle-glue and handkerchief-dosas ceased being metaphors and posed severe post-digestive nightmares instead. 

To me, almost every meal was my tongue's funeral. Again, almost because, there was the lunch menu on Tuesdays which somehow managed to jolt your gustatory organs from their coma-state. There was dal (with ghee), rice, some brilliant spinach kootu, more-milagai (fried-buttermilk-soaked-green-chilies) and this whacking milagai thokku! The thokku alone provided enough willpower to make it to the next Tuesday lunch.

The thokku was so awesome that it was the first item I missed after getting out of that place. My mom had no idea about the recipe, and at that time I didn't even know it was called milagai thokku. It was only three years ago, when I was flipping through a random Tamil magazine that I came across a photo of the very familiar dish (and learnt its name in the process). The recipe we are going to see today is what I noted down from that magazine (which I abandoned the next second as I dashed towards the kitchen!)


MILAGAI THOKKU (Serves 4 It's a pickle I say)
Set-up Time :  10 minutes
Experiment Run-Time : 20 minutes

The Shopping List

          Set 1: Spice Base
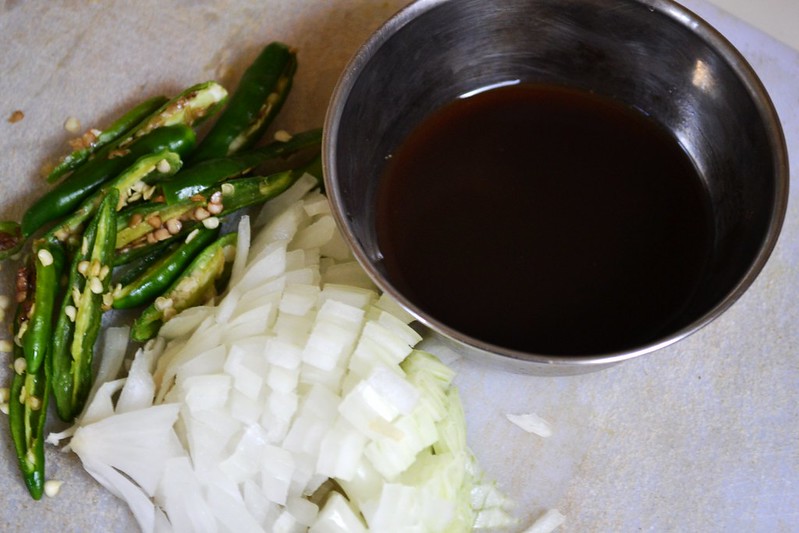
          Onion : 1 Small, finely chopped
          Tamarind Paste : 1 Tbsp, mixed with 1/2 cup of water
          Spicy Green Chilies : 10-12, slit length-wise

          Set 2: Seasonings
          Asafoetida : 1/4 tsp
          Mustard seeds : 1 tsp
          Curry Leaves : 4-5 leaves (optional)
          Chana Dal (Split ChickPeas) : 2 Tbsp
          Sesame Oil : 3-4 Tbsp (Don't cringe)
          Salt : To Taste

Methodology

1. Slit the chilies as said - along the length. You may deseed the chilies if you believe that you may have trouble sitting down tomorrow, but I must say, you would have missed the point of this dish.

DSC_0036

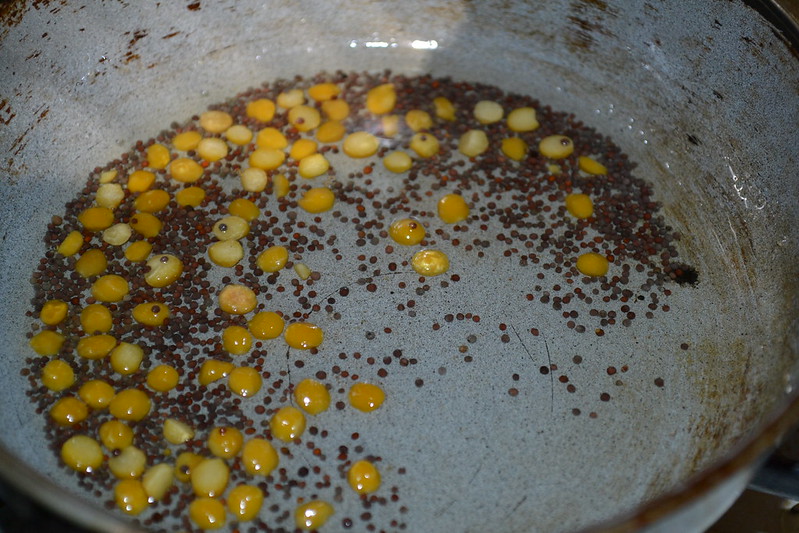
2. In a small kadai or pan, heat the sesame oil and crackle up the mustard seeds. Follow it up with the asafoetida, Chana Dal and curry leaves.

DSC_0037

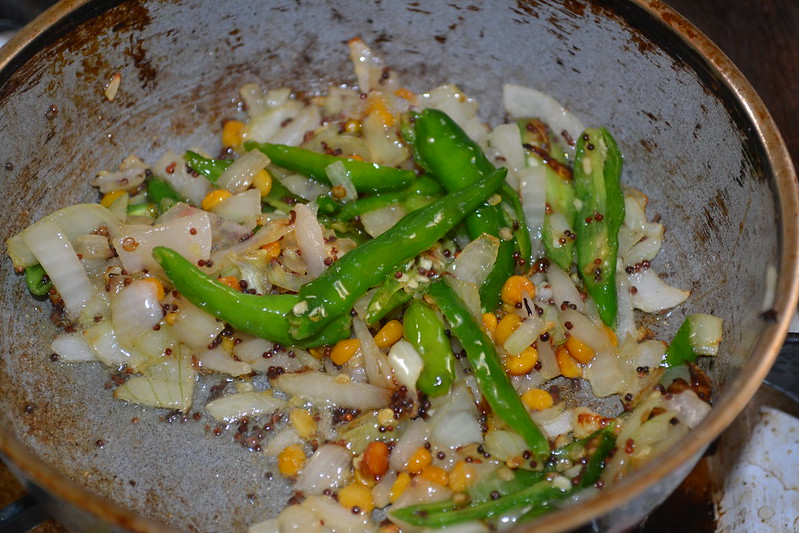
3. When the Dal takes on a shiny golden hue, add the chilies and the onion. Sauté, sauté and sauté until the green chilies shrivel a little and the onions are shiny and translucent.

DSC_0040

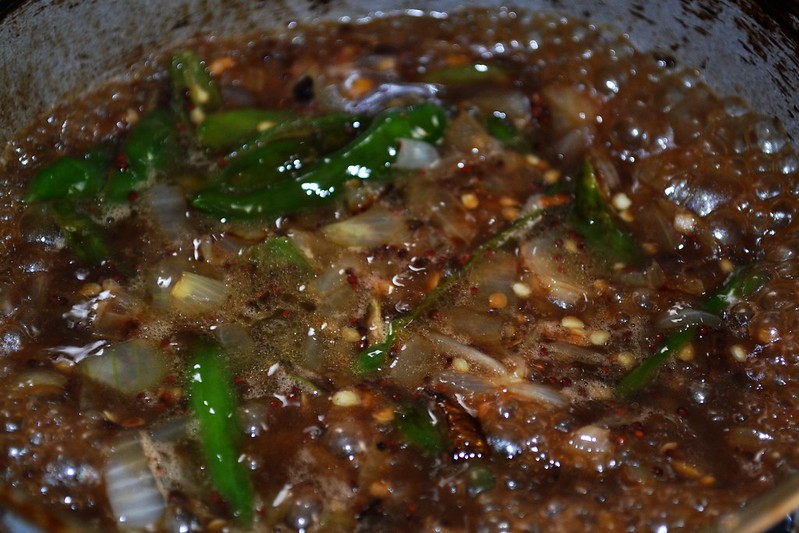
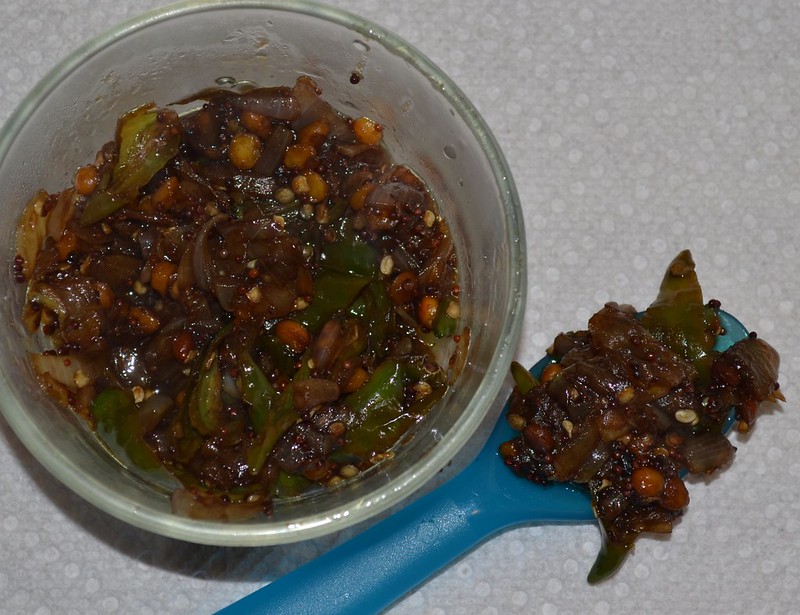
4. Add the tamarind water to the pan along with some salt. From now, it is just a matter of patience. Keep stirring until the liquid evaporates and oil starts oozing out from the sides. Switch off the stove.

DSC_0043

5. Cool it down to room temperature and transfer to a clean glass bottle if you plan to keep it for sometime. With me it lasts no longer than a day.

DSC_0048
Ready - Gobble at your own risk!
The thokku goes well with dal, sambhar, rasam and most obviously curd rice. The pleasure in rolling up a ball of thacchu mammam, dragging it through the thokku and dropping it in your mouth is indescribable. I sometimes eat it with dosas too and venn-pongal and rava idlies. All delicious. Like I said, it rarely lasts more than a day and I prepare it equally rarely (due to obvious pin-vilaivugal ;) ). But every time I make it, my mind passes through all that Mepco has given me - awesome friends, uncountable memories, a few awards and a great sense of independence. The thokku, in the truest sense, gives pleasure to the both my tongue and mind alike.