My tryst with the Morekuzhambu is almost as old as me, or so I think. I sure do have memories of my grandmother making Morekuzhambu on festival days, particularly on Amavasais (the New-Moon day), when respects were offered to one's forefather's. She used to make piping hot Vadais from fresh batter painstakingly ground at the humongous mortar-pestle and soak them in the Morekuzhambu The combination of the subtly spiced Morekuzhambu melding with the crispy-soggy Vadais created fireworks in one's mouth, forcing us to go for fifth and sixth helpings. Unfortunately, my mother, supremely talented as she is in the kitchen, however, failed to inherit this skill of making the perfect Morekuzhambu from her mother. But fortunately, the lack of expertise was only a passing cloud. Enter Jayashree Aunty, my mother's good friend from work. I believe, to this day, that she is one unconquered expert in the field of Tambrahm Cuisine. Right from the Adai's made for Kaaradayaan Nonbu to my favorite Kalyana Rasam, I fell hook, line, and sinker for her dishes. So, one day, after exchanging notes with Jayashree Aunty, my mother decided to have another go at the elusive Morekuzhambu and voilà, there was that perfect dish, close enough to my grandmom's version. There was no looking back ever since, and ever so often, we were treated to different varieties of the once-hard-to-make delicacy.
Fast-forwarding about 7 years, I was lying on a crumpled comforter at my home in the US, when a sudden desire to eat Morekuzhambu sprouted in the depths of my hopelessly-gastronomic mind (FYI, my emotional-hunger attacks are pretty adamant.) . And who else to call than Jayashree Aunty, who explained the apparently simple recipe with great patience. The result - disaster. The yogurt sold at the local supermarket was sweet, my blender was incapable of making a fine paste and I realised that jalapenos are no match for our desi-green chilies. But I learnt from my mistakes, and today, I can make one helluva Morekuzhambu, be it with Vadais or Ladies-Finger or Colocasia. The recipe below describes the simple steps leading up to one very tasty version of Morekuzhambu made with Ashgourd (Vellai Poosanikkai). Though the recipe predominantly follows Aunty's time-tested methods, I have suggested the use of Amchur powder to impart that sour edge to the buttermilk/curds, which is near impossible to achieve naturally with the weather conditions in the US.
POOSANIKKAI MOREKUZHAMBU (Serves 4-6)
Set-up Time : 30 minutes
Set-up Time : 30 minutes
Experiment Run-Time : 20 minutes
The Shopping List
Set 1: Flavoring Paste
Coriander Seeds : 2 Tbsp
Cumin Seeds : 2 tsp
Green Chilies : 6-8 depending on spice level
Coconut Gratings : 1/2 cup
Toor Dal : 1 Tbsp
Rice : 1 tsp
Thick Buttermilk/Whipped Curds : 2-3 Tbsp
Coriander Seeds : 2 Tbsp
Cumin Seeds : 2 tsp
Green Chilies : 6-8 depending on spice level
Coconut Gratings : 1/2 cup
Toor Dal : 1 Tbsp
Rice : 1 tsp
Thick Buttermilk/Whipped Curds : 2-3 Tbsp
Set 2: Veggies and More
Ash Gourd : 2 cups, cut into half-inch cubes
Thick Buttermilk/Whipped Curds : 3 Cups
Turmeric Powder : 1 tsp
Amchur Powder : 1 tsp
Vegetable Oil : 2 Tbsp
Salt : As required
Set 3: Seasonings
Mustard Seeds : 1 tsp
Asafoetida : a generous pinch
Red Chilies : 2, broken in half
Curry Leaves : One strand
Coconut Oil : 1 tbsp (One may use Vegetable oil too)
Methodology
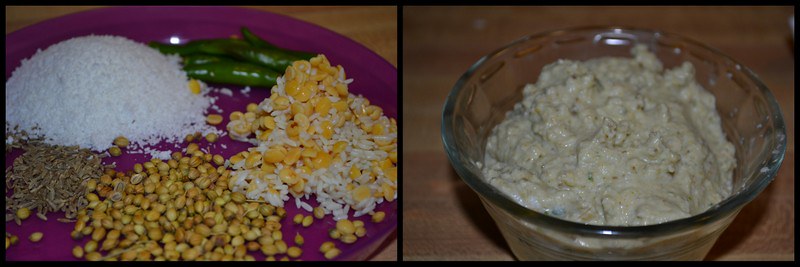
1. Soak the Toor Dal and Rice from Set 1 in warm water for 20 minutes. Drain and grind to a fine paste with the rest of the ingredients in Set 1. Use buttermilk/curd instead of water to facilitate grinding. Jayashree Aunty said that this enhances the flavors from the ground paste.
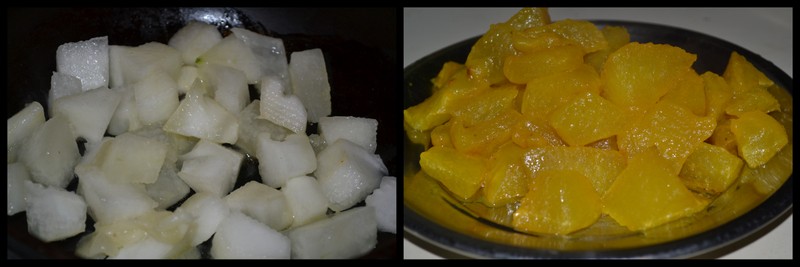
2. In a heavy-bottomed pan, pour the oil and once heated, add turmeric powder, salt and the ash gourd pieces. Sauté gently, adding water at regular intervals until the ash gourd pieces are thoroughly cooked. Though additional salt is often used to quicken the process, I have always been taught that patience is one of the best virtues that one can possess in the kitchen.
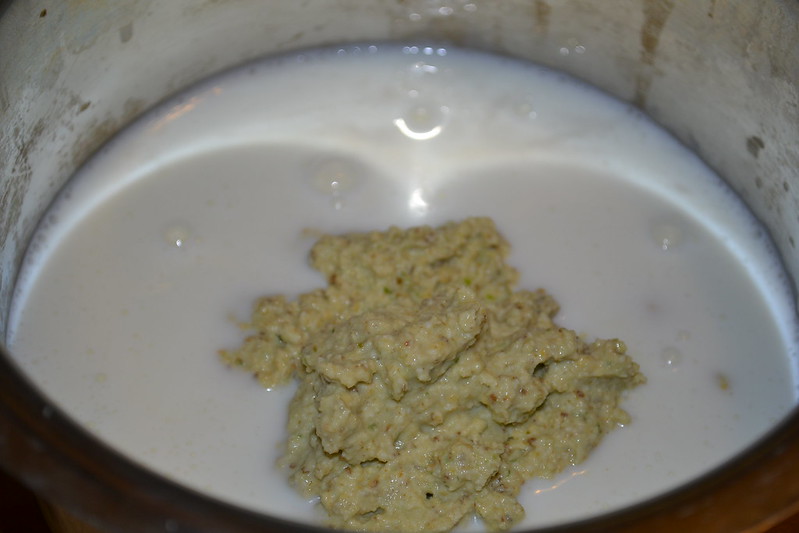
3. In a separate pot, mix the Buttermilk from Set 2 with the ground paste along with Amchur Powder and salt. Do remember that salt has already been added to the ash gourd and hence use it judiciously.
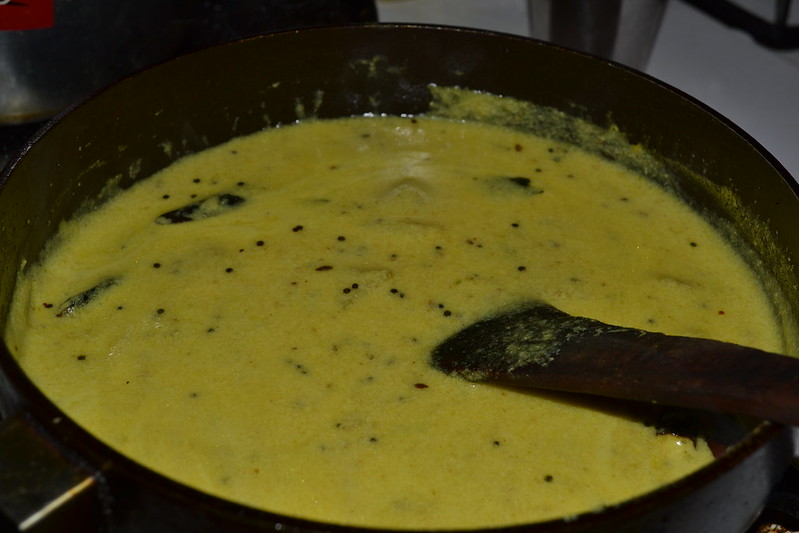
4. Pour this buttermilk mixture into the pan containing the cooked vegetable and heat it slowly. The pale-green buttermilk will take on a yellow hue from the turmeric present in the ash gourd. When it shows signs of boiling, immediately remove the pan from the heat and keep it aside.
5. In a smaller seasoning pan, add the coconut oil and once it heats up, add the seasonings in Set 3, one after another. When the mustard seeds begin to crackle, take the pan off the flame. Allow the seasoning mix to cool a bit before adding to the Morekuzhambu. And the dish is done! Fairly simple right?
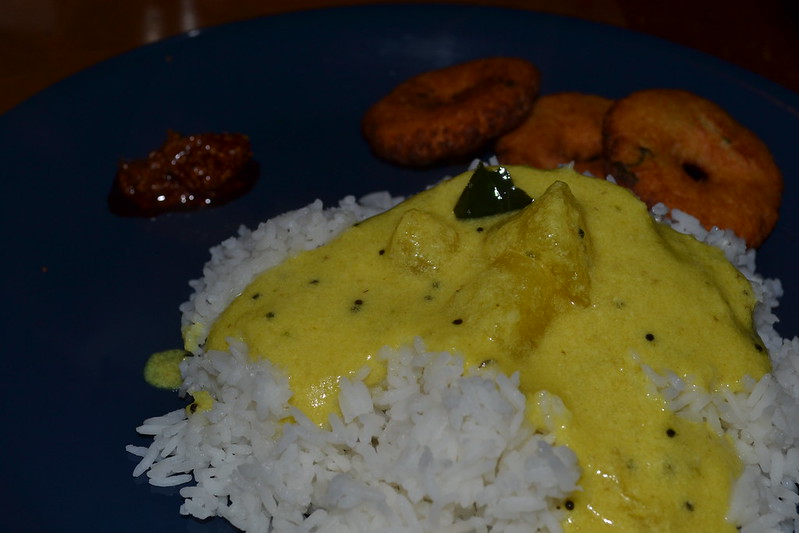
Morekuzhambu goes well with almost any spicy curry. I often pair it up with Potato Fry, Mango Pickle and Spinach among several other combinations. However, by Mylapore-Triplicane standards, Paruppu Usili is unarguably the best accompaniment for Morekuzhambu. The Tambrahms swear by this nearly-divine combination and many a war have been fought to decide which of the many Paruppu Usilis reign supreme as the perfect side to the Kuzhambu.
I also use a variety of other vegetables to make the dish (a few of which have been given below), but Poosanikkai remains my unchallenged favorite. As Chandrasekar said, the joy attained in picking up one piece of Poosanikkai from the Kuzhambu and holding it up against the light, only to see the rays passing through its translucent body, is unparalleled. It is the True Test of Translucency.

2. In a heavy-bottomed pan, pour the oil and once heated, add turmeric powder, salt and the ash gourd pieces. Sauté gently, adding water at regular intervals until the ash gourd pieces are thoroughly cooked. Though additional salt is often used to quicken the process, I have always been taught that patience is one of the best virtues that one can possess in the kitchen.

3. In a separate pot, mix the Buttermilk from Set 2 with the ground paste along with Amchur Powder and salt. Do remember that salt has already been added to the ash gourd and hence use it judiciously.

4. Pour this buttermilk mixture into the pan containing the cooked vegetable and heat it slowly. The pale-green buttermilk will take on a yellow hue from the turmeric present in the ash gourd. When it shows signs of boiling, immediately remove the pan from the heat and keep it aside.

5. In a smaller seasoning pan, add the coconut oil and once it heats up, add the seasonings in Set 3, one after another. When the mustard seeds begin to crackle, take the pan off the flame. Allow the seasoning mix to cool a bit before adding to the Morekuzhambu. And the dish is done! Fairly simple right?

Morekuzhambu goes well with almost any spicy curry. I often pair it up with Potato Fry, Mango Pickle and Spinach among several other combinations. However, by Mylapore-Triplicane standards, Paruppu Usili is unarguably the best accompaniment for Morekuzhambu. The Tambrahms swear by this nearly-divine combination and many a war have been fought to decide which of the many Paruppu Usilis reign supreme as the perfect side to the Kuzhambu.
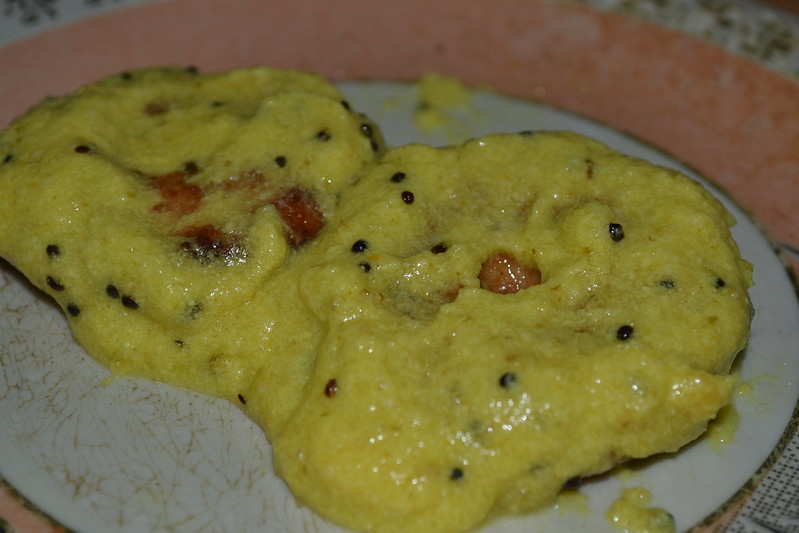 |
| Aaah... Nectarine Bliss! Morekuzhambu Vadai |
Notes :
a. To make Colacasia Morekuzhambu, pressure cook the Colocasia till soft, cut into half-inch pieces and substitute it for ash gourd in the above recipe.
b. Thinly cut rounds of Ladies-Finger, seasoned with turmeric and salt, and shallow fried in oil can also be added instead of the ash gourd in the given recipe.
c. Dried Turkey Berries (Sundakkai Vatral), Chow-Chow, and Spinach are other vegetables that maybe used in lieu of ash gourd


No comments:
Post a Comment